

NEW PRODUCTS
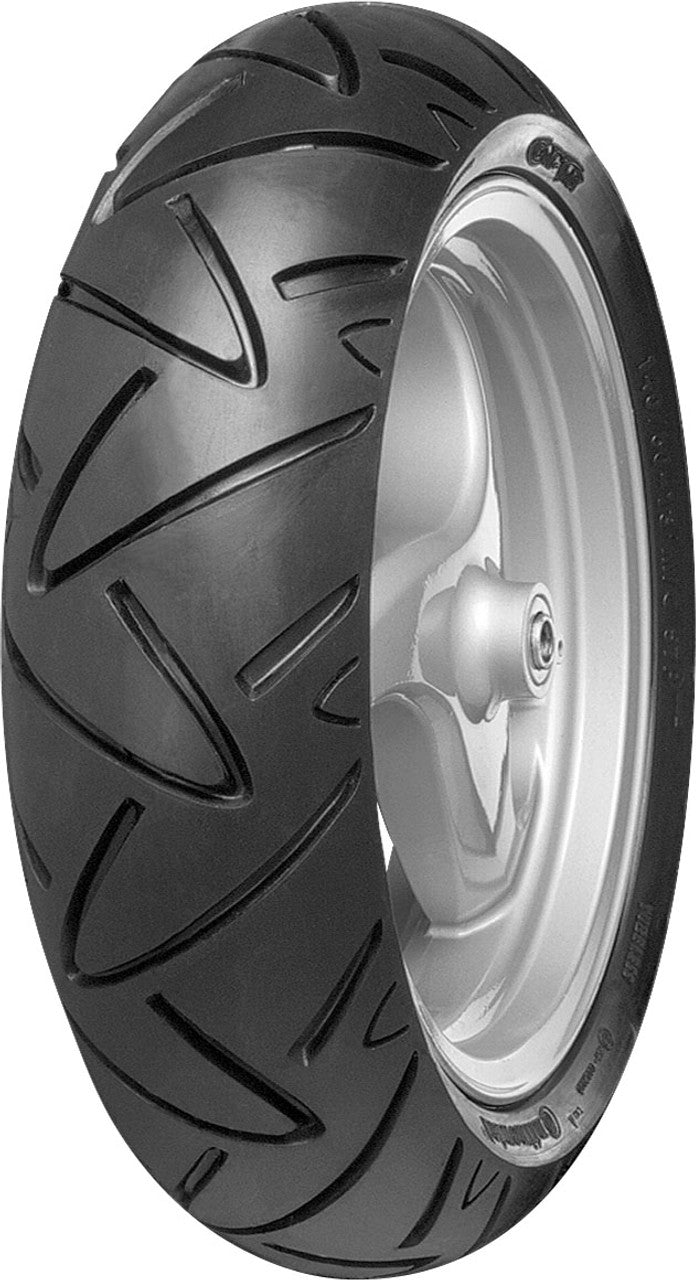
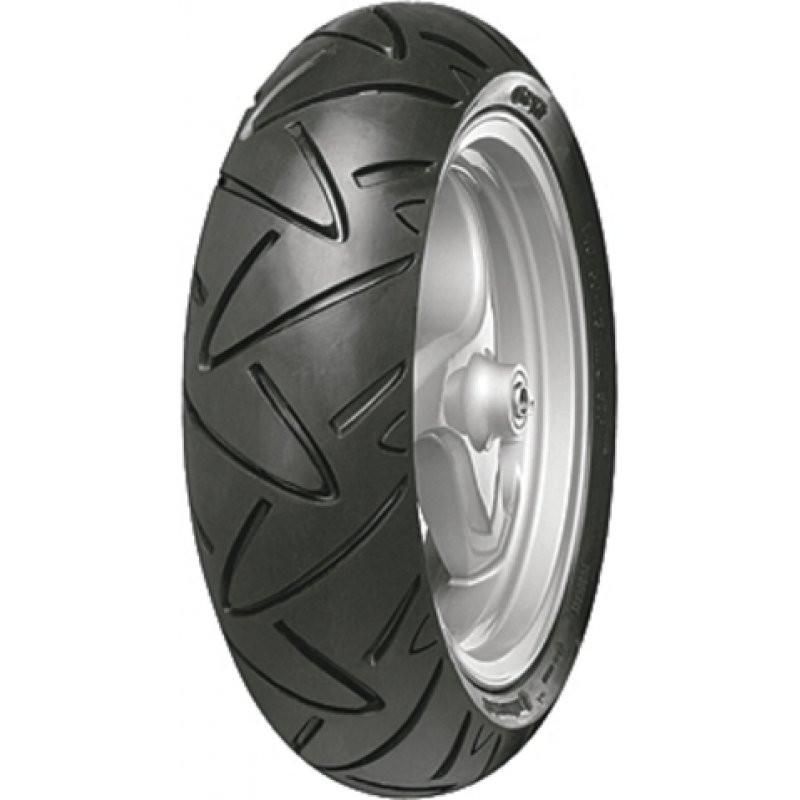
Vespa GTS Continental Conti Twist 120/70 x 12 58P TL Front Tyre
Product code:
BD19217
In stock
Sale price£46.99
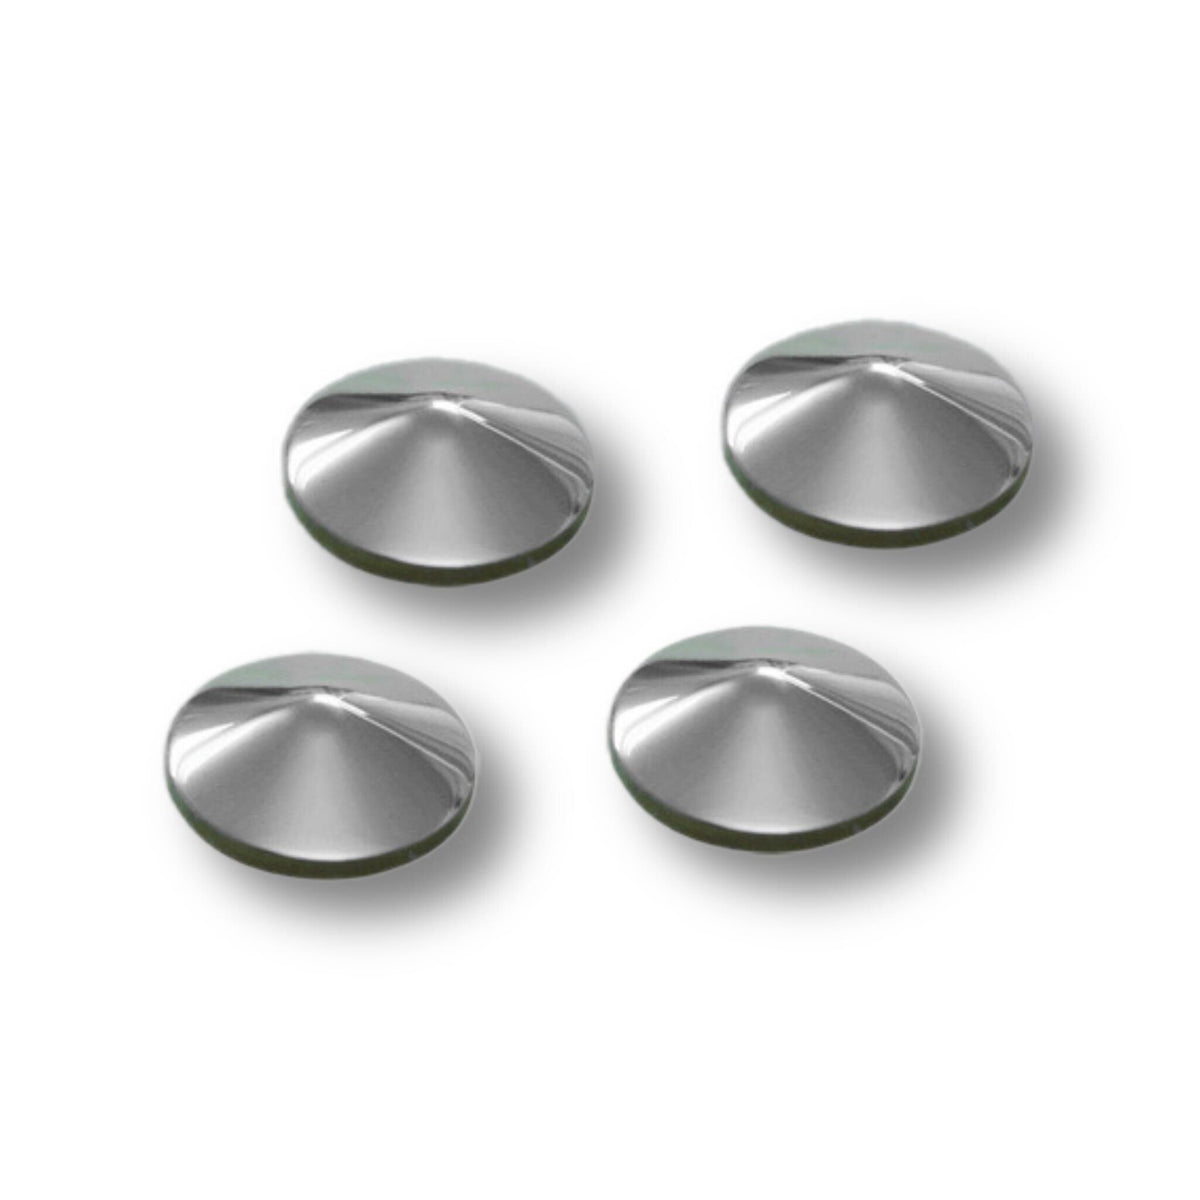
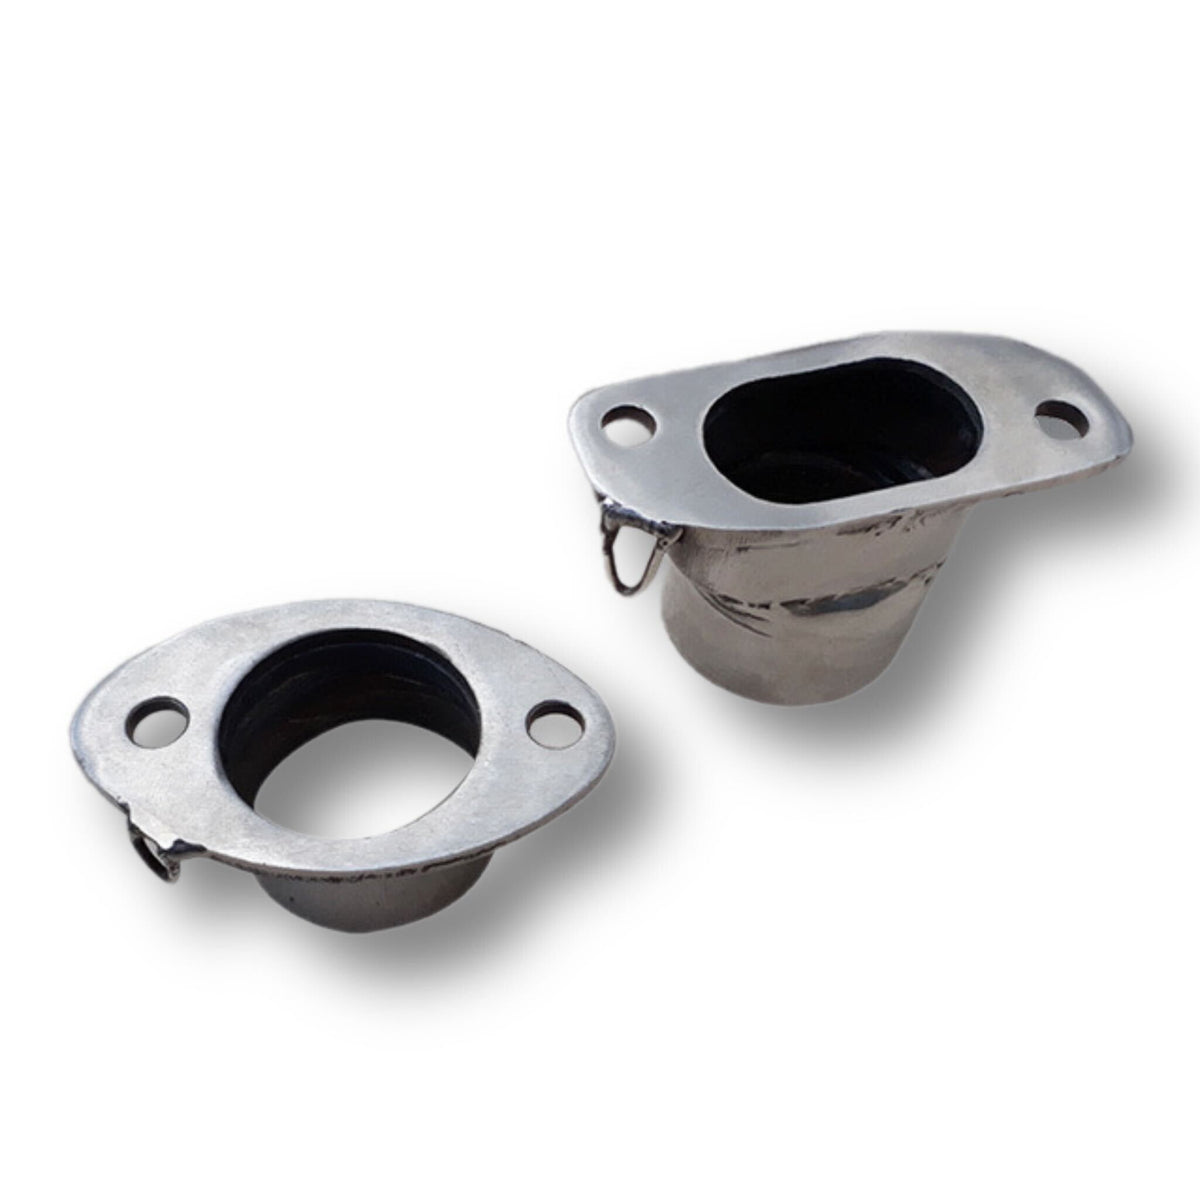
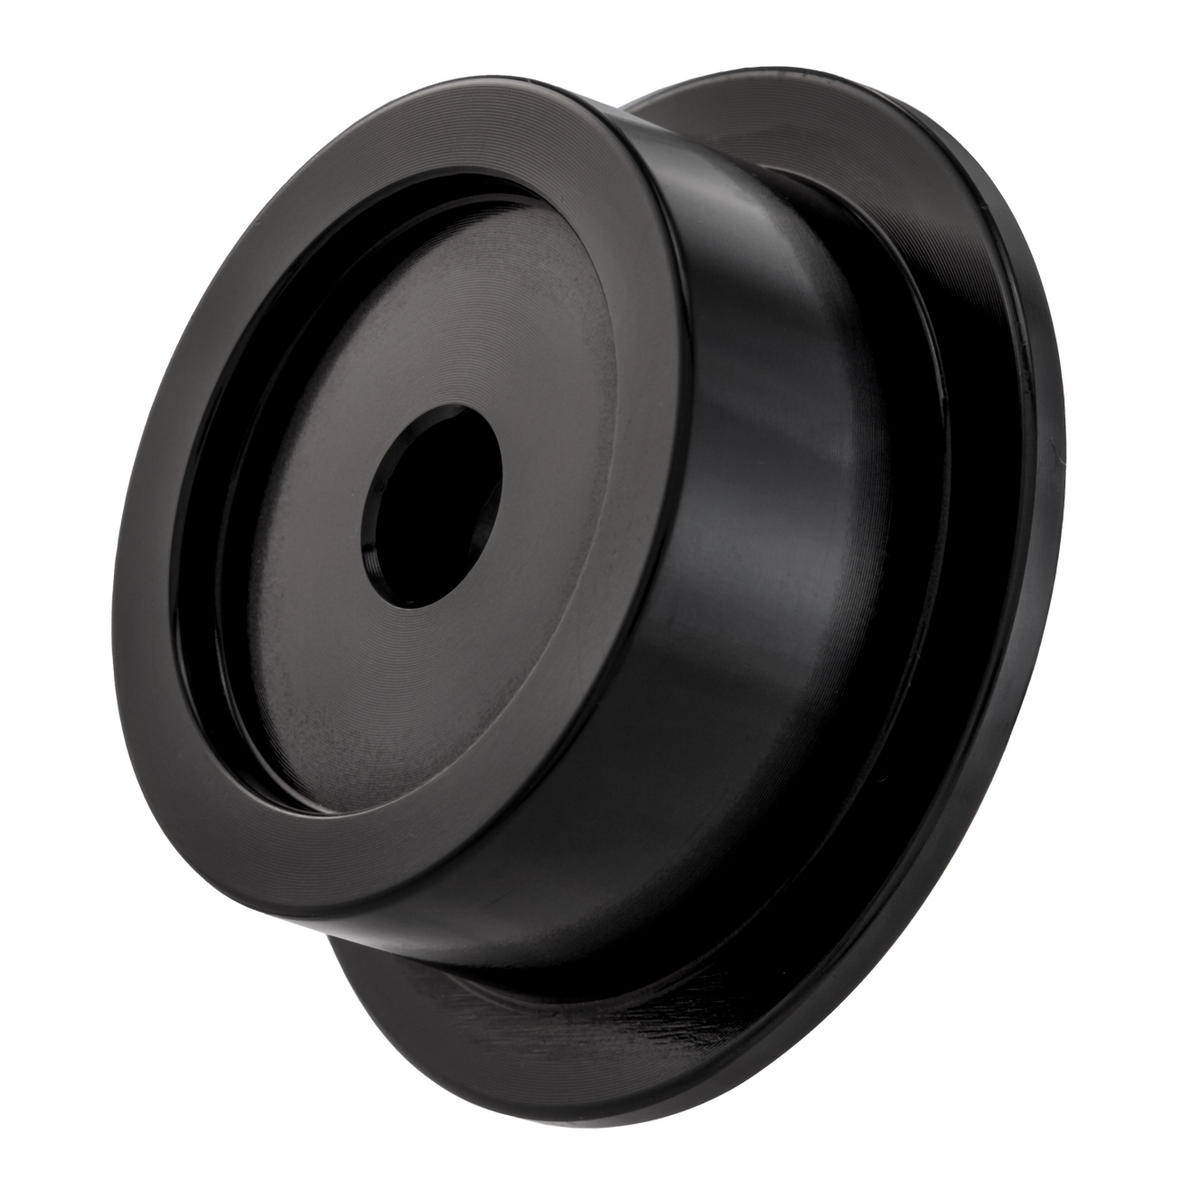
Lambretta Rear Frame Hole Plug / Blanking Grommet - Polished Stainless Steel - Cone Set of 4
Product code:
BD19245
Limited Stock
Sale price£14.99
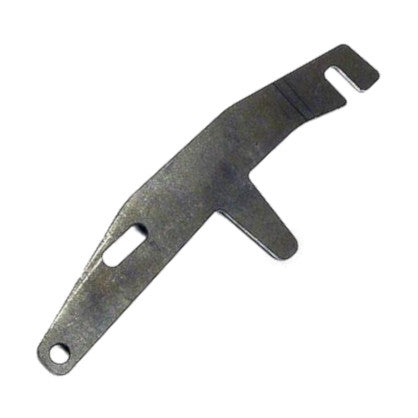
Lambretta Series 3 Li Special SX TV Side Panels Clip On No Handle Holes - Bare Metal
Product code:
BD19234
Low Stock
Sale price£199.99
Sold out
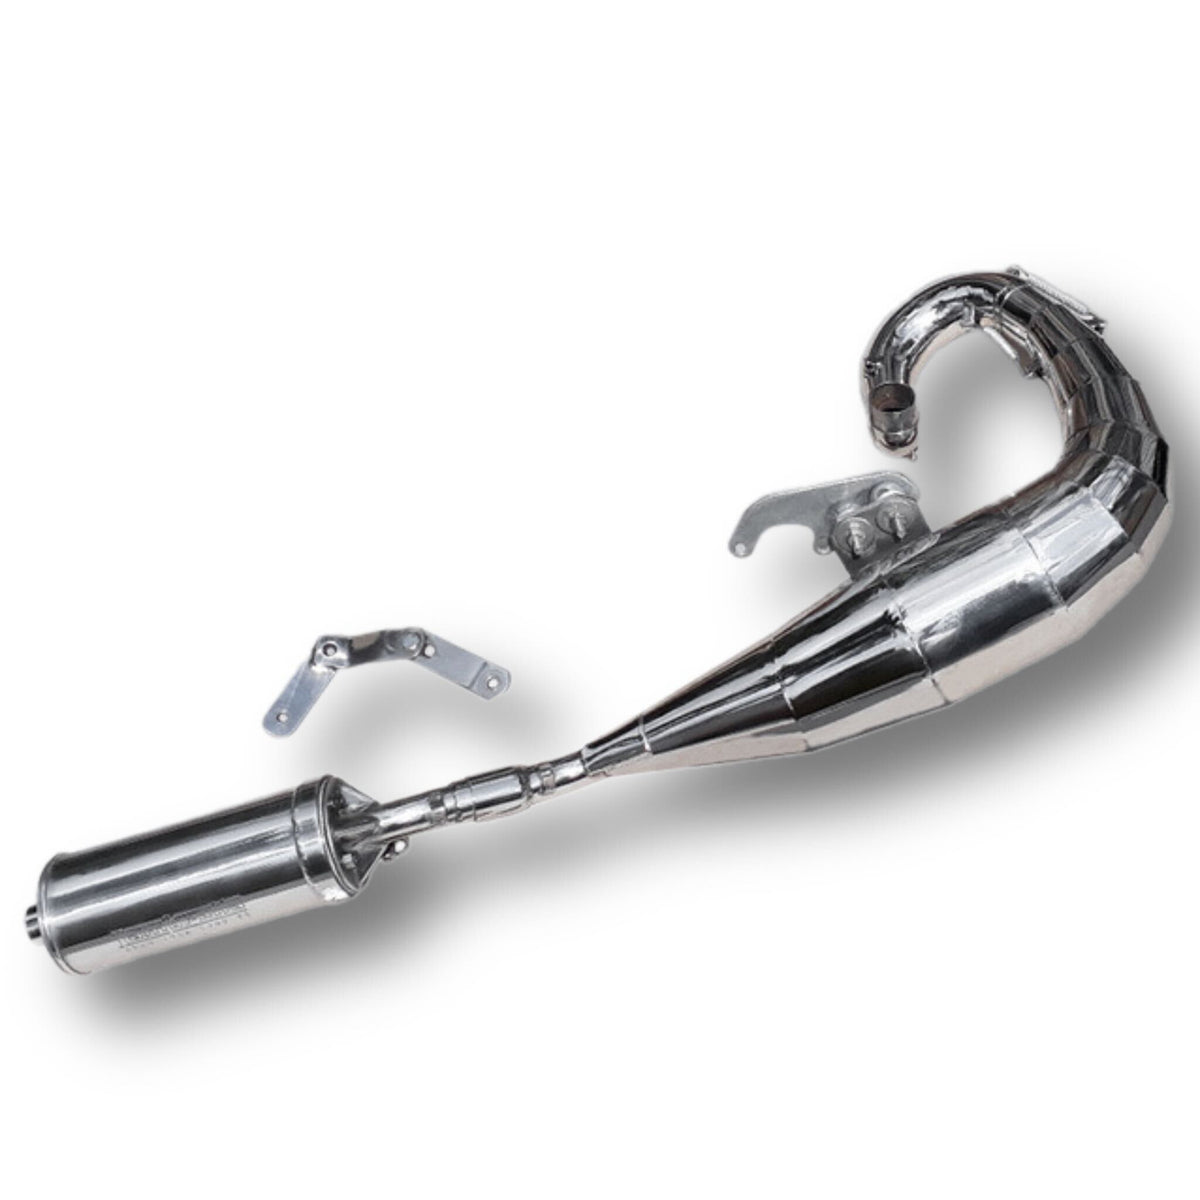
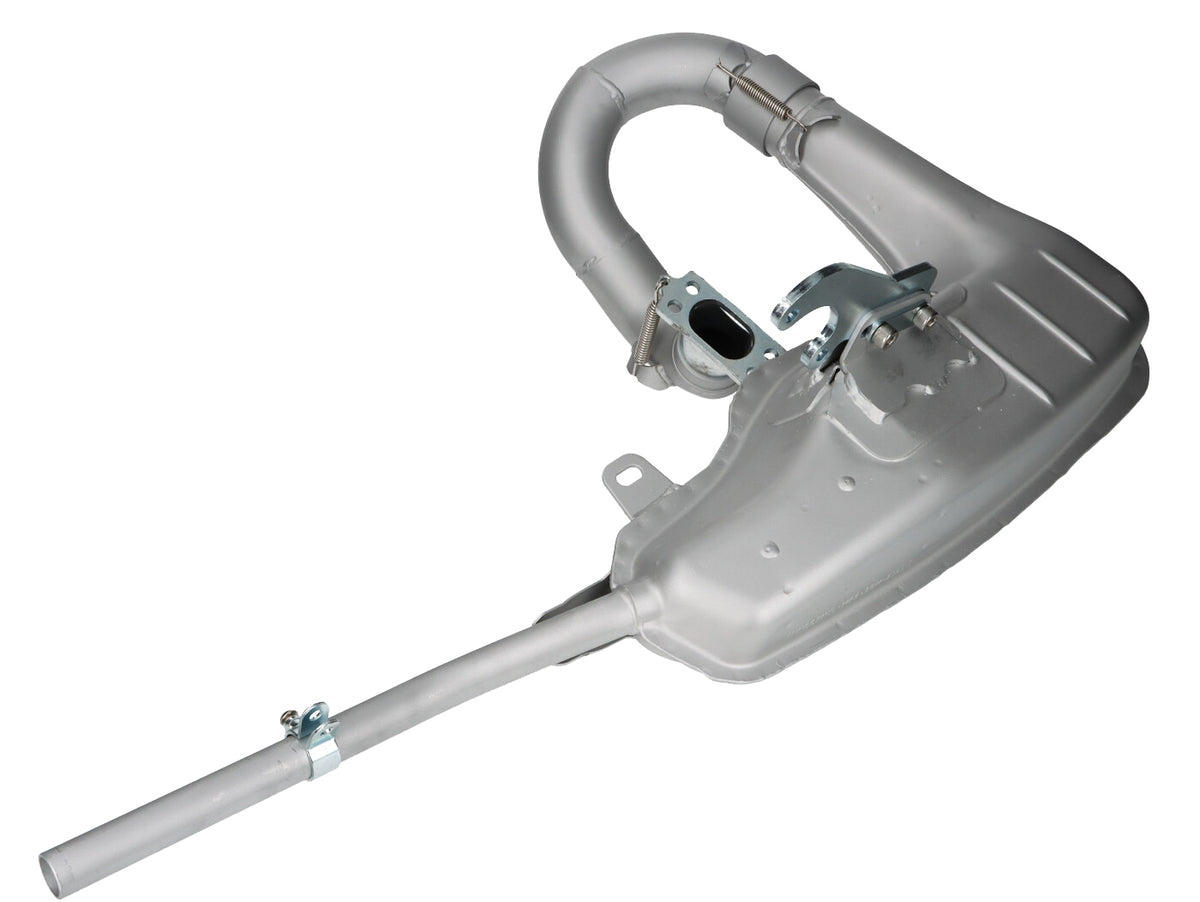
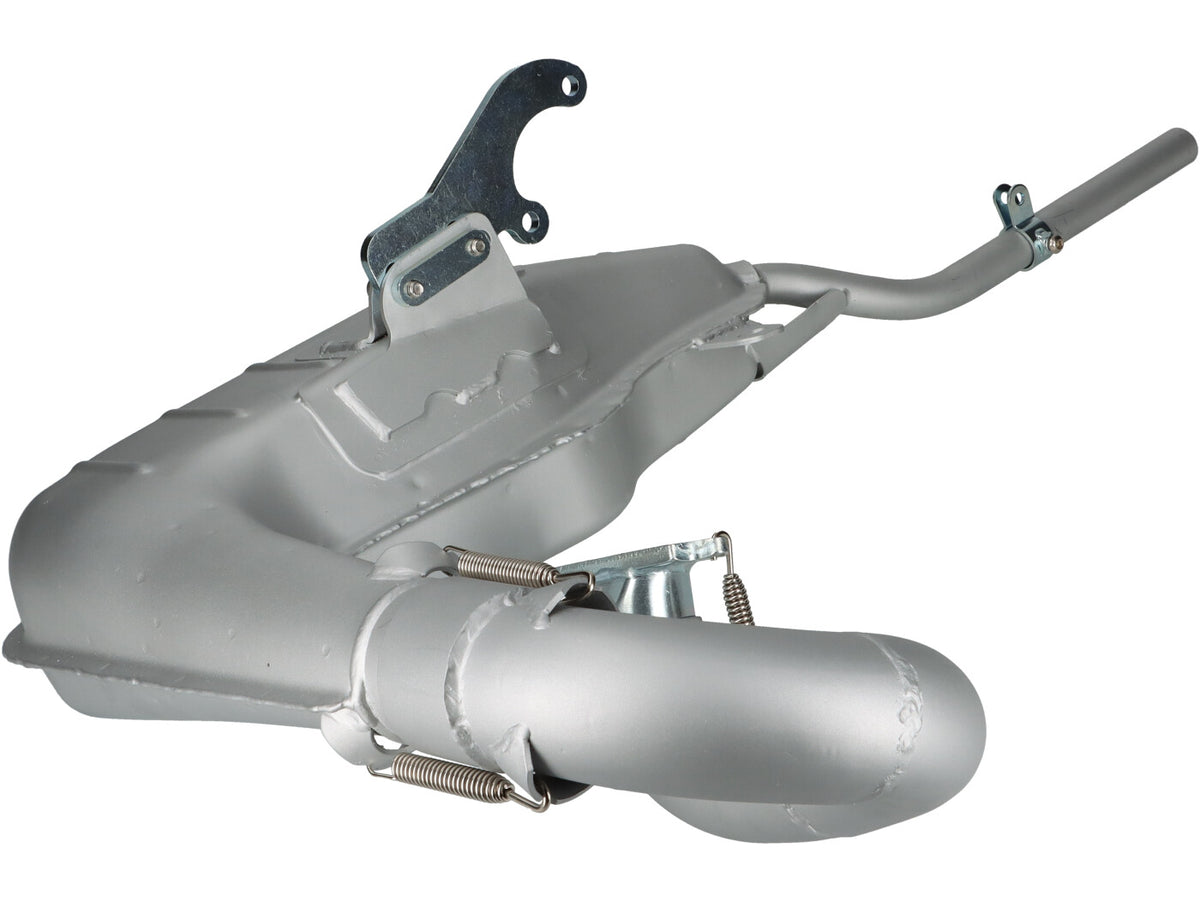
Lambretta Series 1 2 3 Li GP SX TV Upgraded Taffy TS1 Performance Expansion Exhaust Stainless Steel
Product code:
BD19228
Out Of Stock
Sale price£224.99
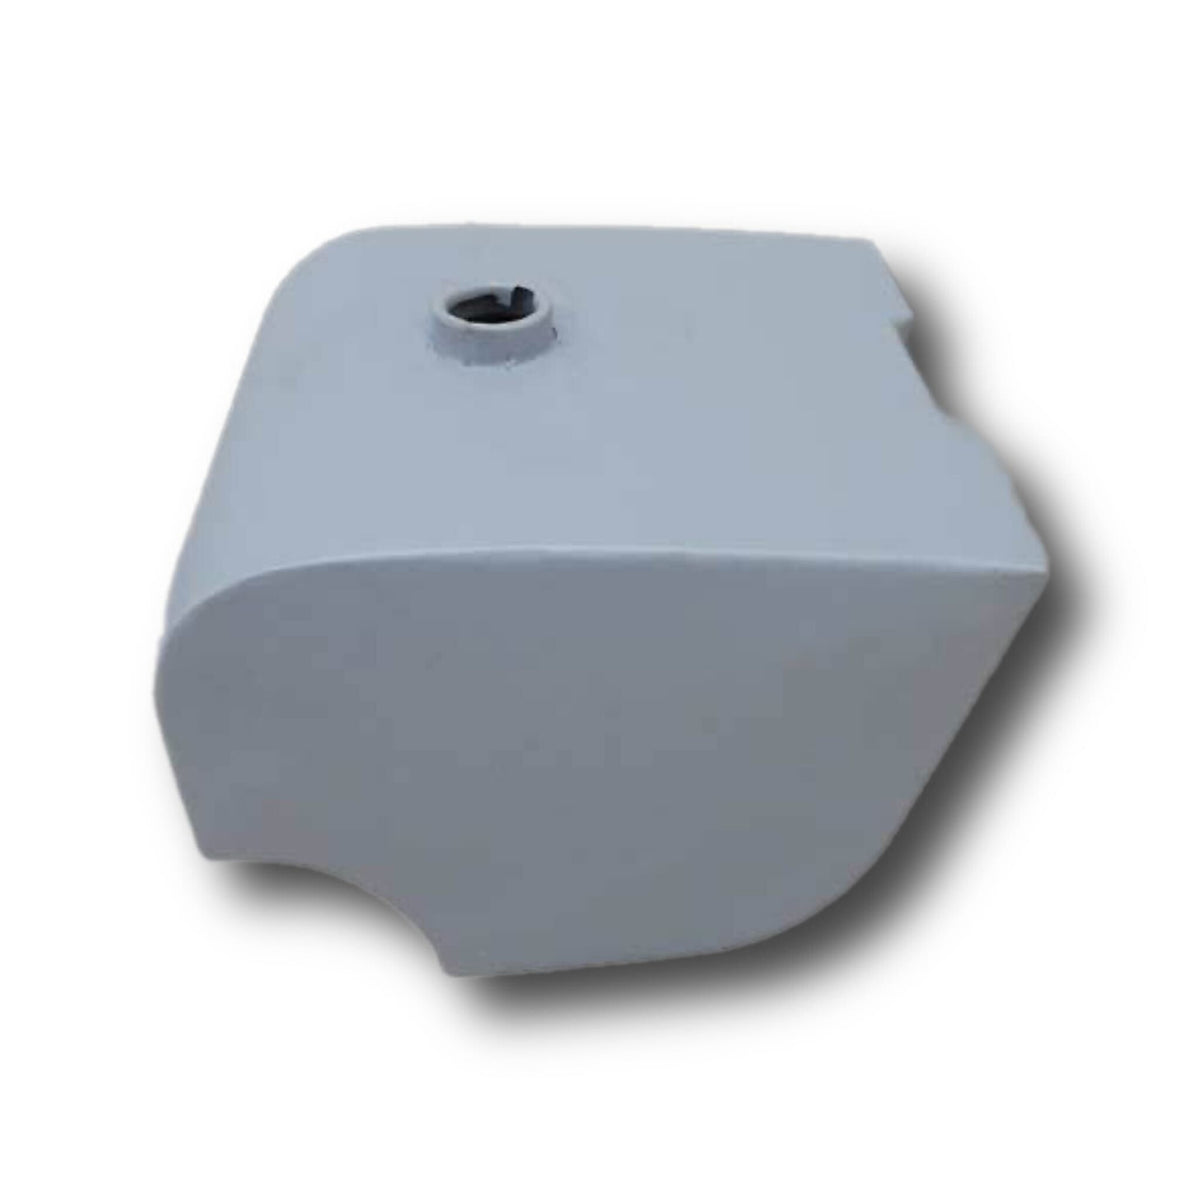
Lambretta Series 1-3 Li GP SX TV 10L Midi Style Dual Cut Petrol tank - Primer
Product code:
BD19227
Low Stock
Sale price£119.99
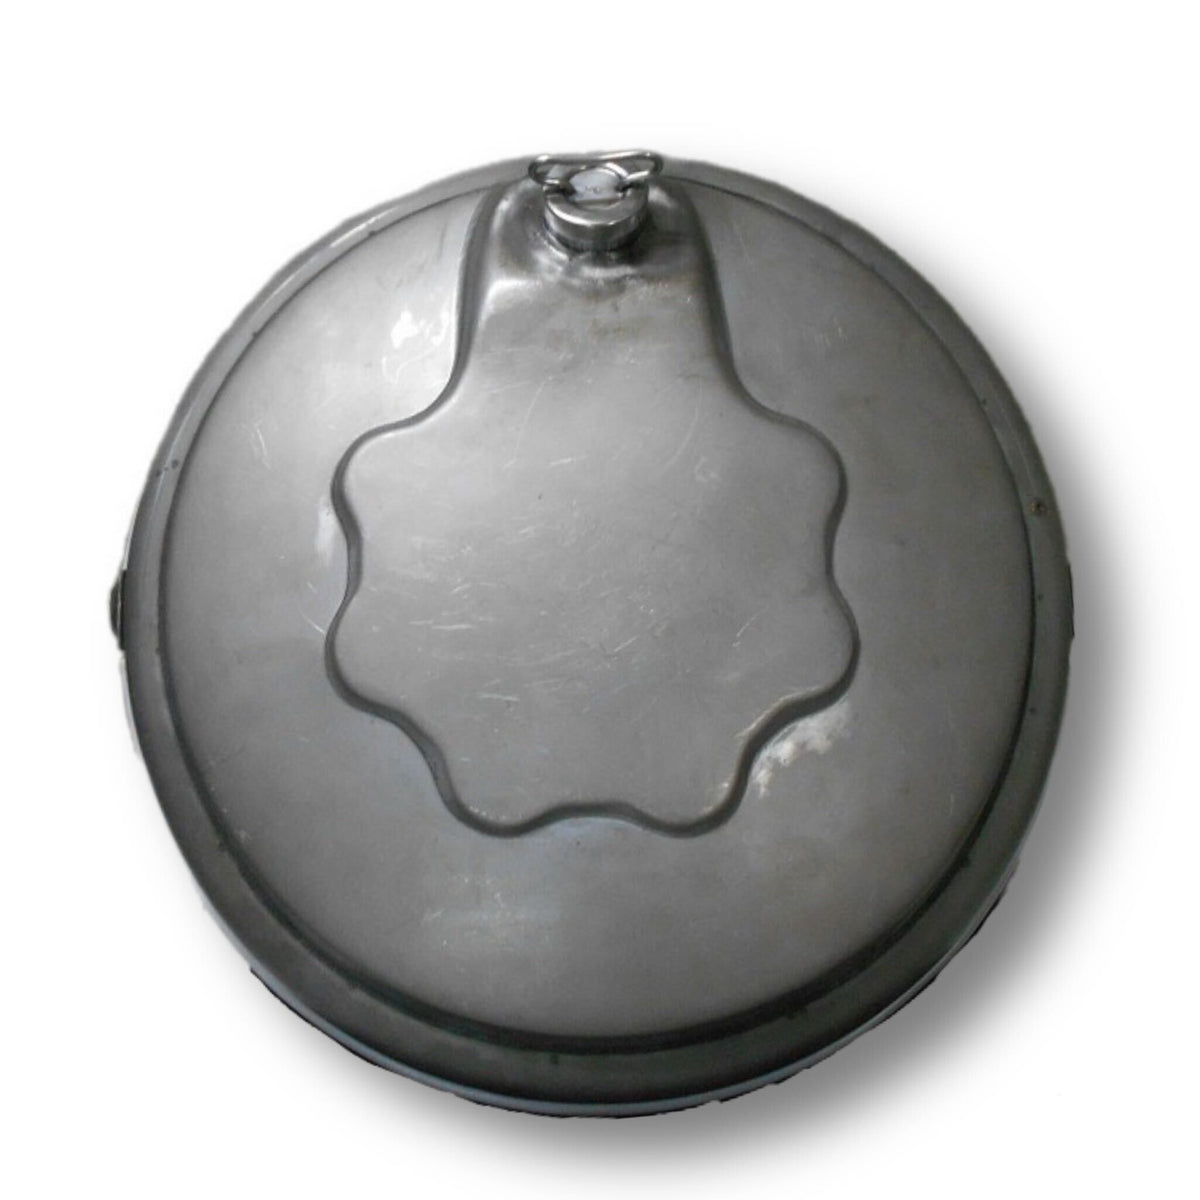
Lambretta Series 1-3 Li GP SX TV Spare Wheel Mounted Reserve Petrol Tank - Bare Metal
Product code:
BD19226
Low Stock
Sale price£94.99
Most popular parts
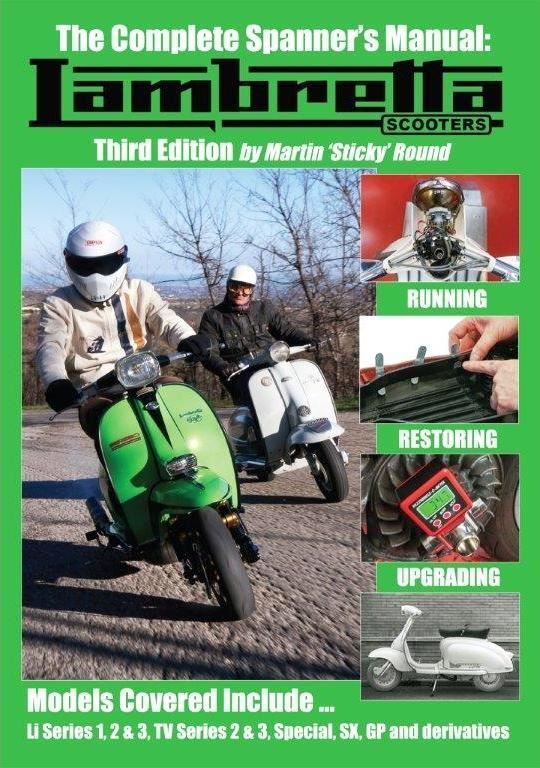
Manual Lambretta Third Edition Stickys Workshop Guide
Product code:
BD12966
In stock
Sale price£24.99
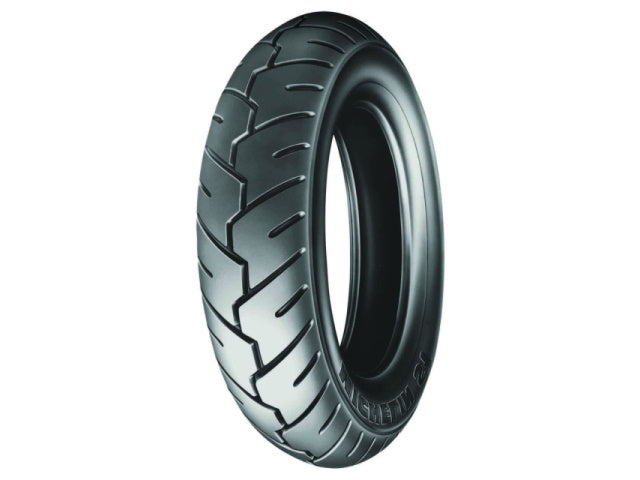
Vespa Lambretta Scooter Michelin S1 350 x 10 Tyre Tubeless/Tubed
Product code:
BD09534
In stock
Sale price£38.99
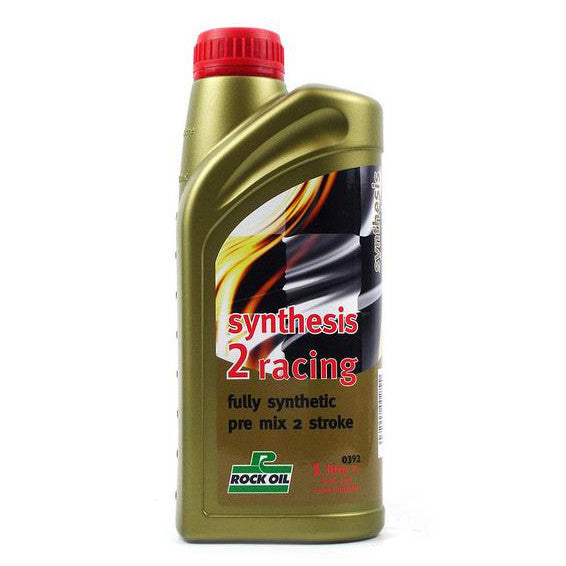
Rock Oil Synthesis Synth 2 Racing Race - 1 Litre Lambretta
Product code:
BD00473
In stock
Sale price£17.90
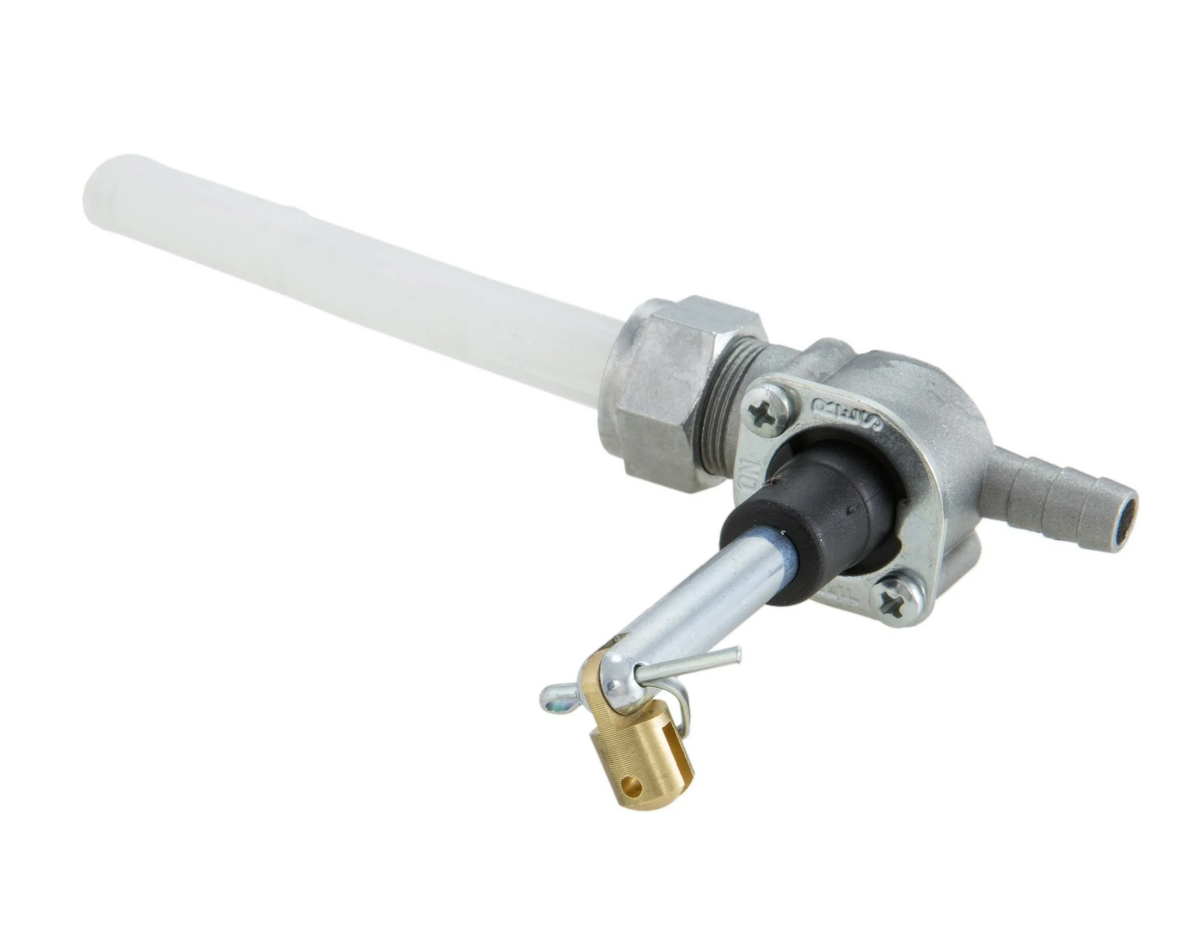

Lambretta Series 1-3 Li GP SX TV Petrol Tap Fast Flow OMG Italian
Product code:
BD07796
Limited Stock
Sale price£13.99
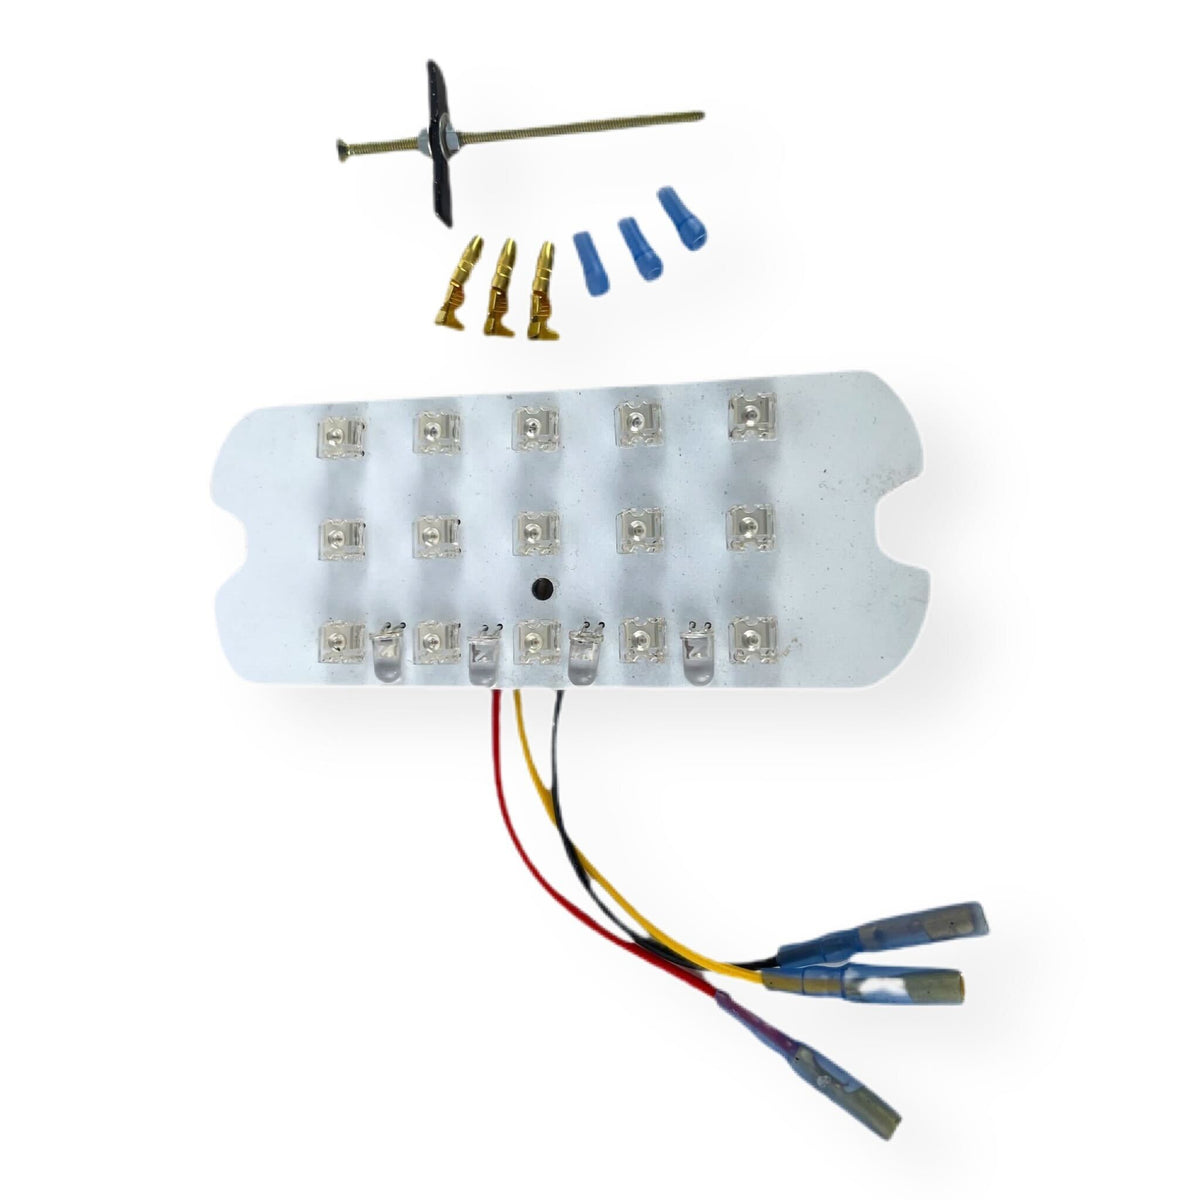
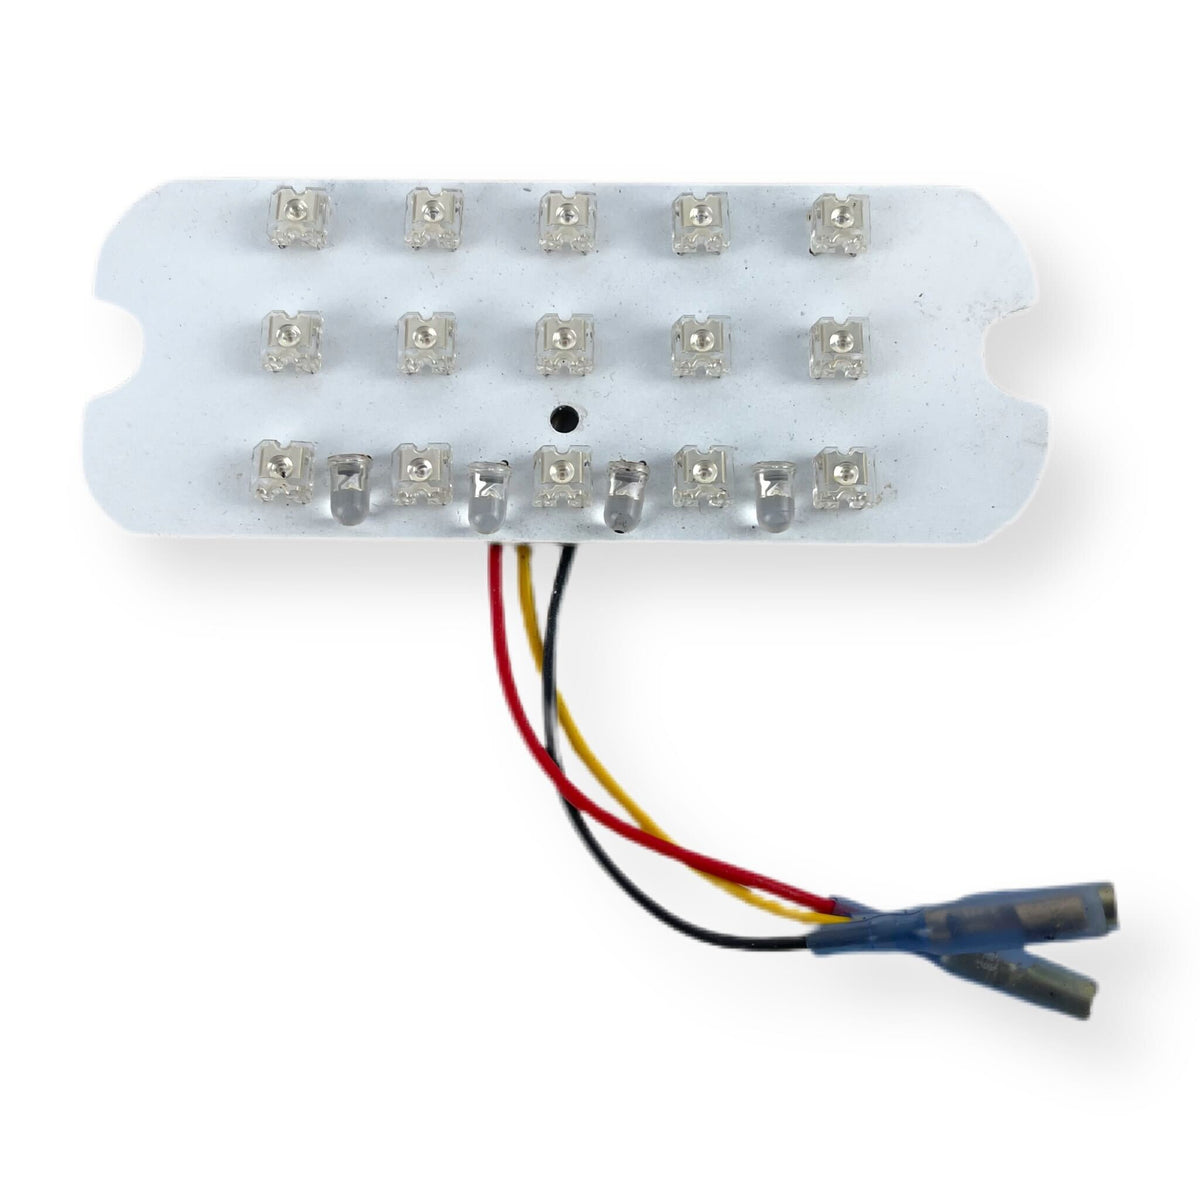
Lambretta Series 2 3 Li GP DL SX TV 12V LED Rear Light Insert Plate Reflector AC or DC
Product code:
BD15019
In stock
Sale price£20.99
Sold out
Lambretta Series 1 2 3 Li GP SX TV BGM Pro Clubman Exhaust V4 - Silver
Product code:
BD03297
Out Of Stock
Sale price£259.99
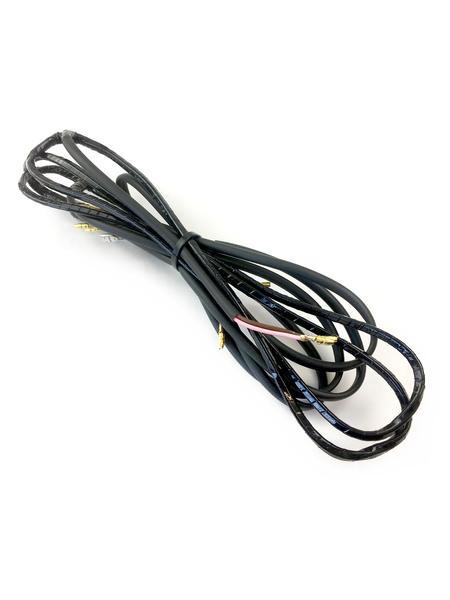
Lambretta Series 2 3 Li GP TV SX 12 Volt Electronic Conversion Wiring Loom Harness
Product code:
BD00580
In stock
Sale price£24.99
Sold out
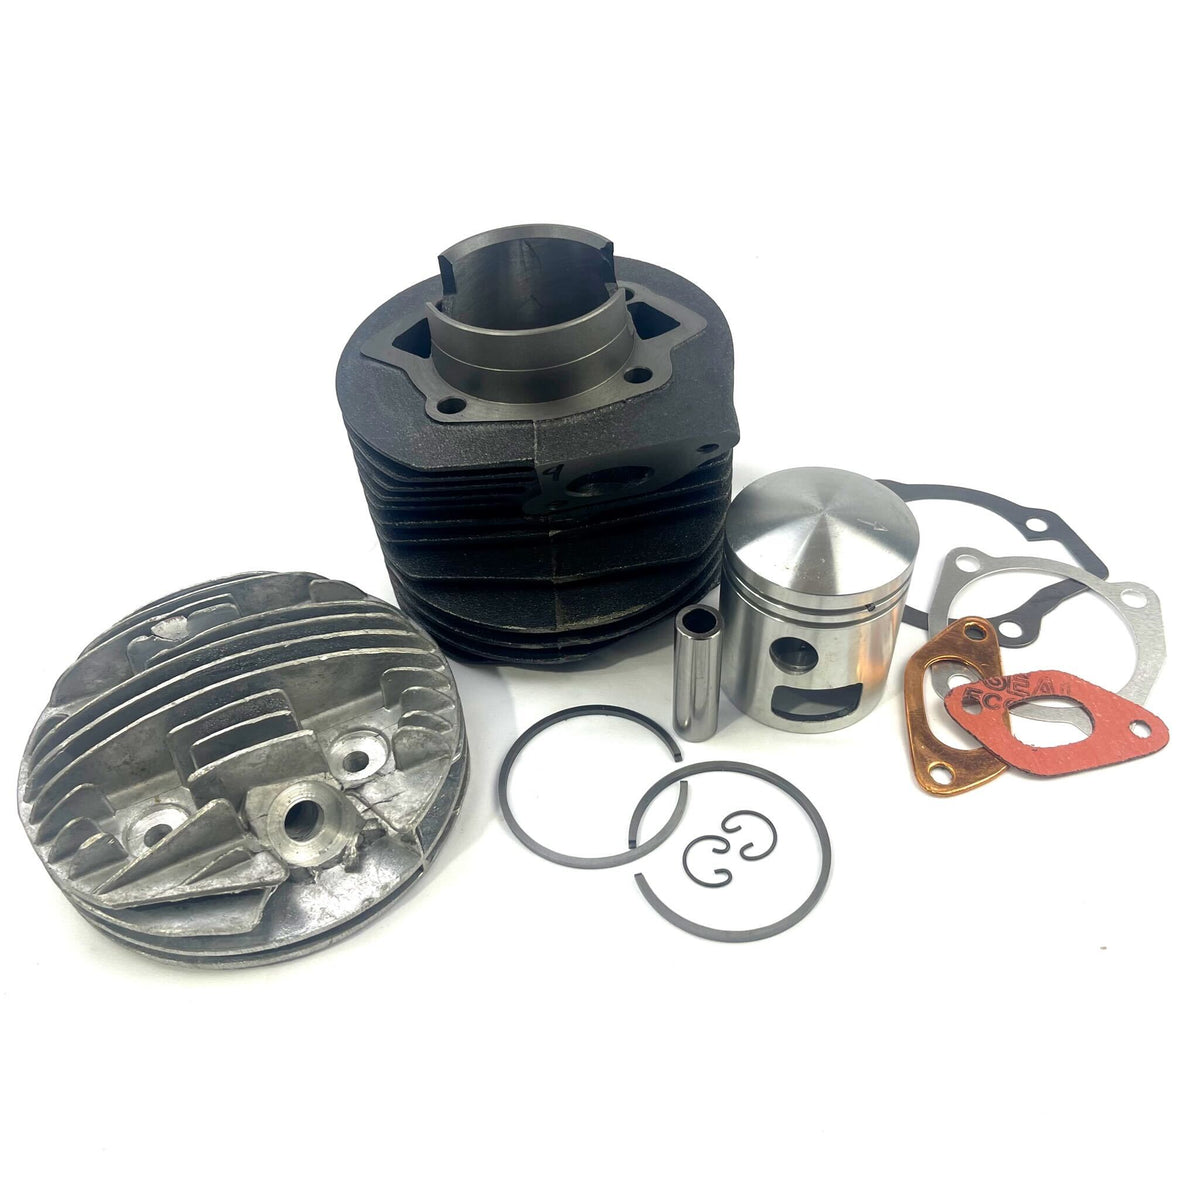
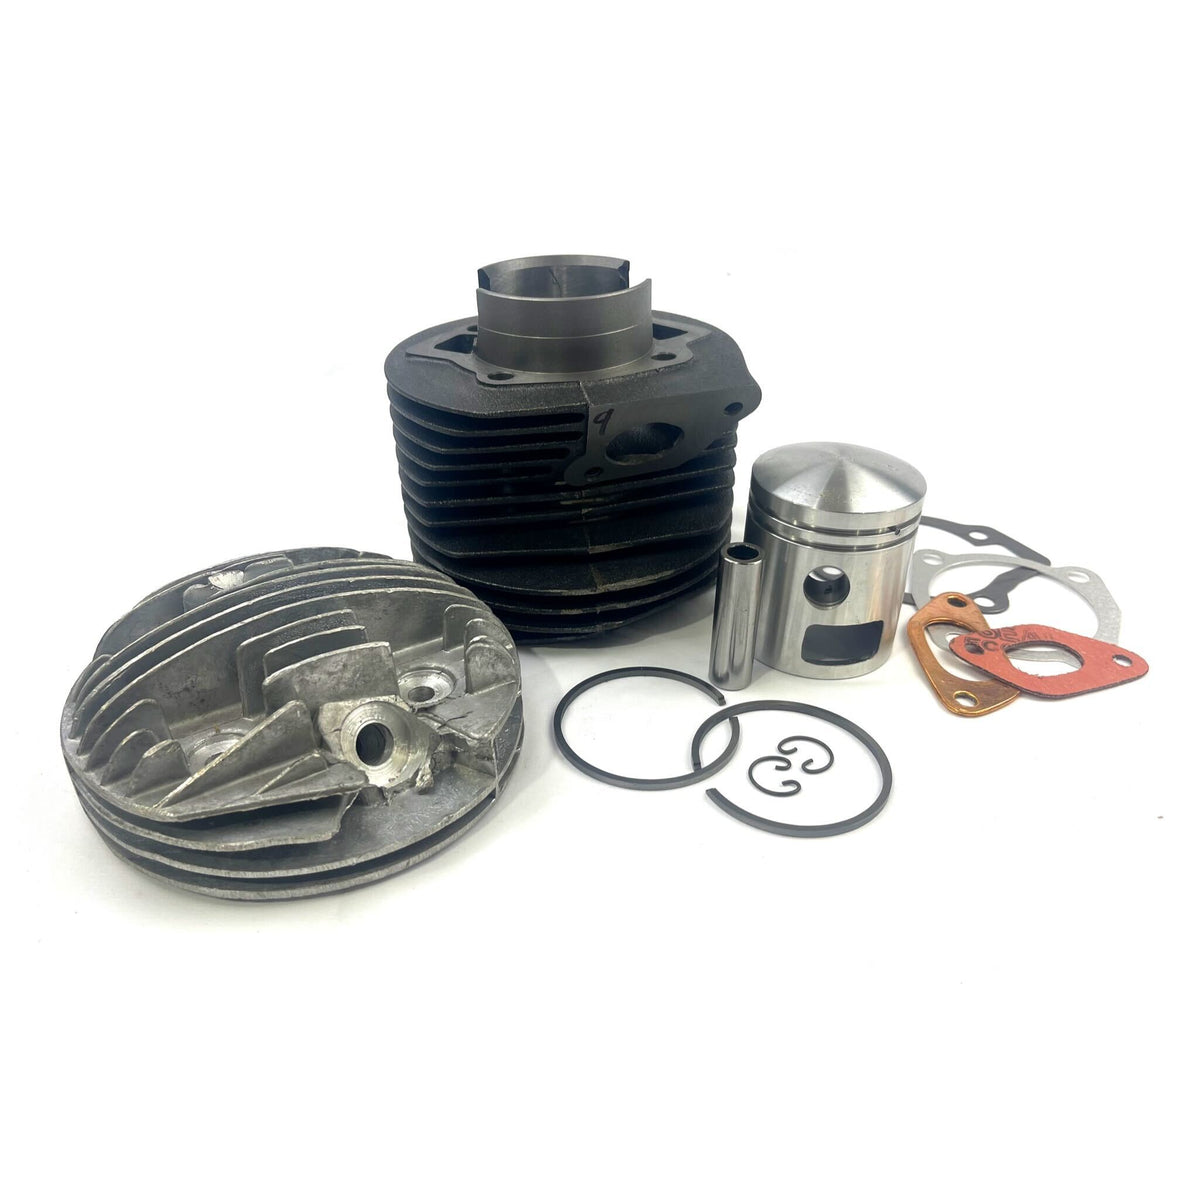
Lambretta Series 2 3 TV 175cc Cylinder Kit & Cylinder Head - Iron
Product code:
BD12887
Out Of Stock
Sale price£149.99
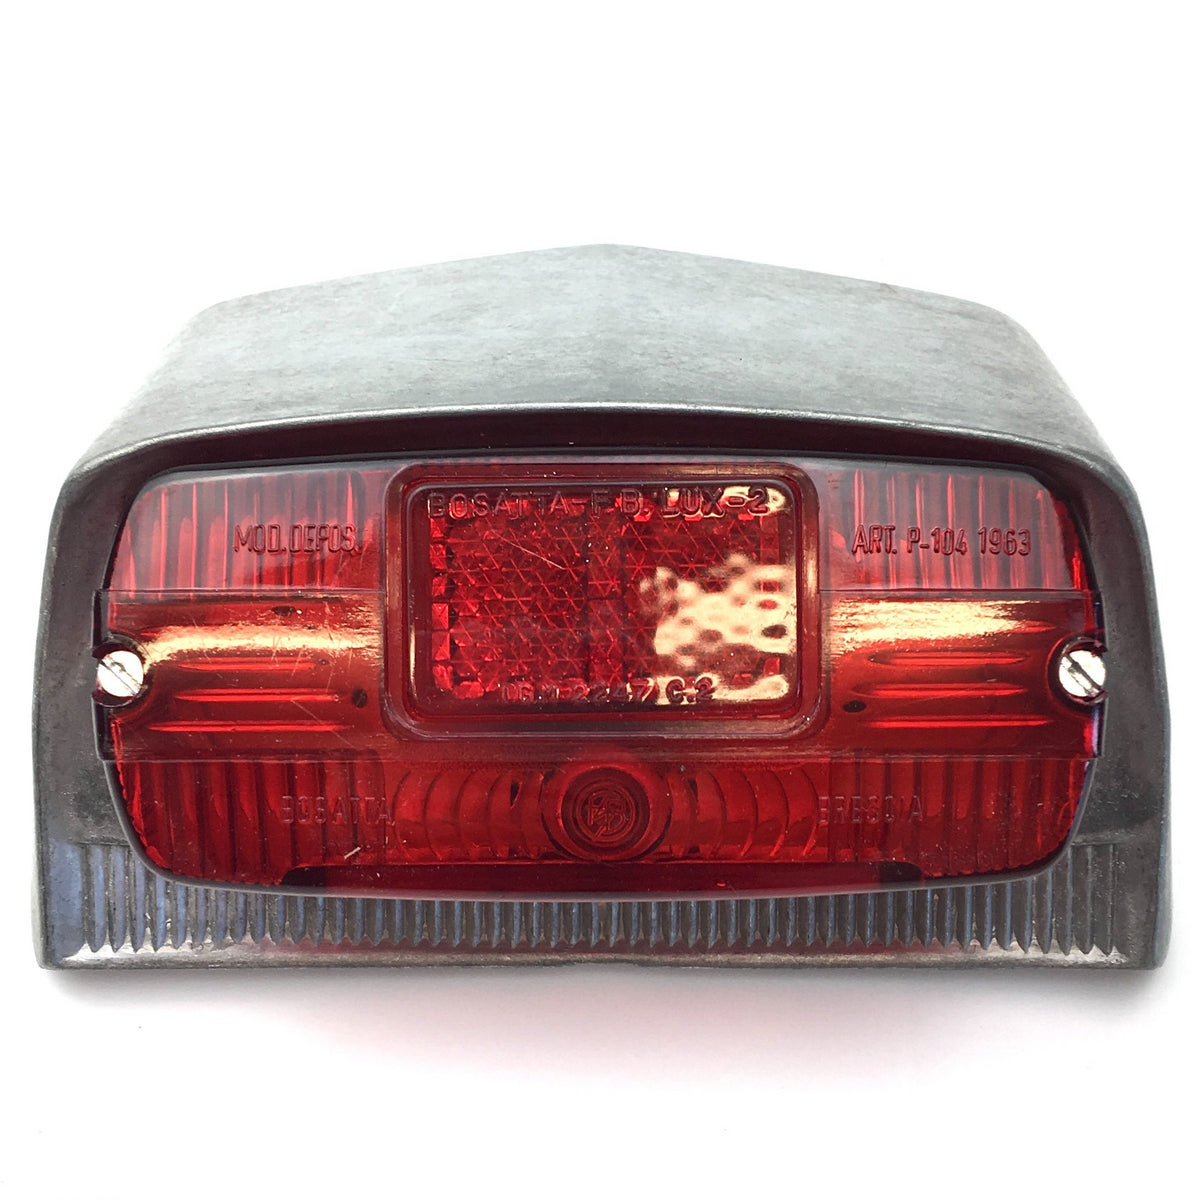
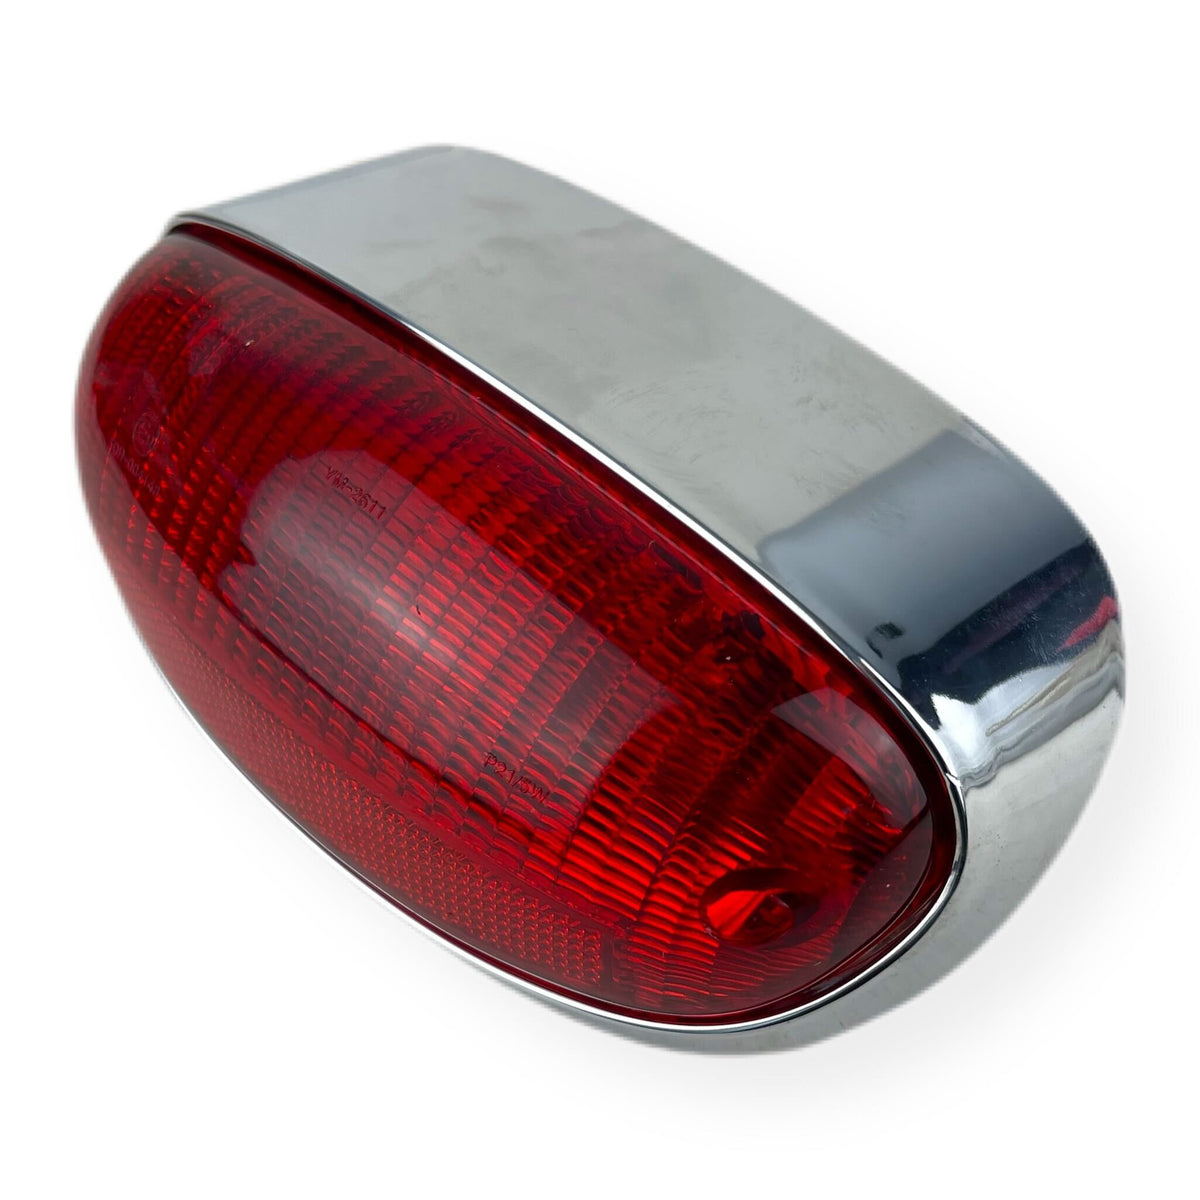
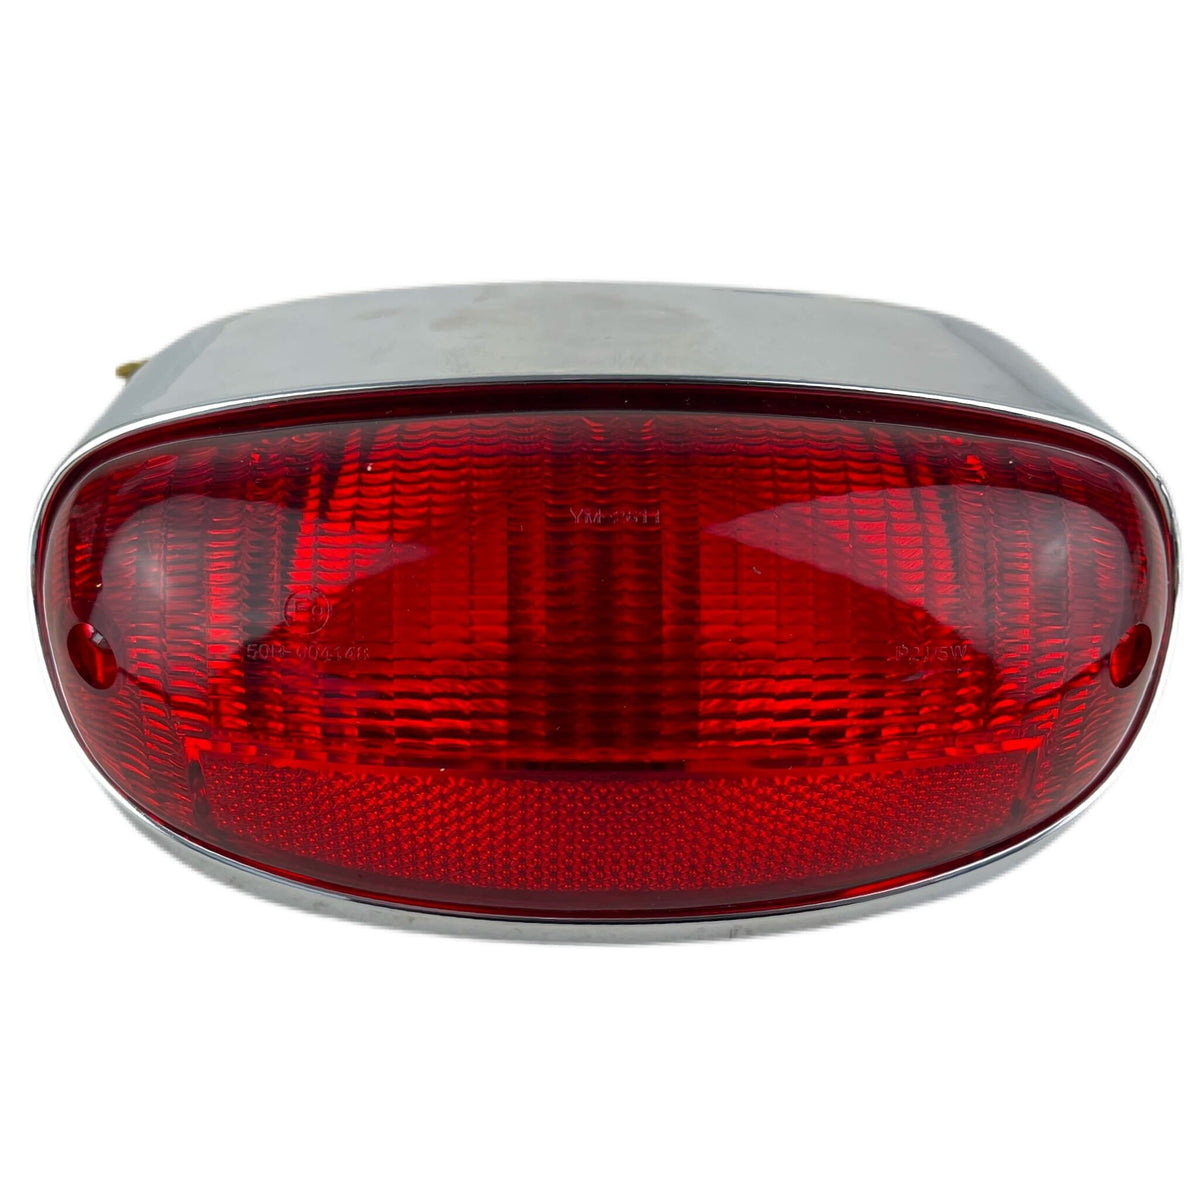
Lambretta Series 3 Li SX Rear Light Unit Bare Metal - Quality
Product code:
BD02503
Limited Stock
Sale price£36.99
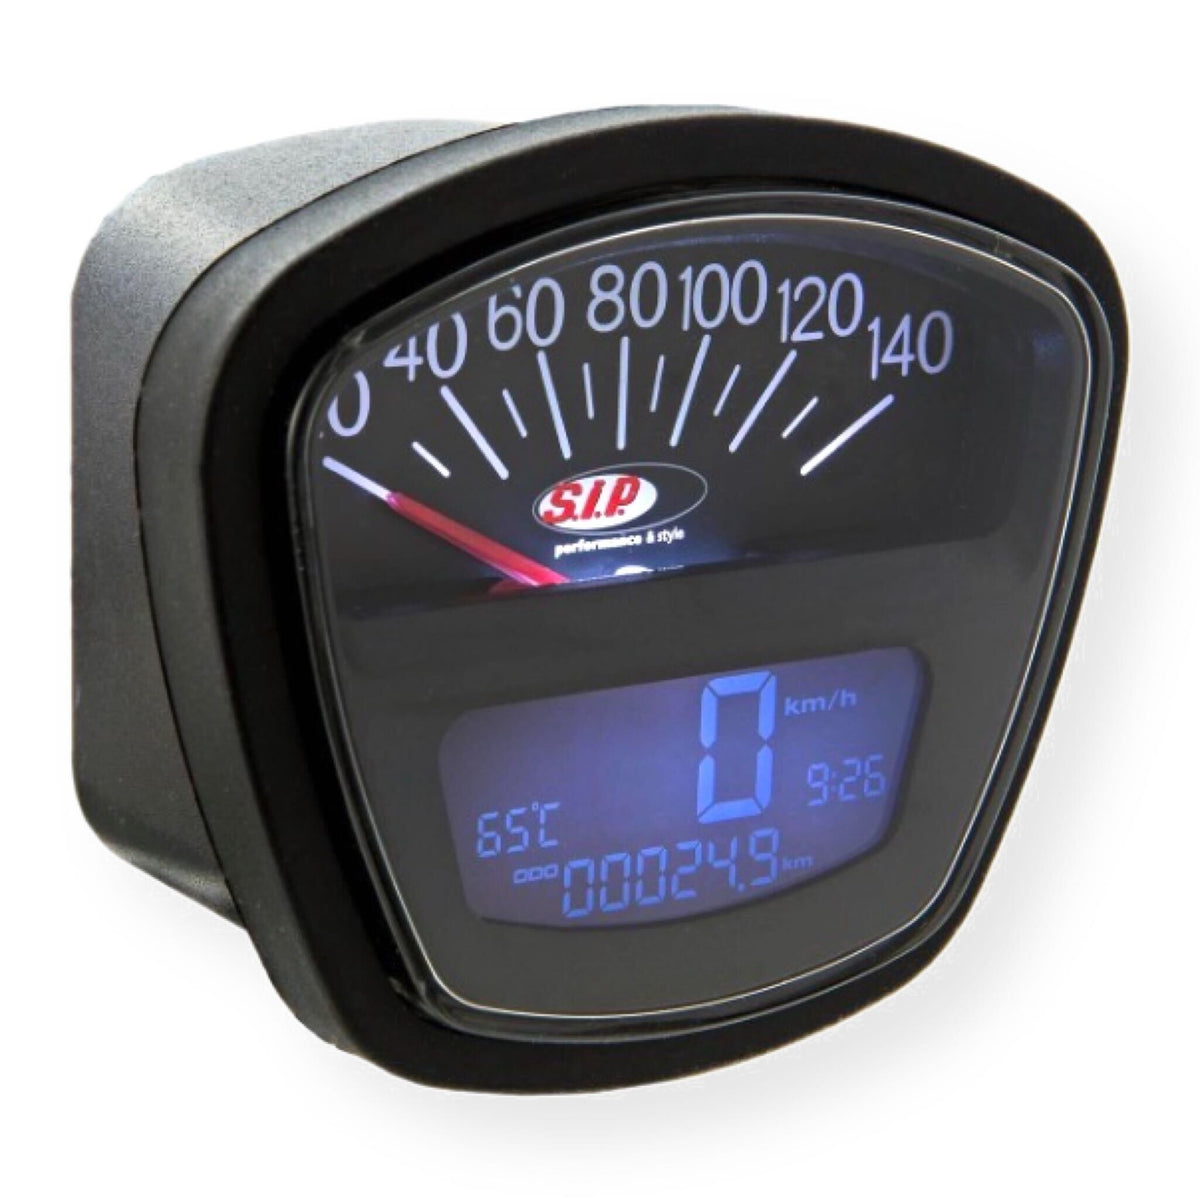
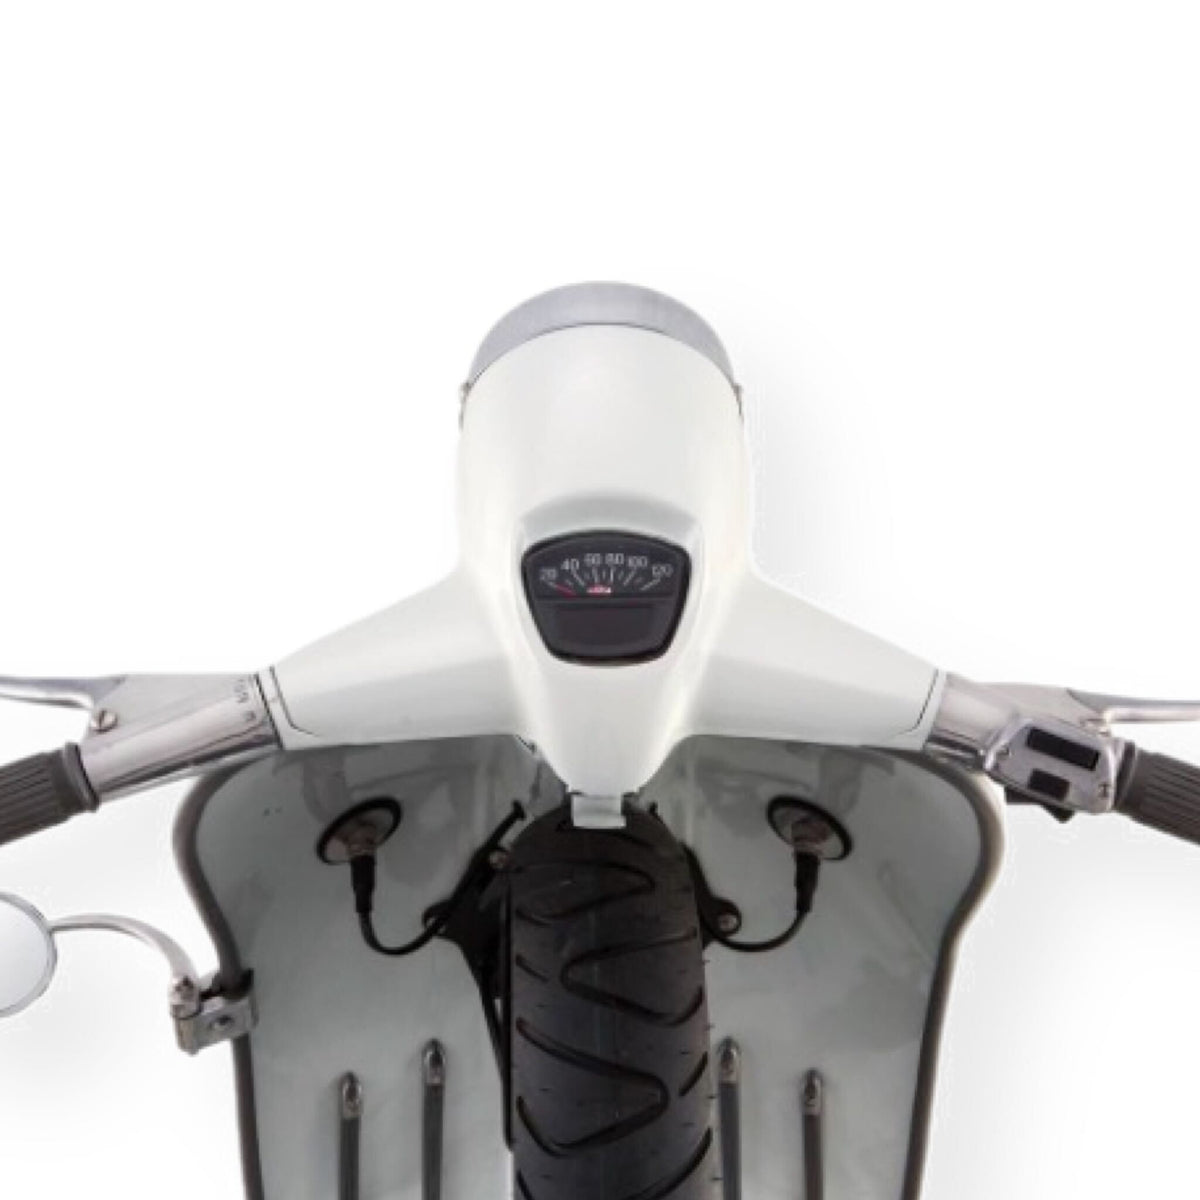
Lambretta Series 3 Li SX TV GP SIP Speedometer Rev Counter - Black
Product code:
BD03286
Low Stock
Sale price£159.99
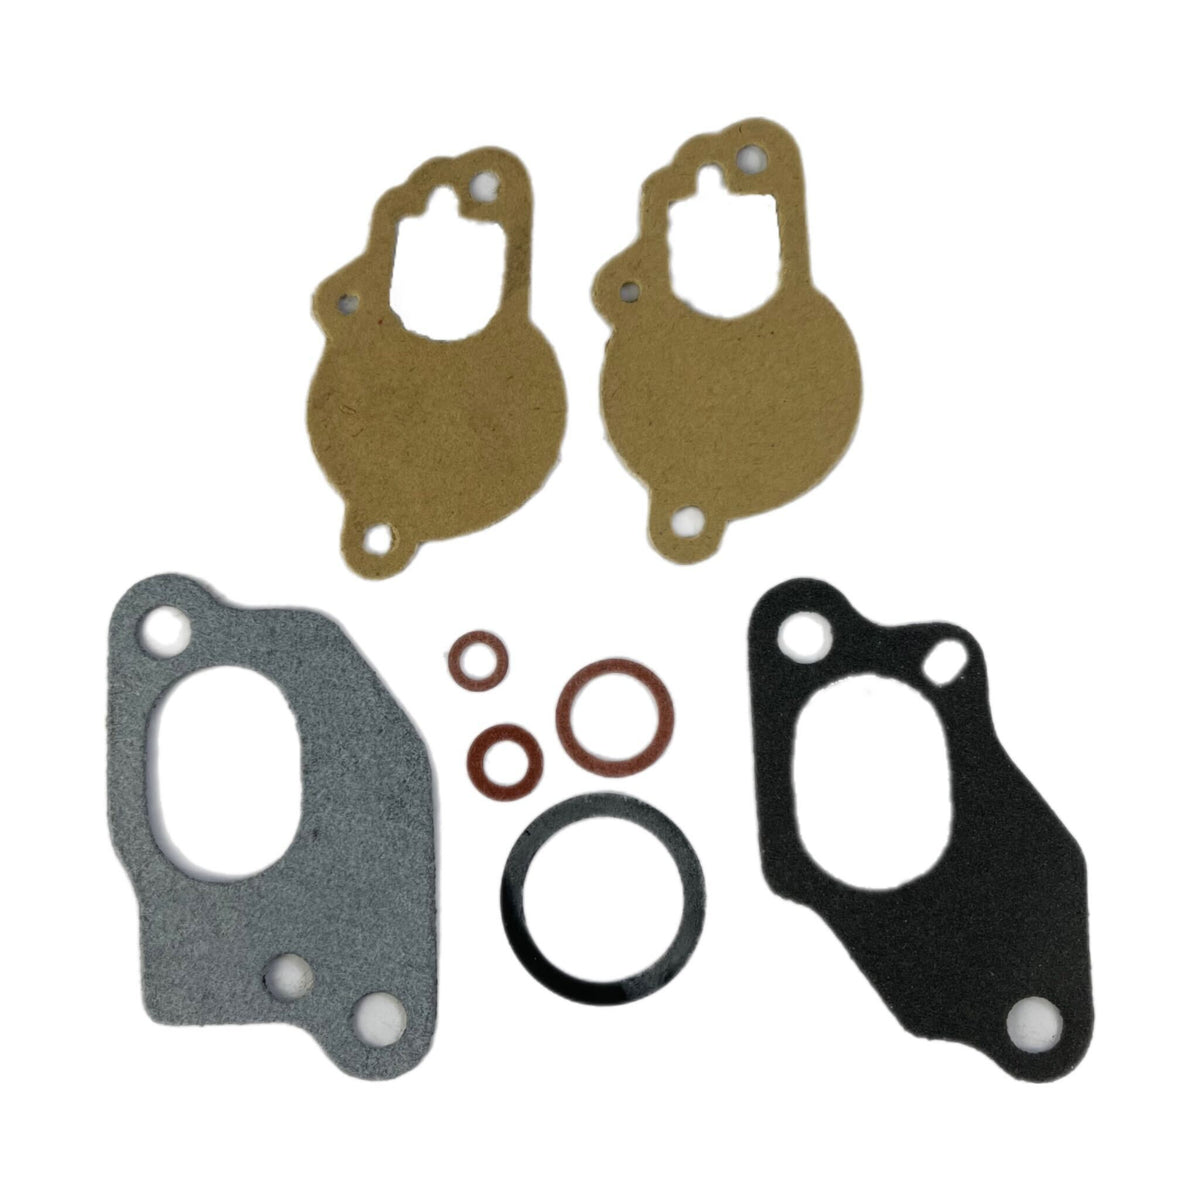
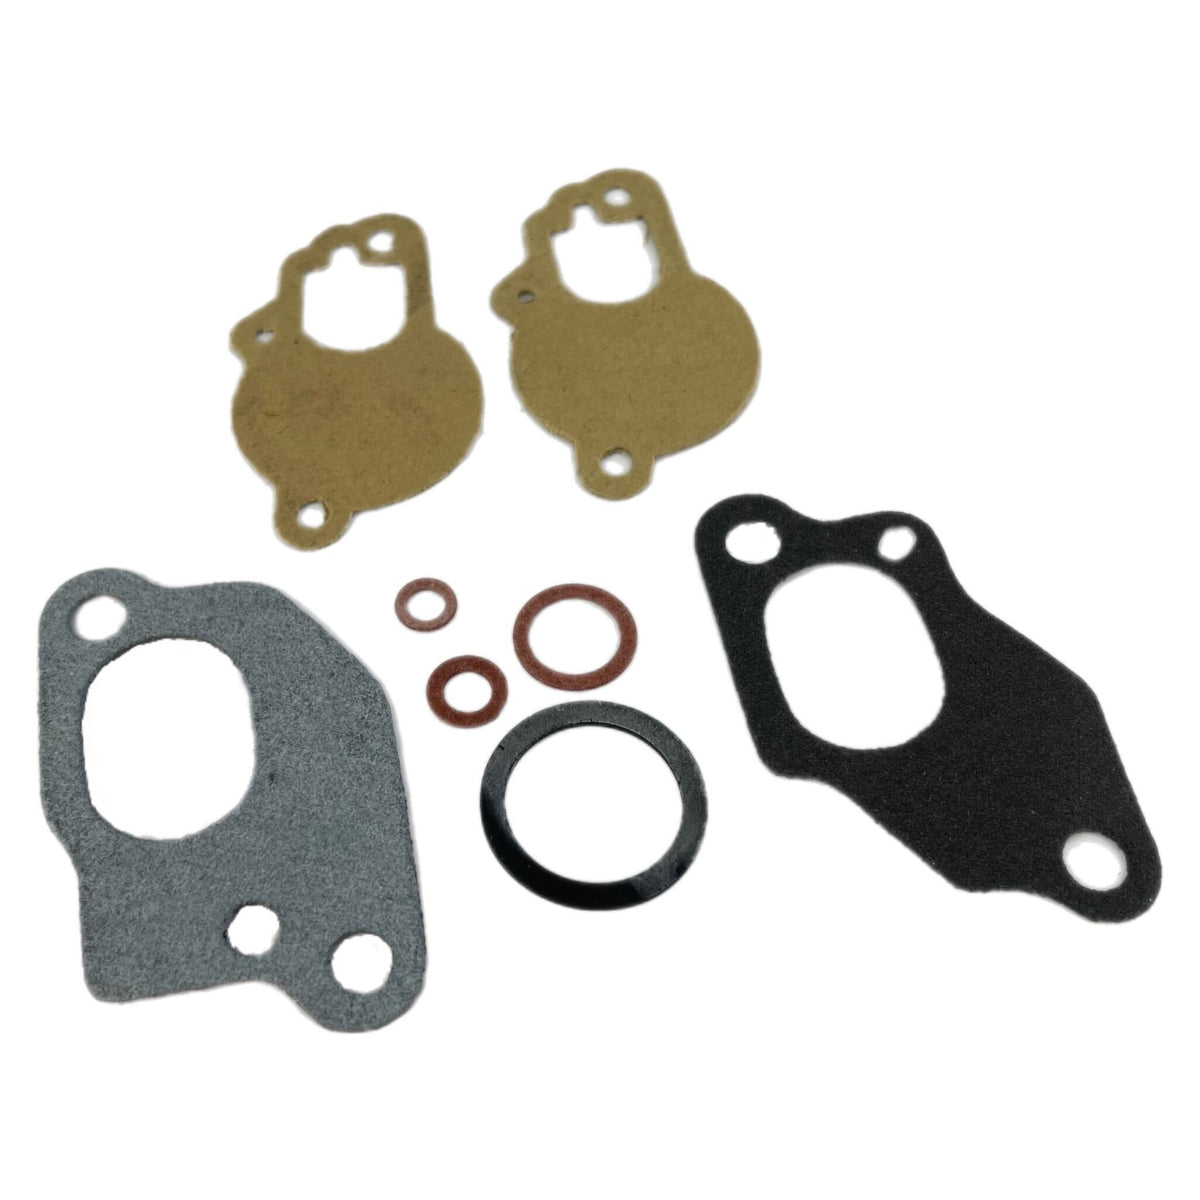
Vespa PX PE T5 Super Sprint Rally Old Vespa Si 20/20 24/24 Carburettor Gasket Set
Product code:
BD14779
In stock
Sale price£3.99
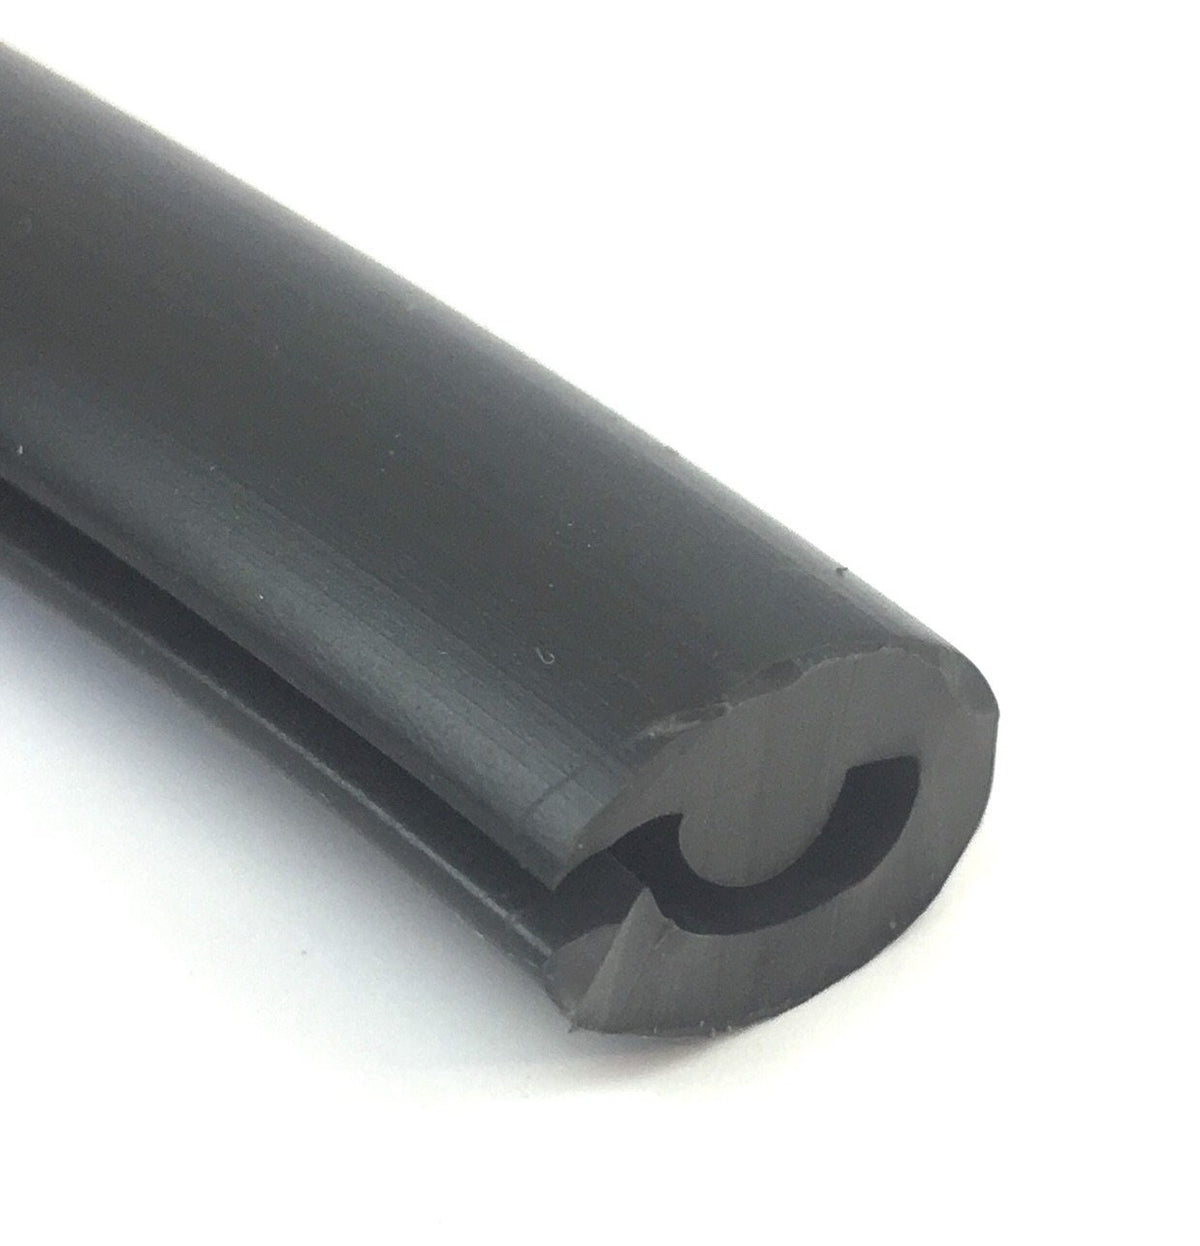
Vespa PX/PE/T5/V50/Prim/PK Black Leg Shield Beading Rubber - 170cm
Product code:
BD08388
In stock
Sale price£7.00
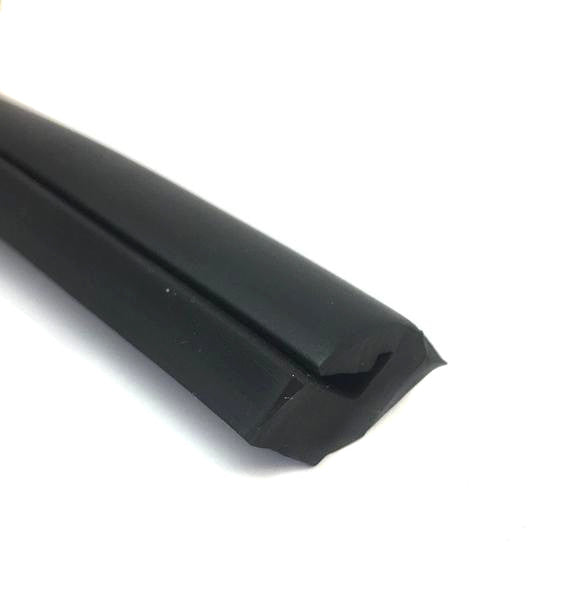
Vespa PX PE T5 EFL Rally LML Black Thick Type Side Panel Rubber Pair
Product code:
BD04285
In stock
Sale price£14.99
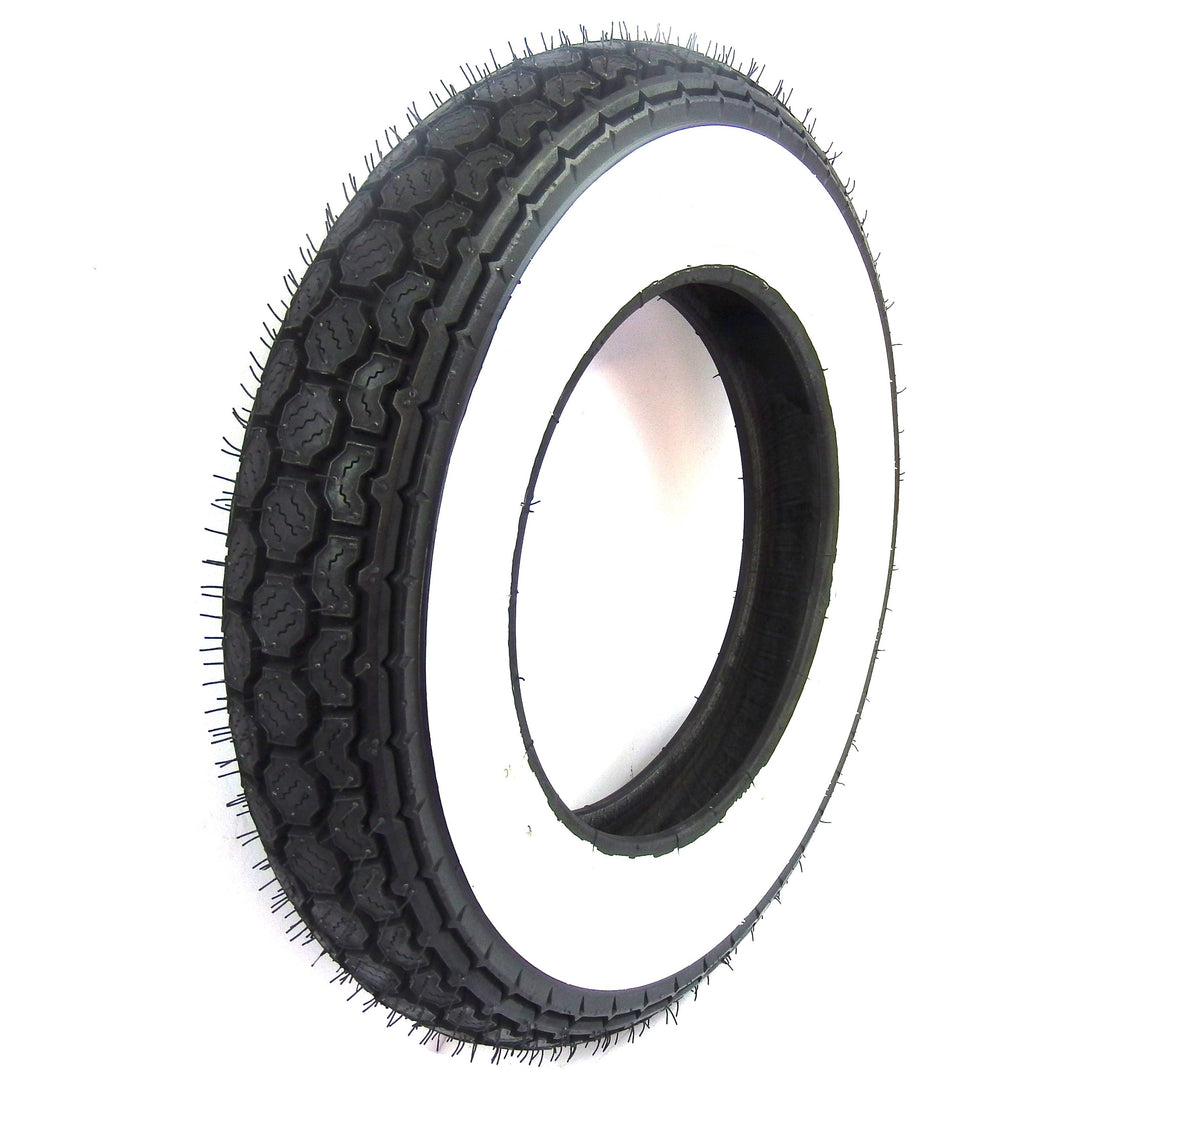
Vespa Lambretta LML Scooter Continental K62 Whitewall Tyre 350 X 10 TL 59J
Product code:
BD00068
In stock
Sale price£68.99
Continental Twist 350 x 10 Tyre - Vespa Lambretta Scooter Tyre
Product code:
BD06000
In stock
Sale price£39.99
Vespa PX PE T5 Super Sprint Rally Flywheel Holding Tool - Stainless Steel
Product code:
BD14810
In stock
Sale price£8.00

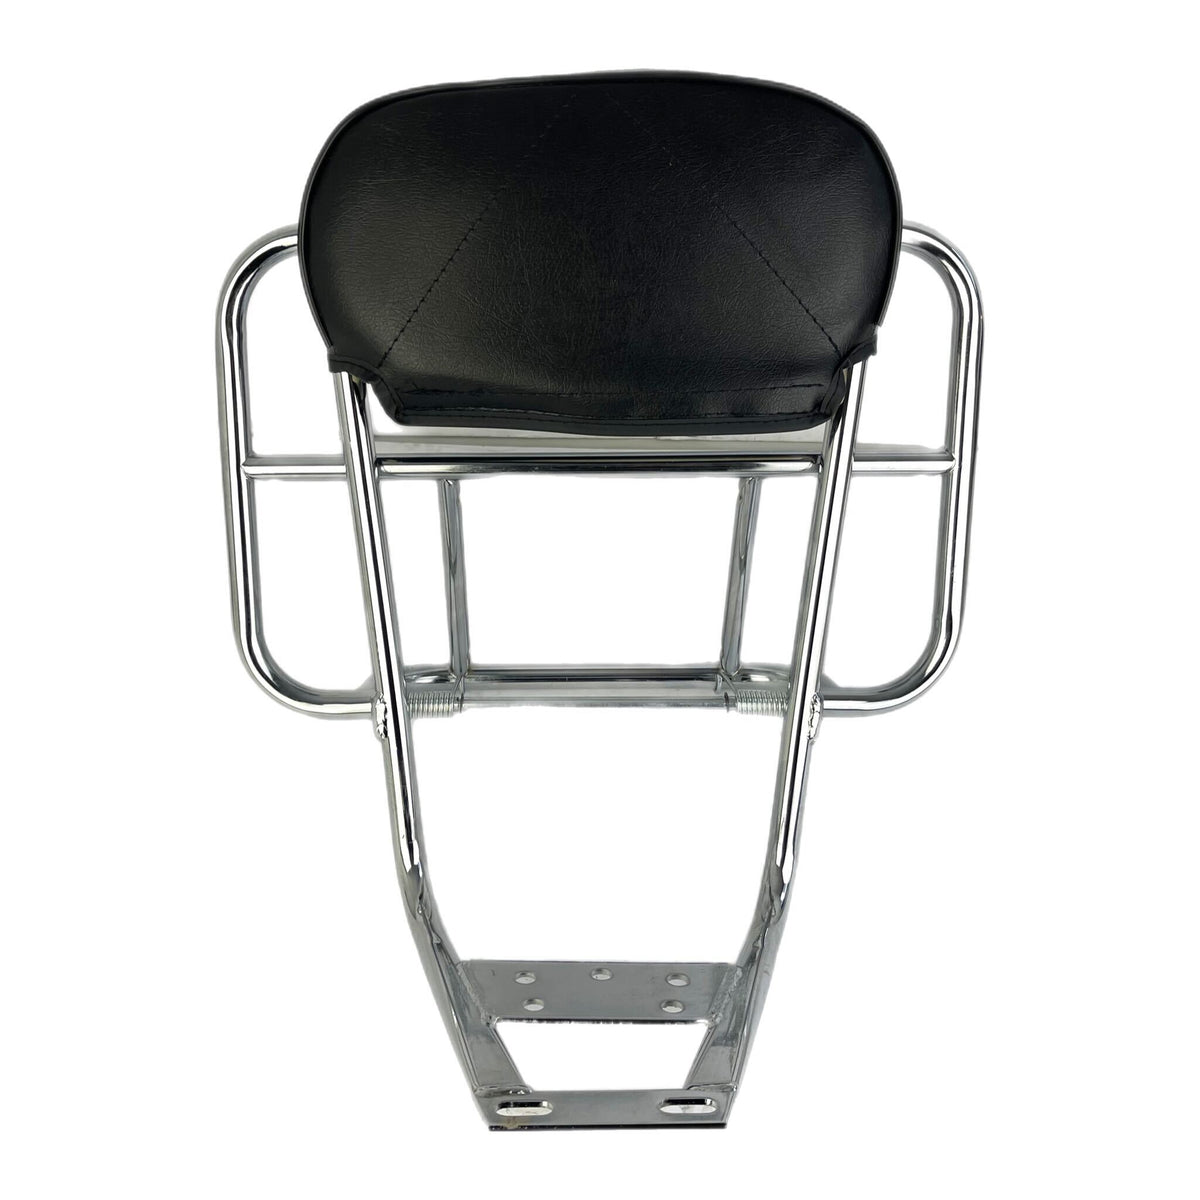
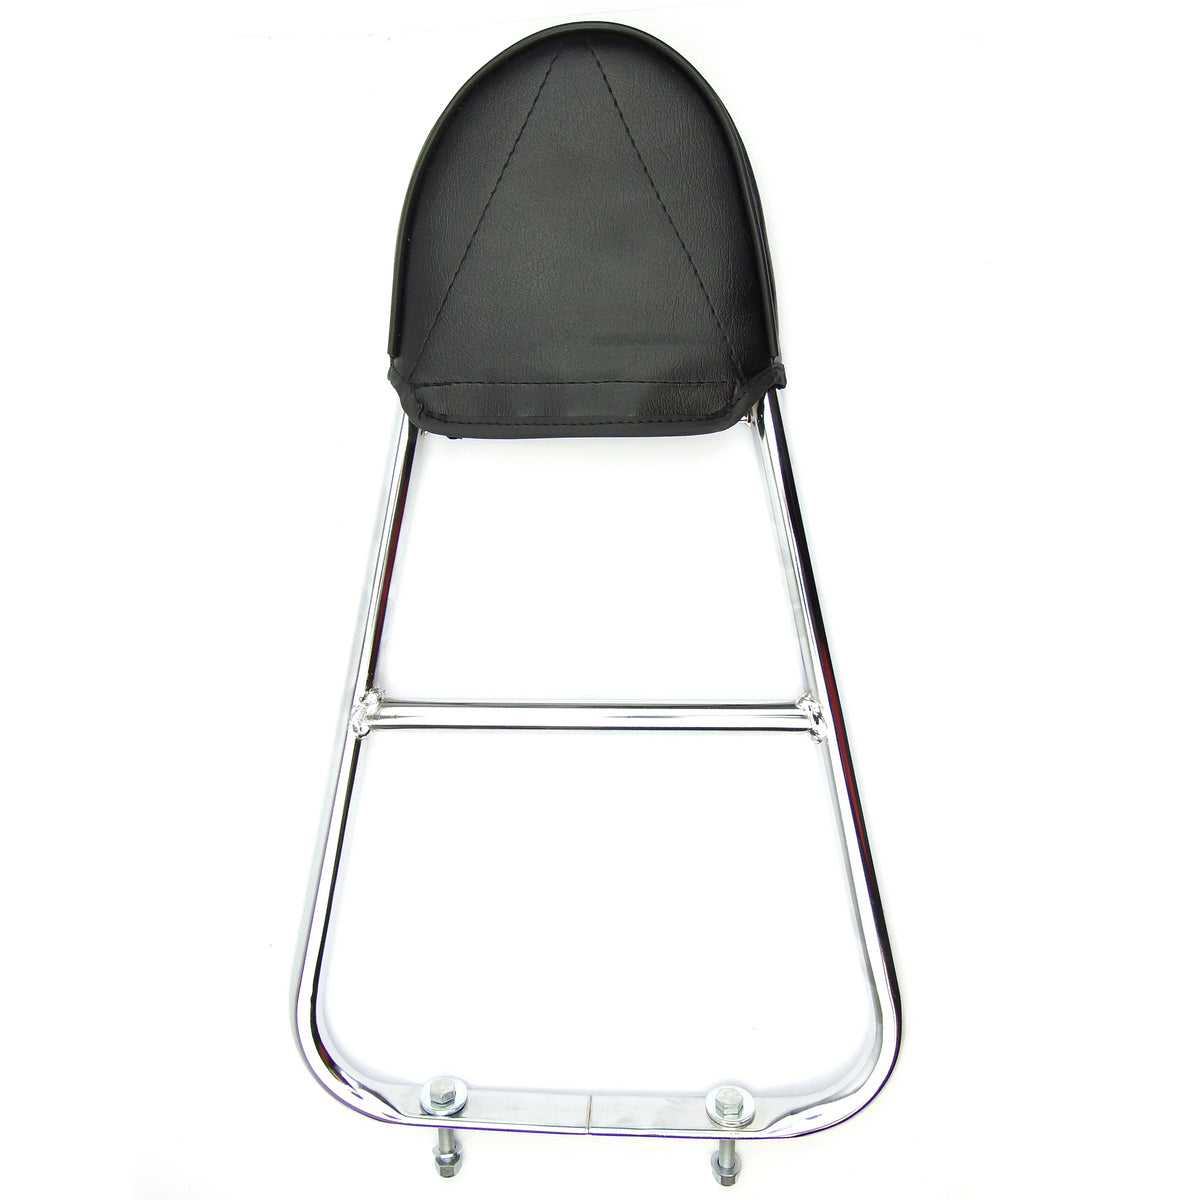
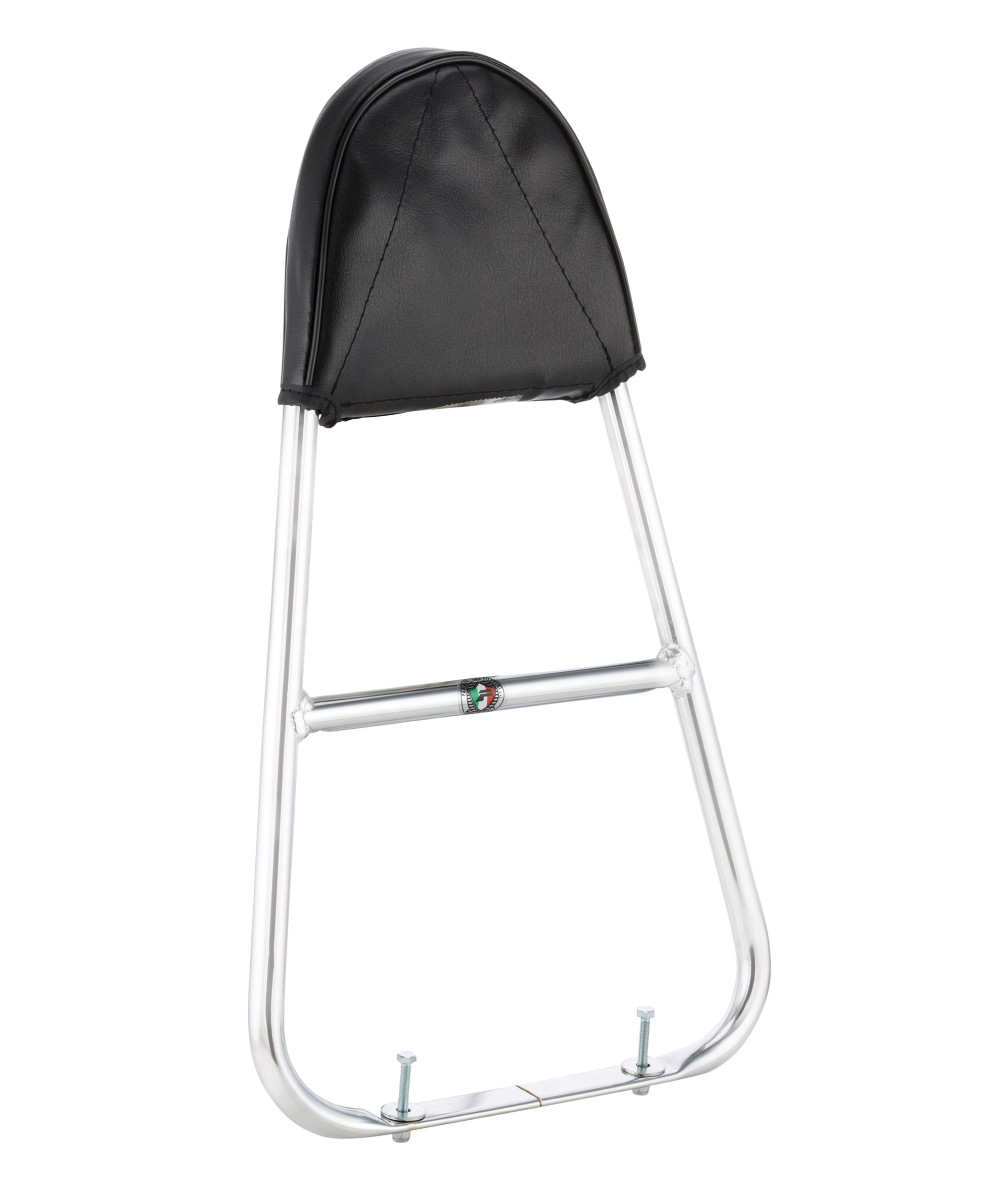
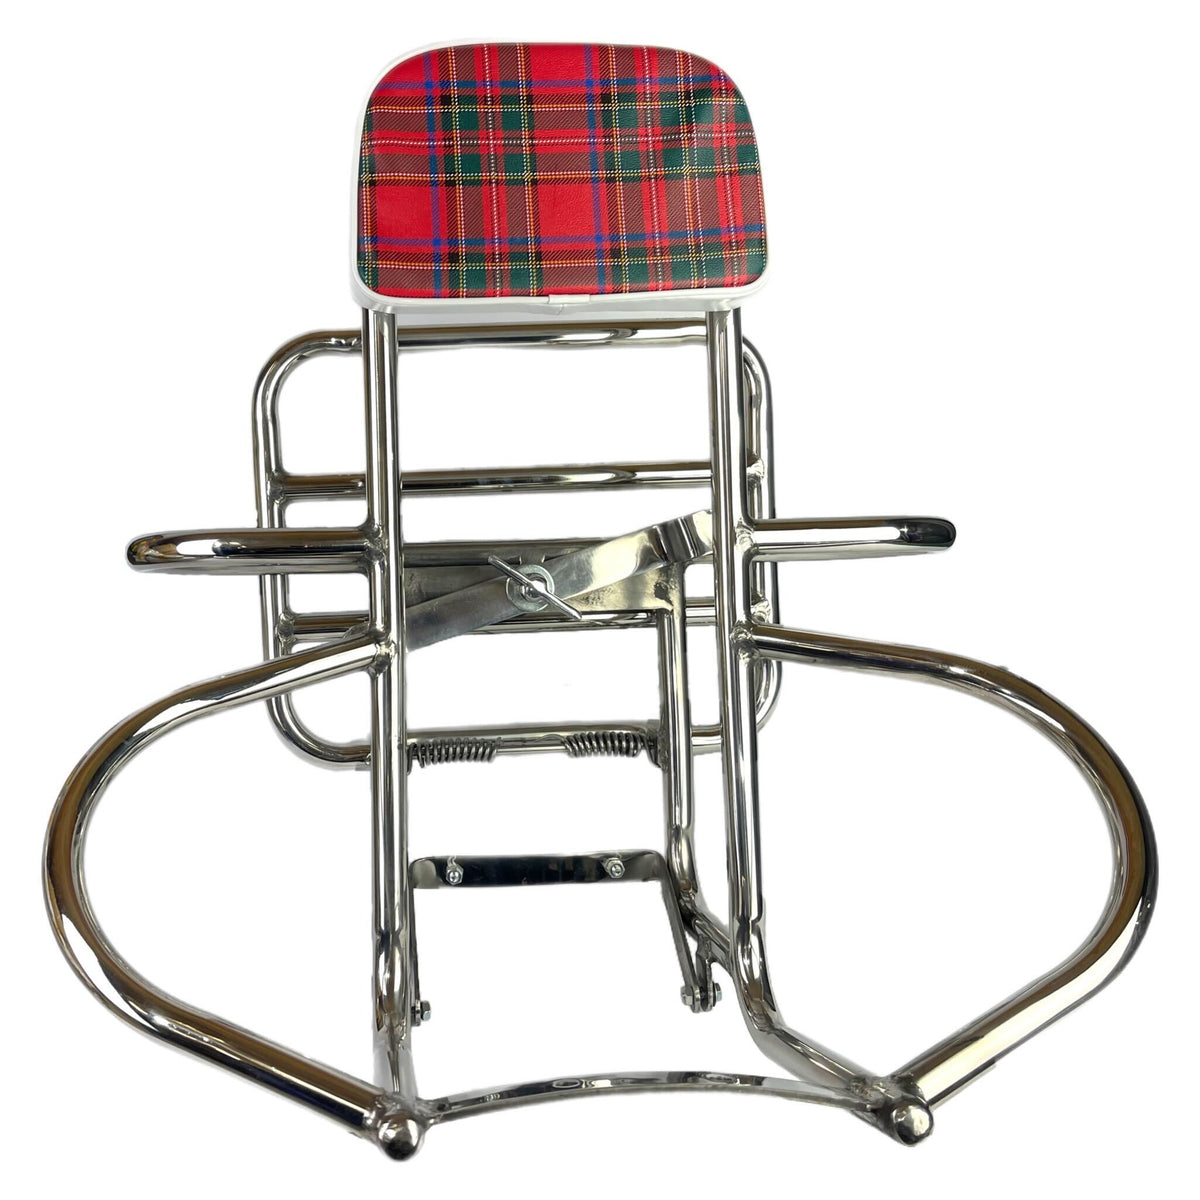
Vespa PX PE T5 Lambretta Series 1 2 3 Backrest & Rear Carrier Cuppini 2 In 1 Universal - Chrome
Product code:
BD08355
Limited Stock
Sale price£89.99
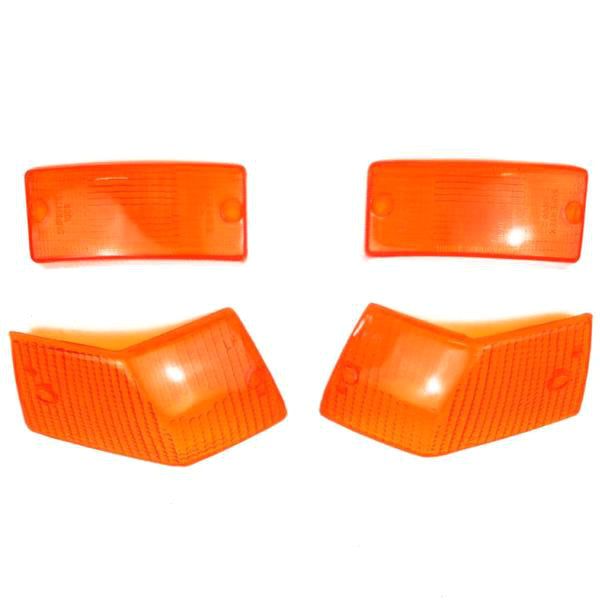
Vespa PX PE T5 Classic Mk1 LML Indicator Lens Set - Amber
Product code:
BD08232
In stock
Sale price£14.00
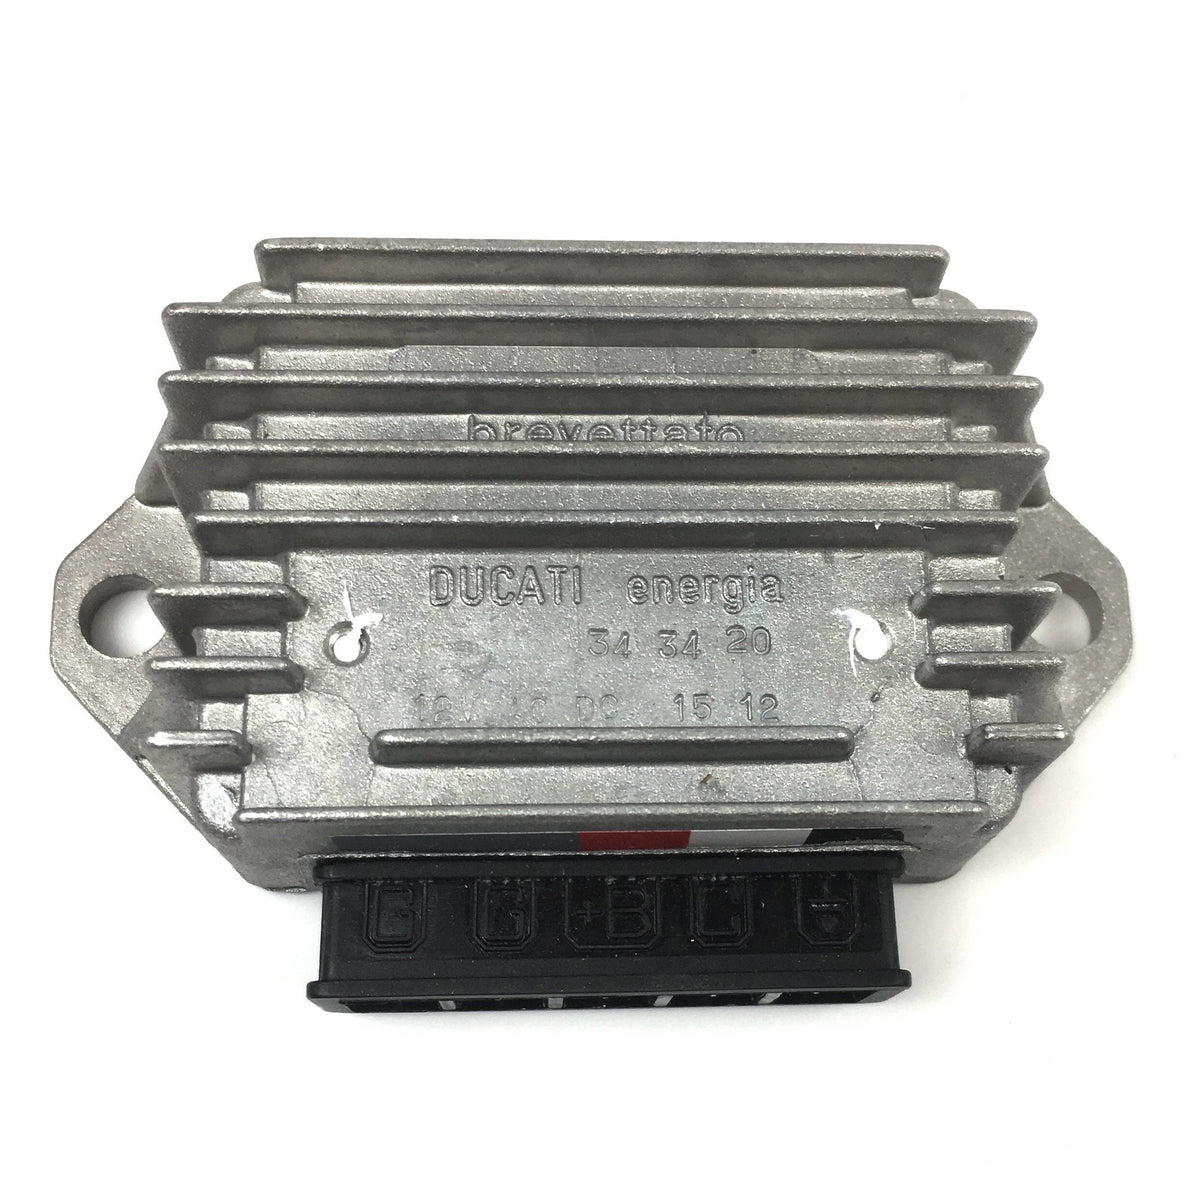
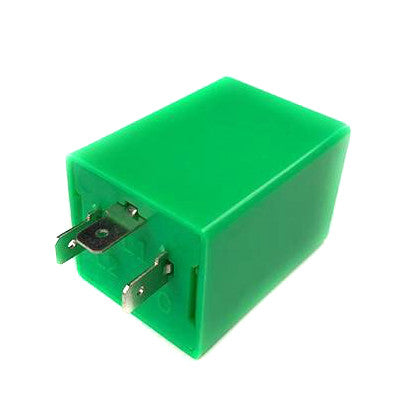
Vespa PX PE T5 Cosa PK DUCATI Lighting Regulator Rectifier Box with Battery Charger
Product code:
BD13817
In stock
Sale price£44.50


Vespa PX GTS GT LX GS PK 50-300cc Legshield & Side Panel Badge Stick On - Gold
Product code:
BD17693
In stock
Sale price£9.99
Sold out
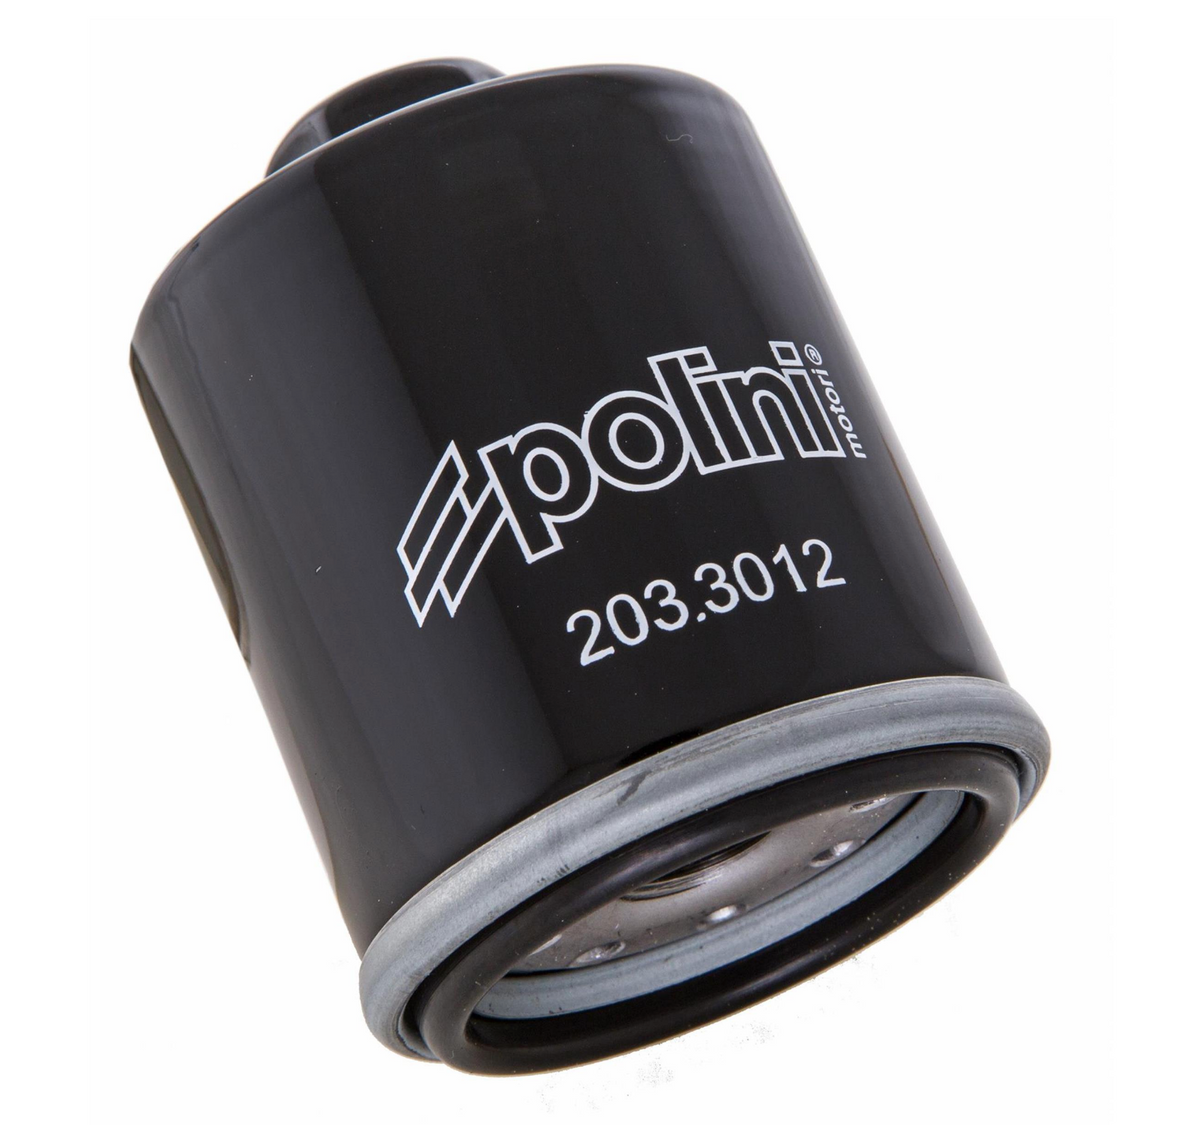
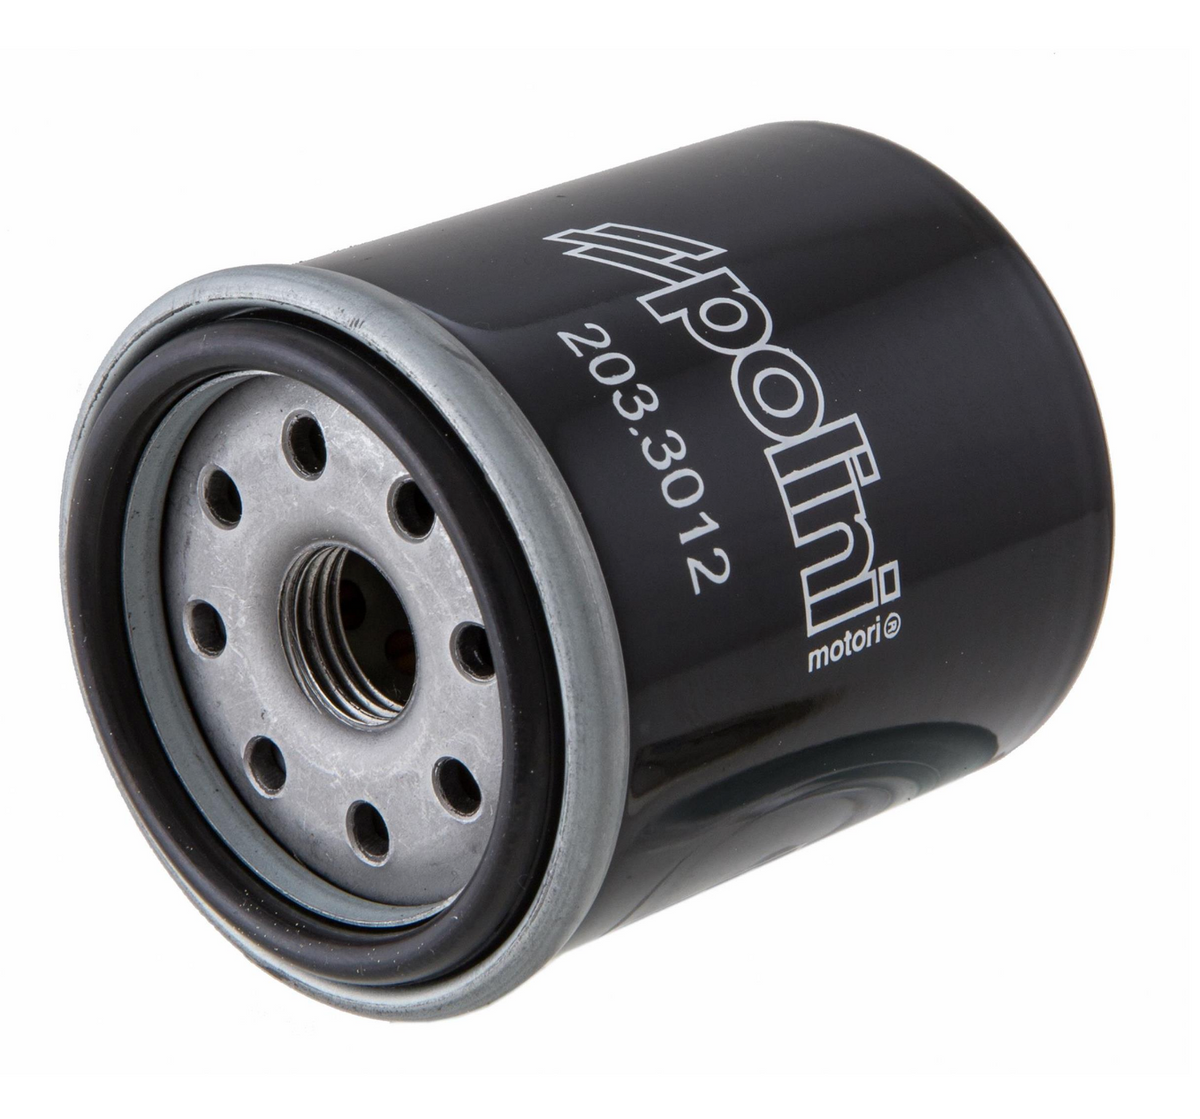
Oil Filter POLINI Piaggio Leader/Quasar GTS/GTS Super/GTV/GT ET4 LX/LXV S Primavera Sprint 125-300cc
Product code:
BD18865
Out Of Stock
Sale price£9.99
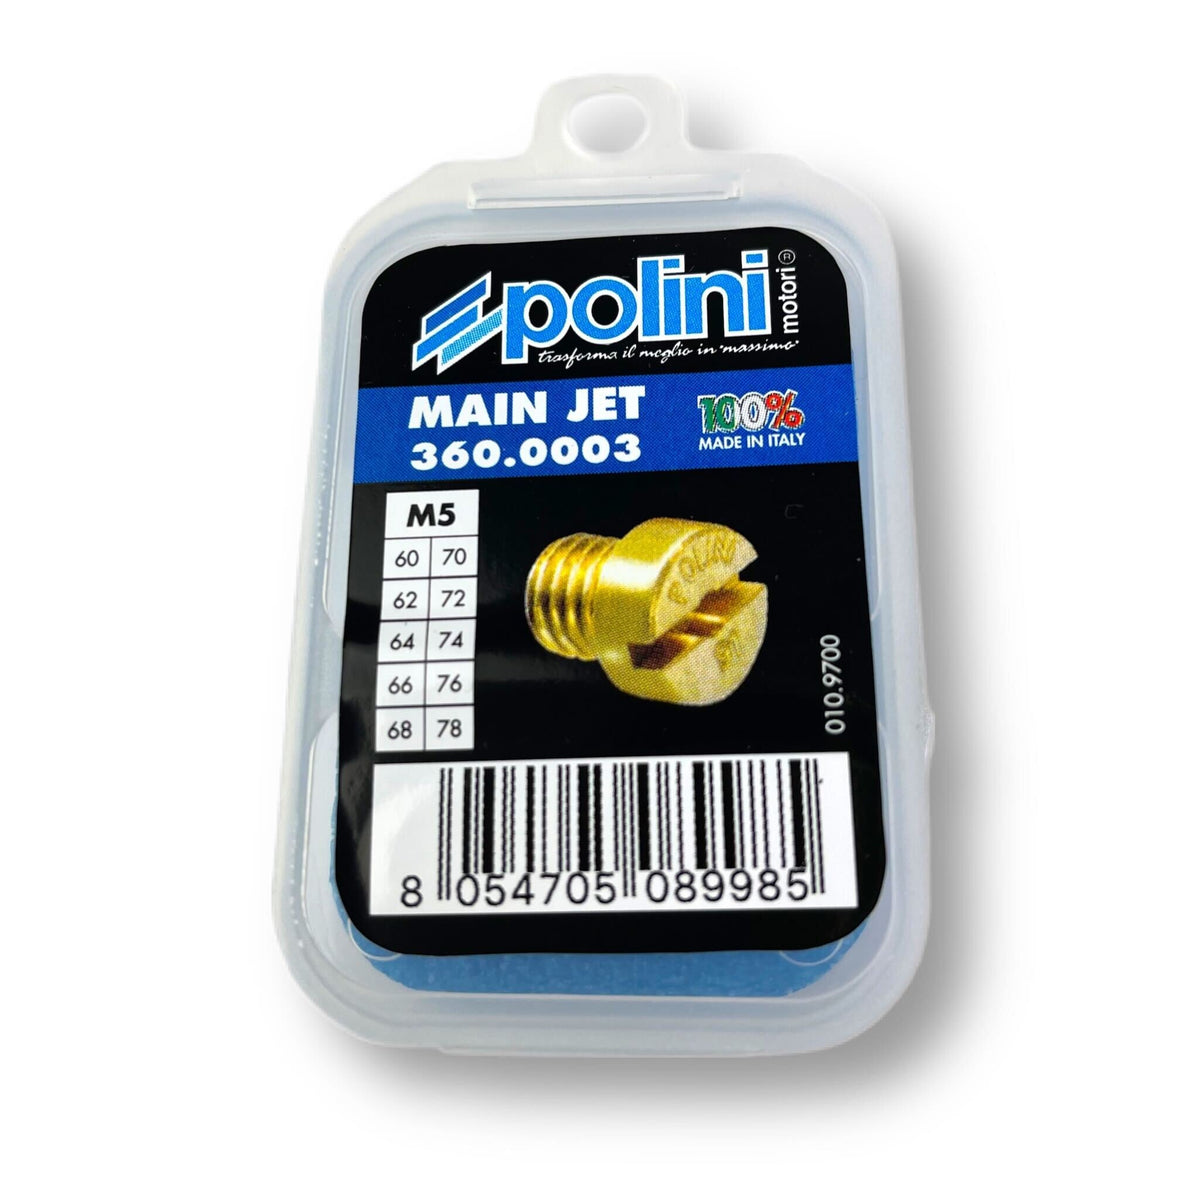
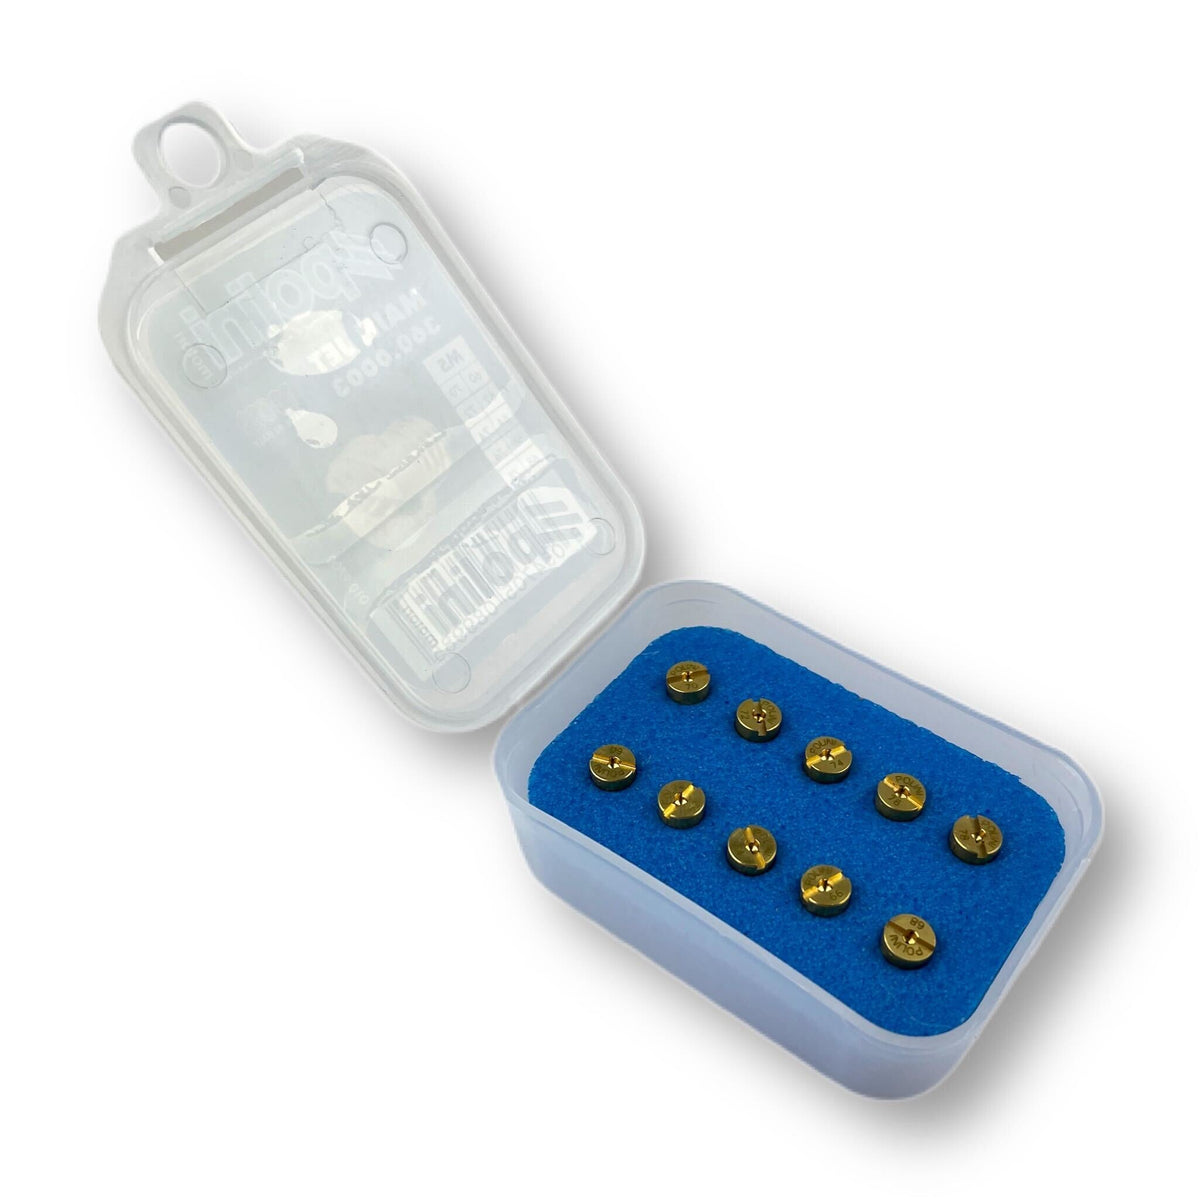
POLINI Dellorto Carburettor 5mm M5 Main Jet Set Packs
Main Jet 60-62-64-66-68-70-72-74-76-78
Product code:
BD16555
Low Stock
Sale price£17.99

Vespa GTS/Super/GTV/ET2/4 LX Prim Sprint Handlebar Mirror Mounting Kit without Handlebar End Weights Mk2 Black - SIP
Product code:
BD18831
Limited Stock
Sale price£8.99
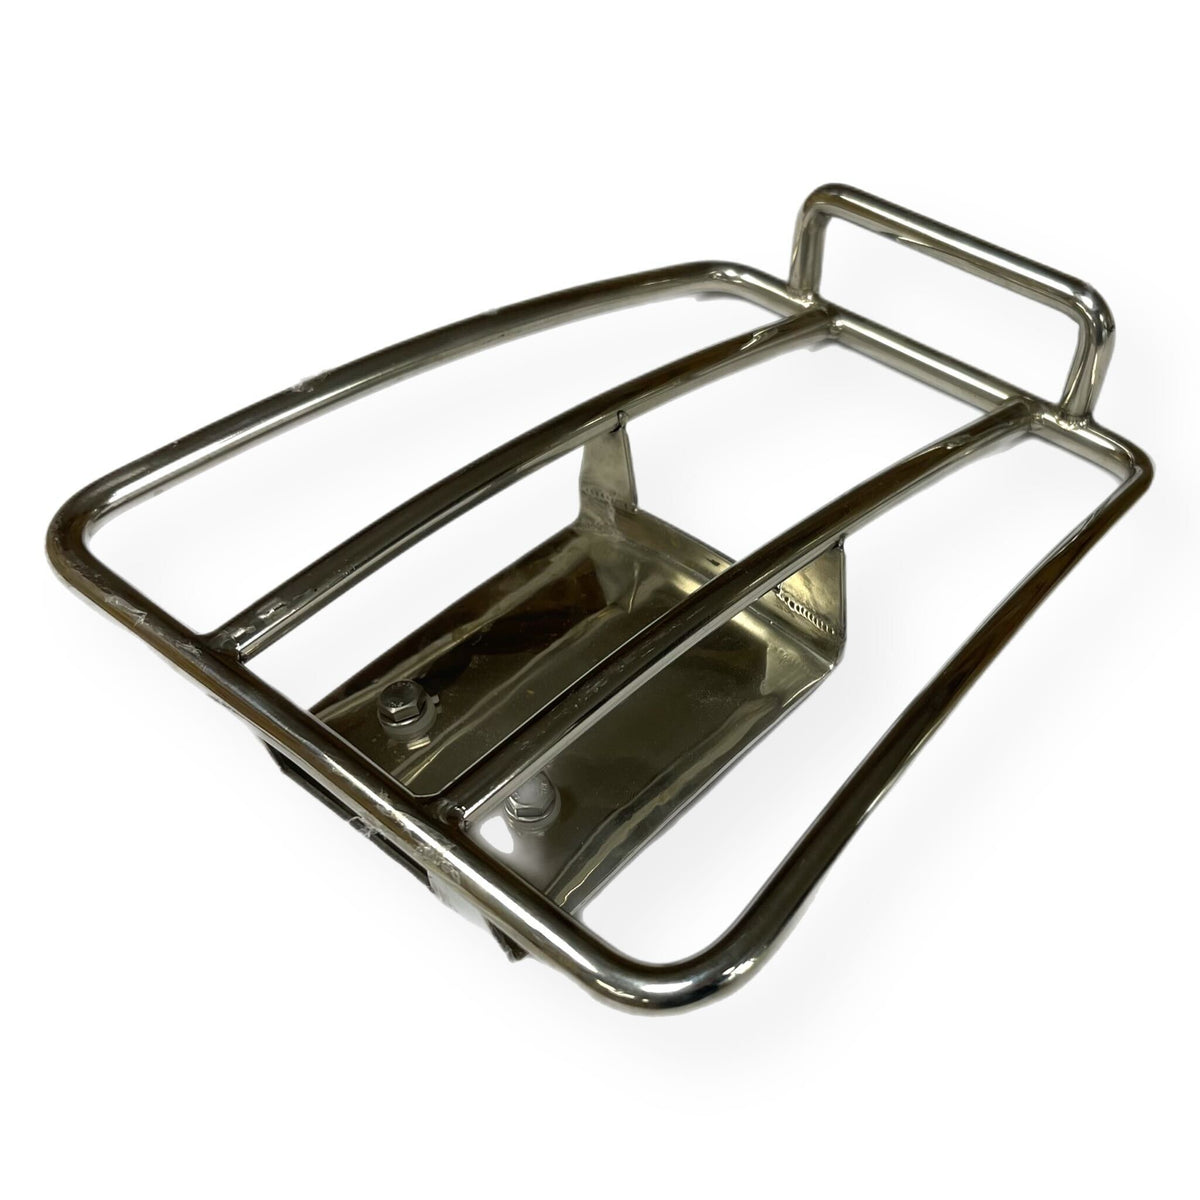
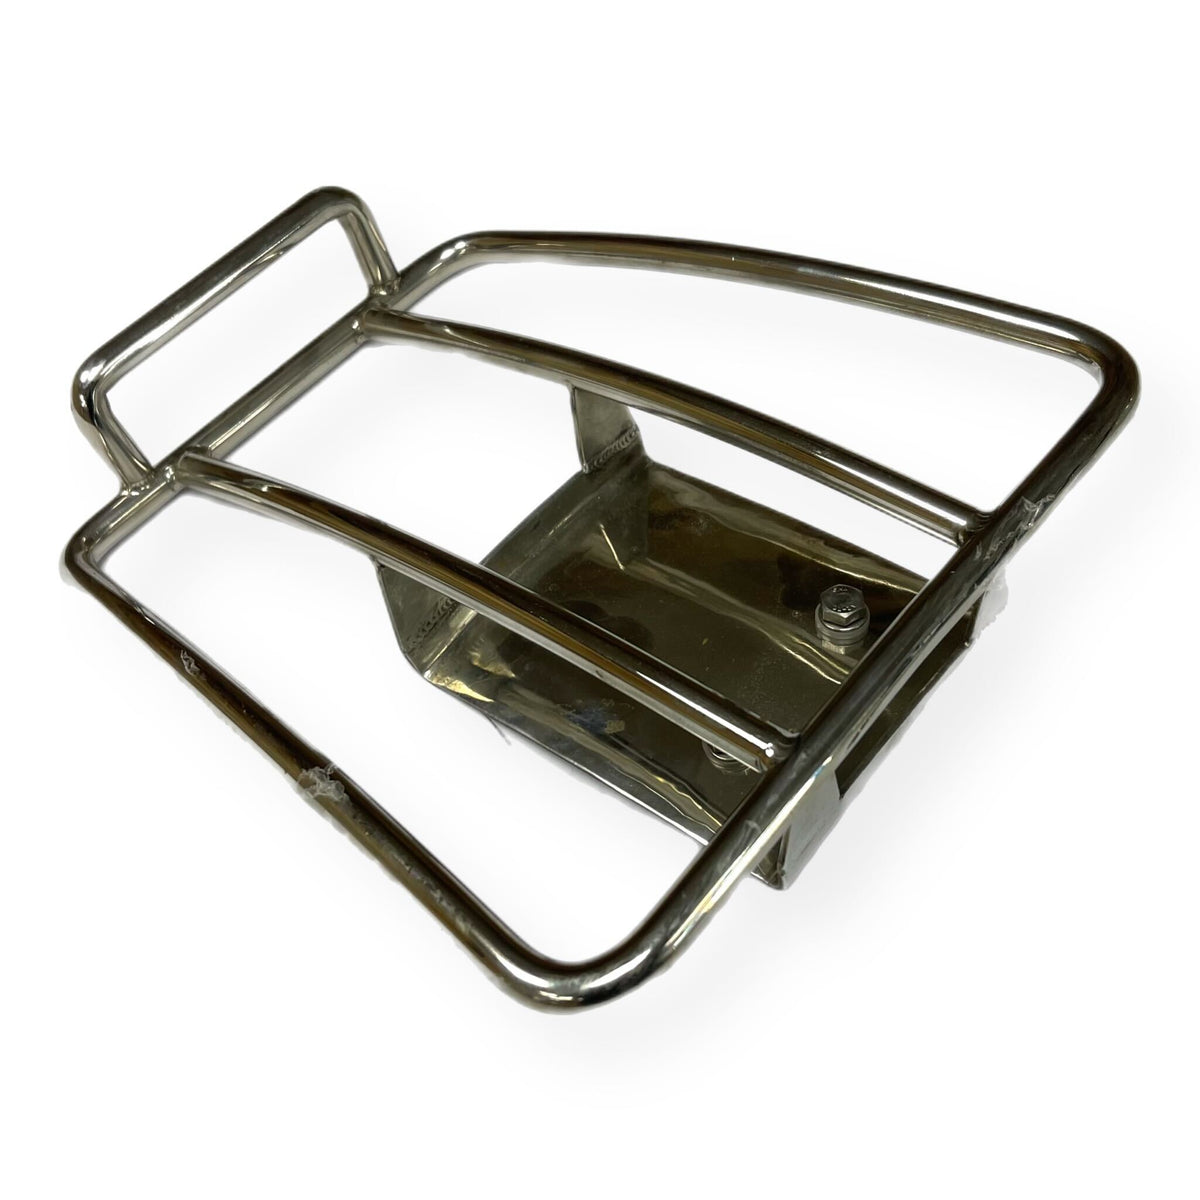
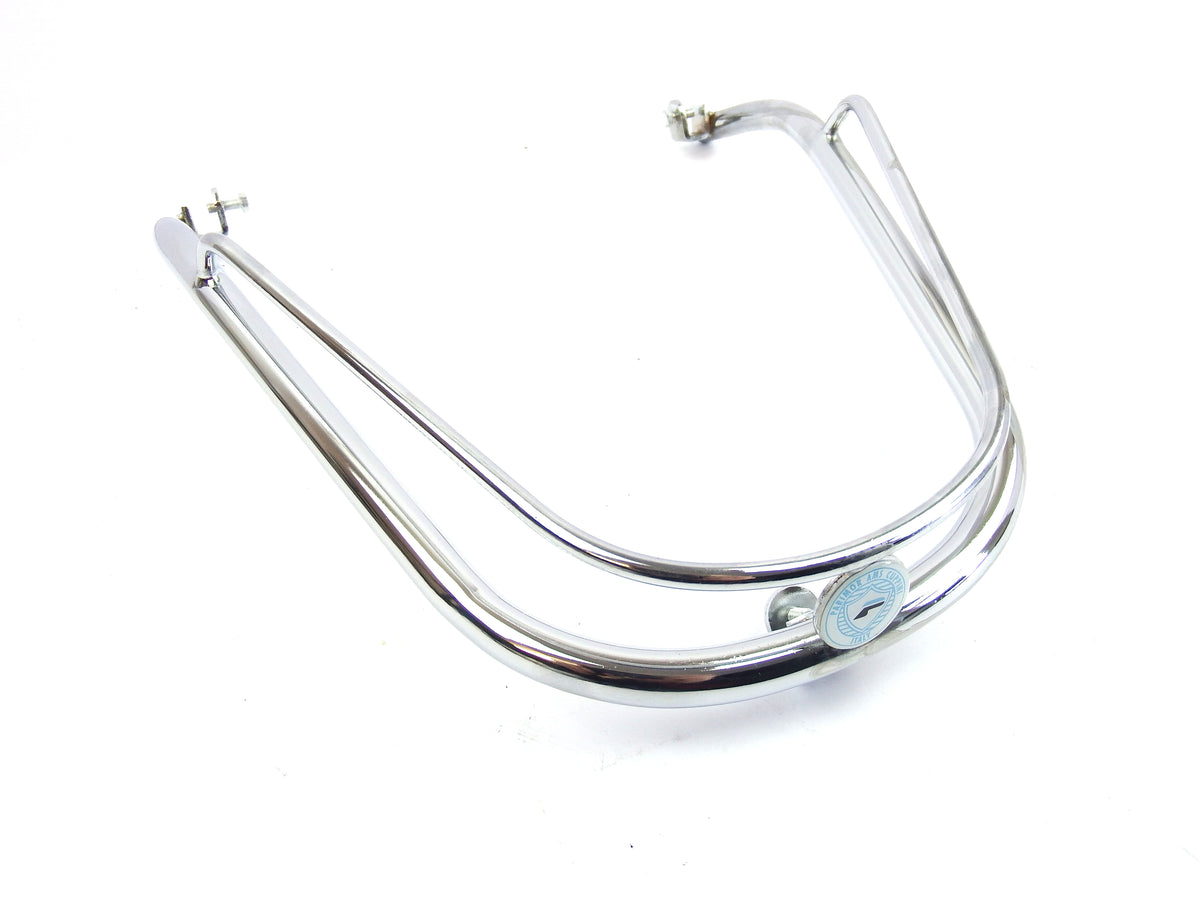
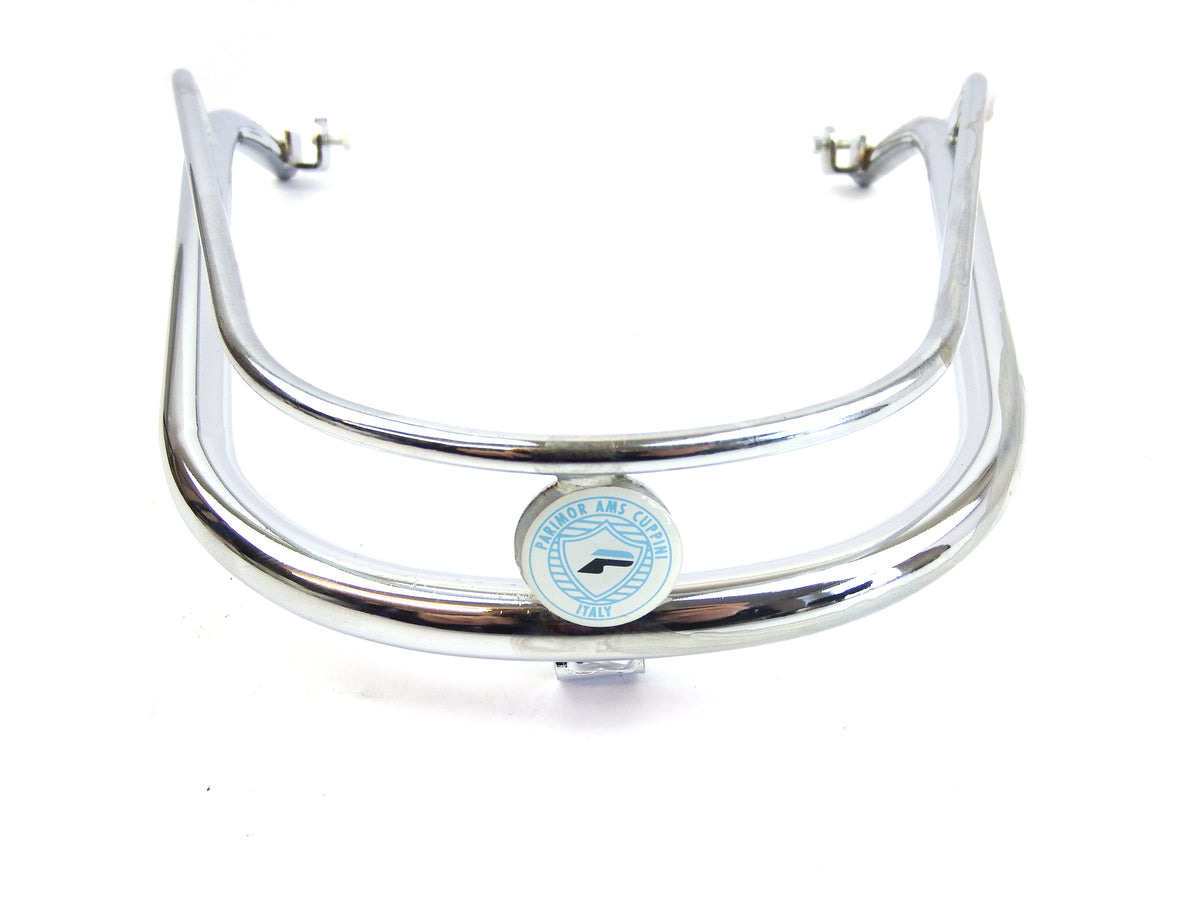
Vespa GTS Rear Sprint Rack - Polished Stainless Steel
Product code:
BD18063
Limited Stock
Sale price£62.99
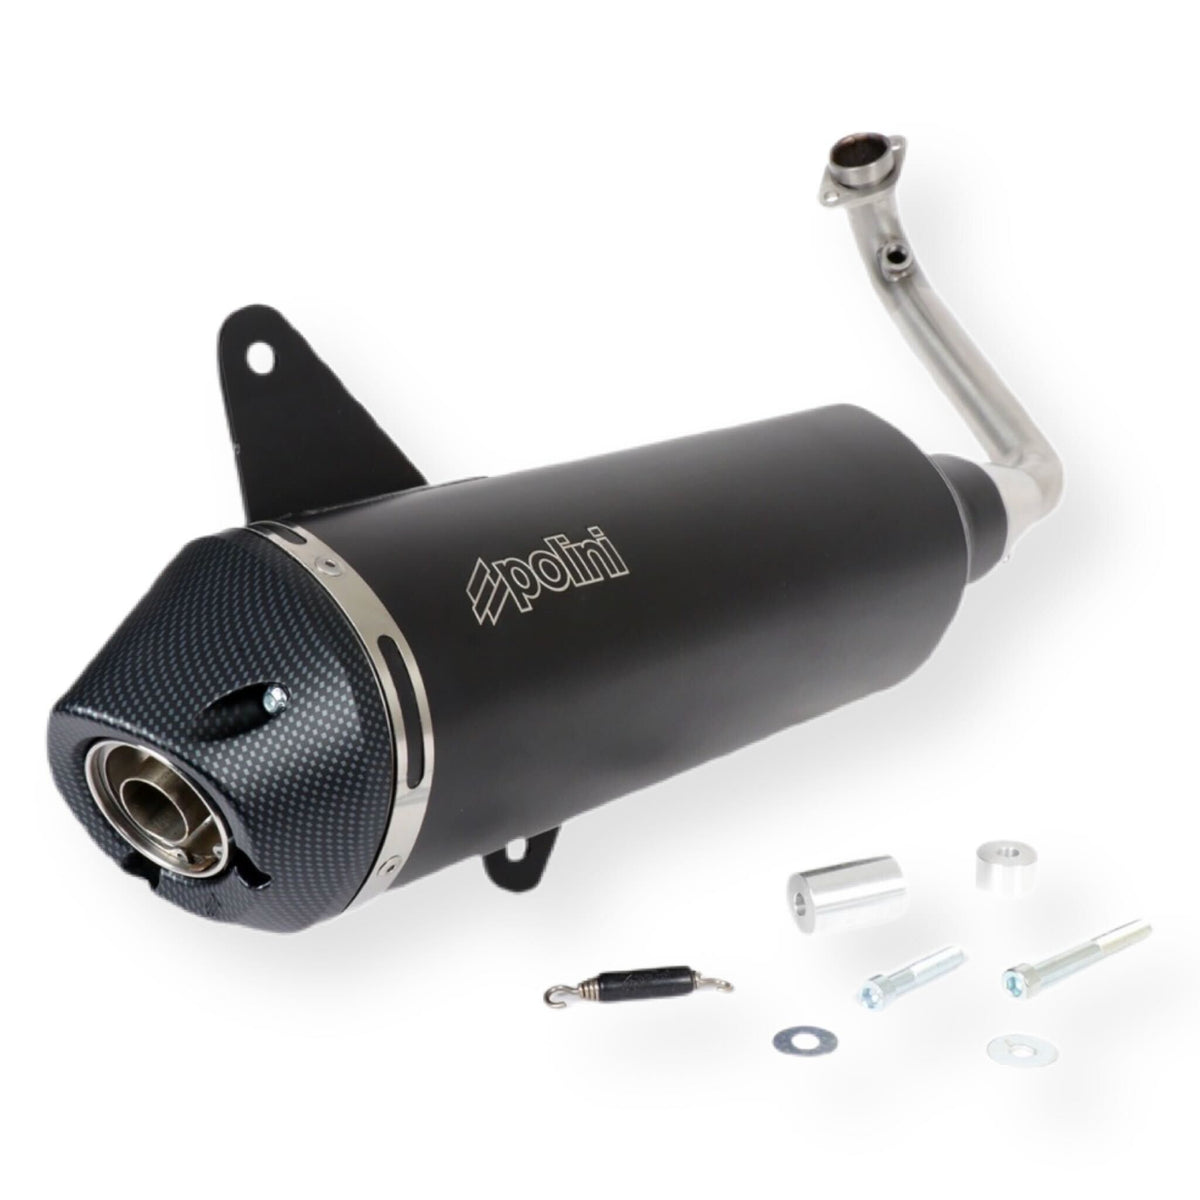

Vespa GTS / GTS Super / GTV 300cc POLINI Racing Slip On Exhaust (Euro 5, 2021-)
Product code:
BD16618
Low Stock
Sale price£529.99
Sold out
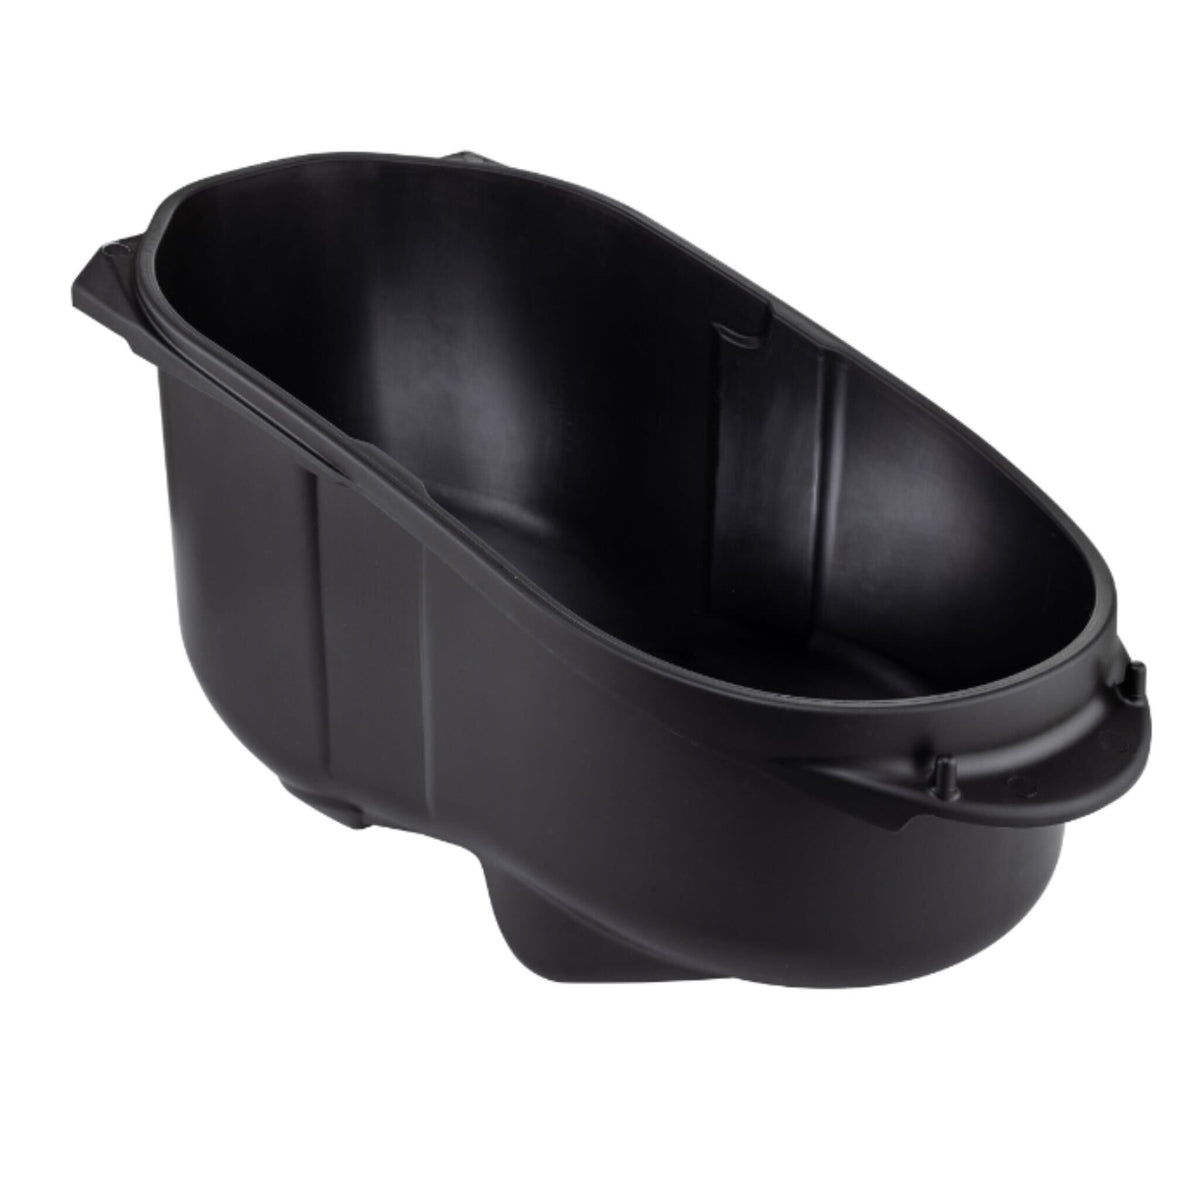
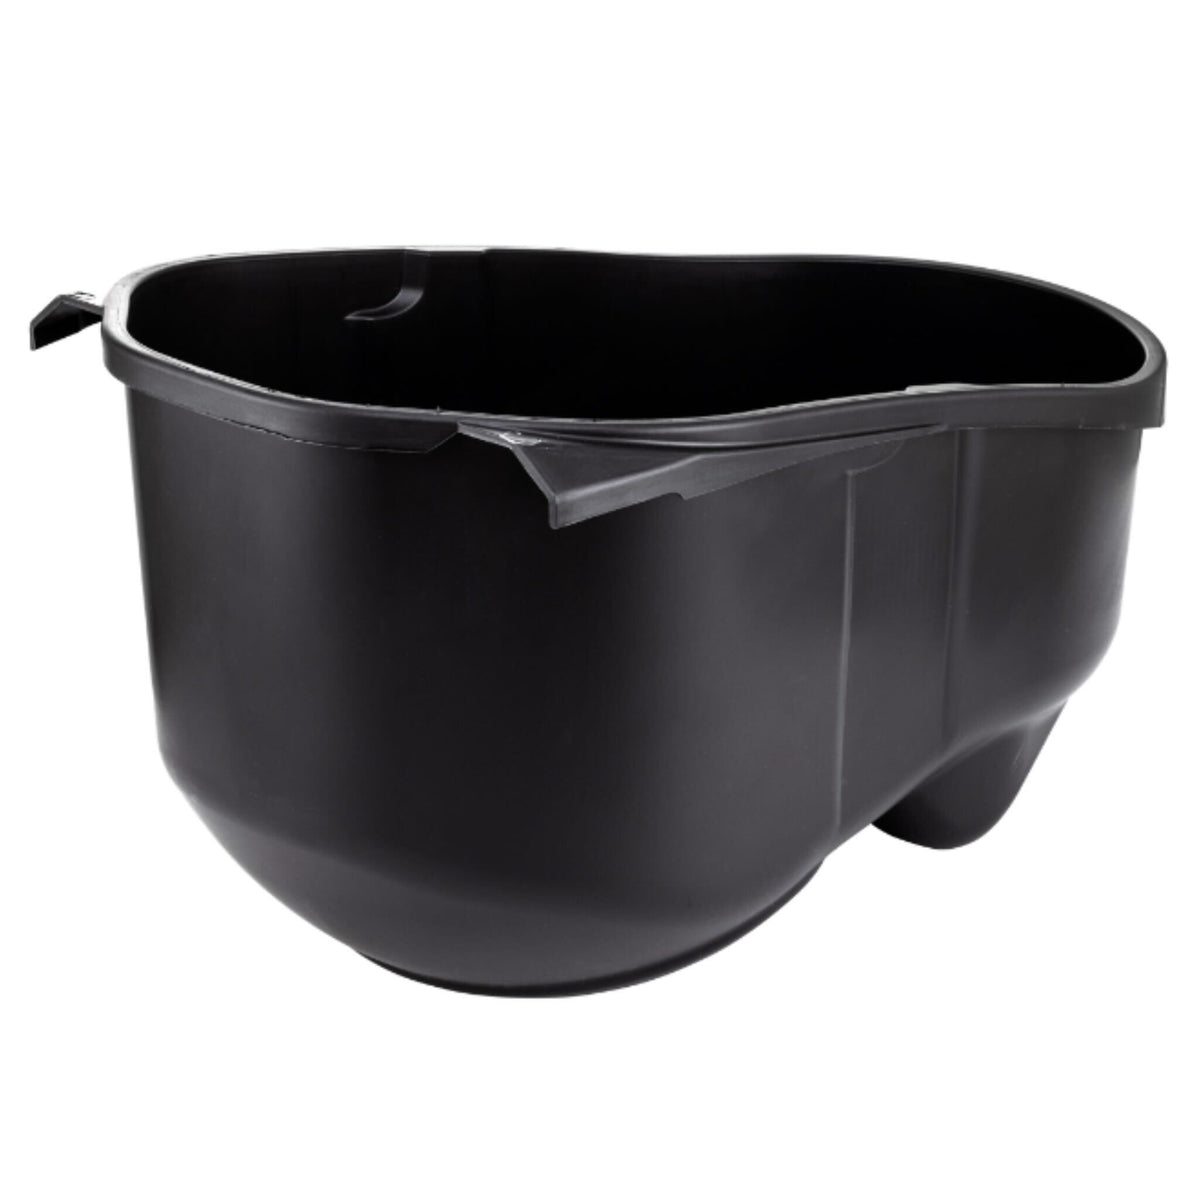
Vespa GTS / GTS Super / GTV 125-300cc (2019-) BIG BOX Plastic Helmet Case - Black
Product code:
BD18844
Out Of Stock
Sale price£329.99

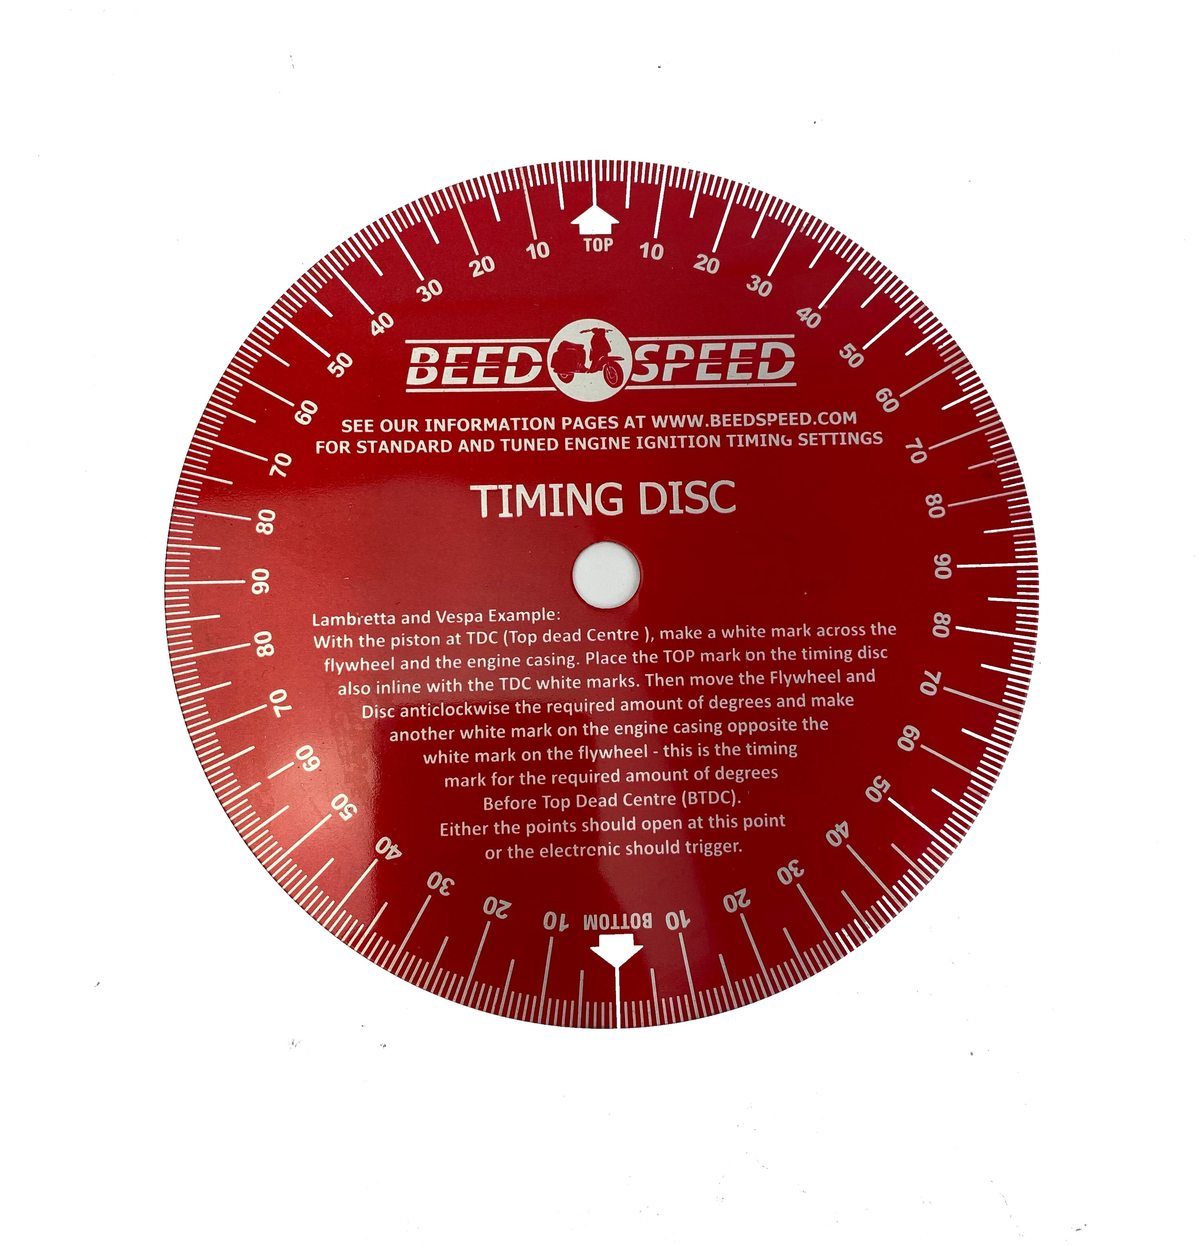
Vespa Lambretta Scooter Timing Disc Degree - Alloy Beedspeed
Product code:
BD09833
In stock
Sale price£8.99
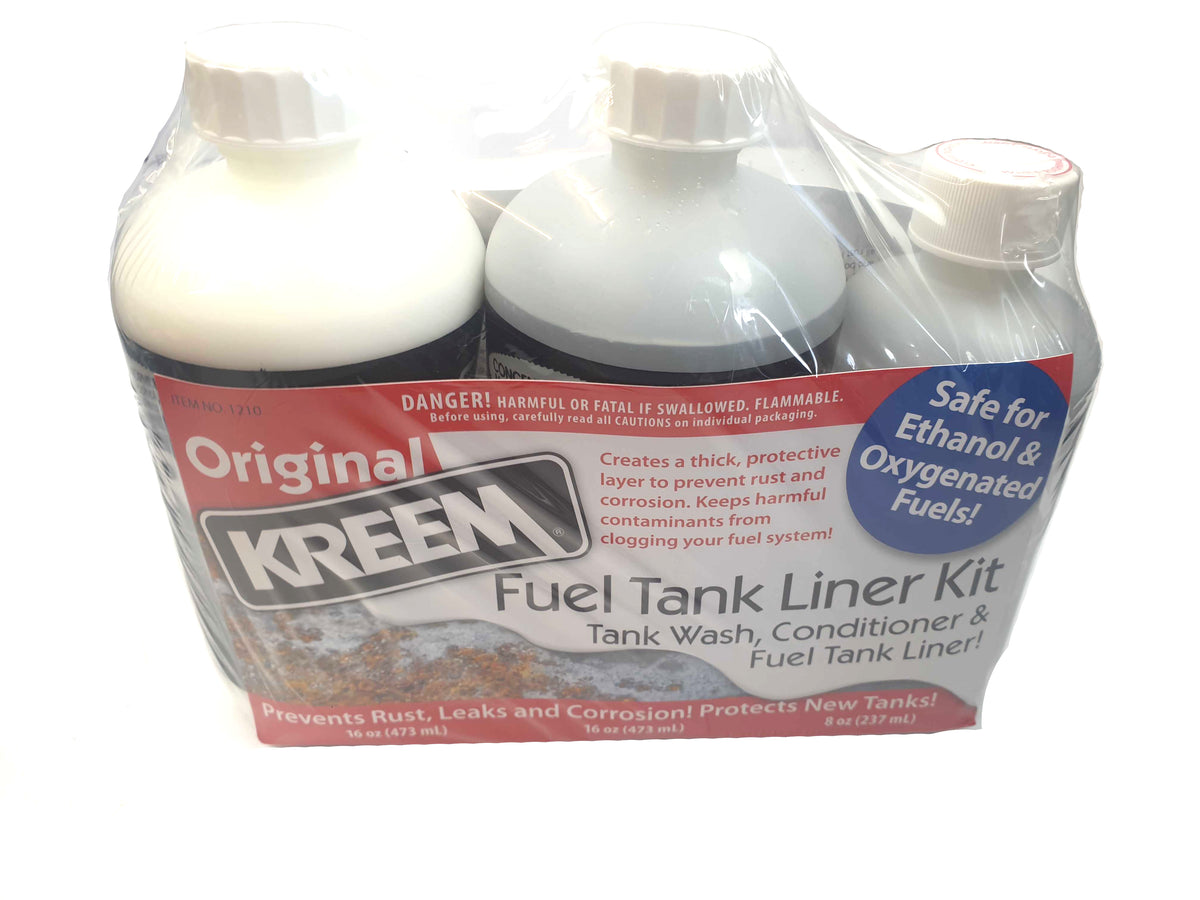
Vespa Lambretta Motorbike Quad Kreem Petrol Tank Wash, Conditioner & Liner Pack
Product code:
BD05132
Limited Stock
Sale price£57.99


Vespa Lambretta Scooter Motorcycle Putoline E10 Fuel Fighter 250ml
Product code:
BD16266
In stock
Sale price£13.99

Putoline Engine & Chain Degreaser 500ml Motorbike Motorcycle
Product code:
BD12240
Low Stock
Sale price£9.99
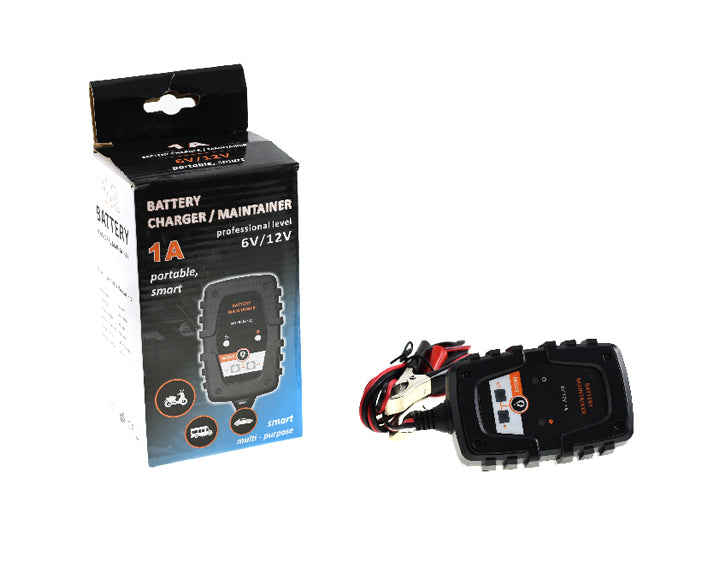
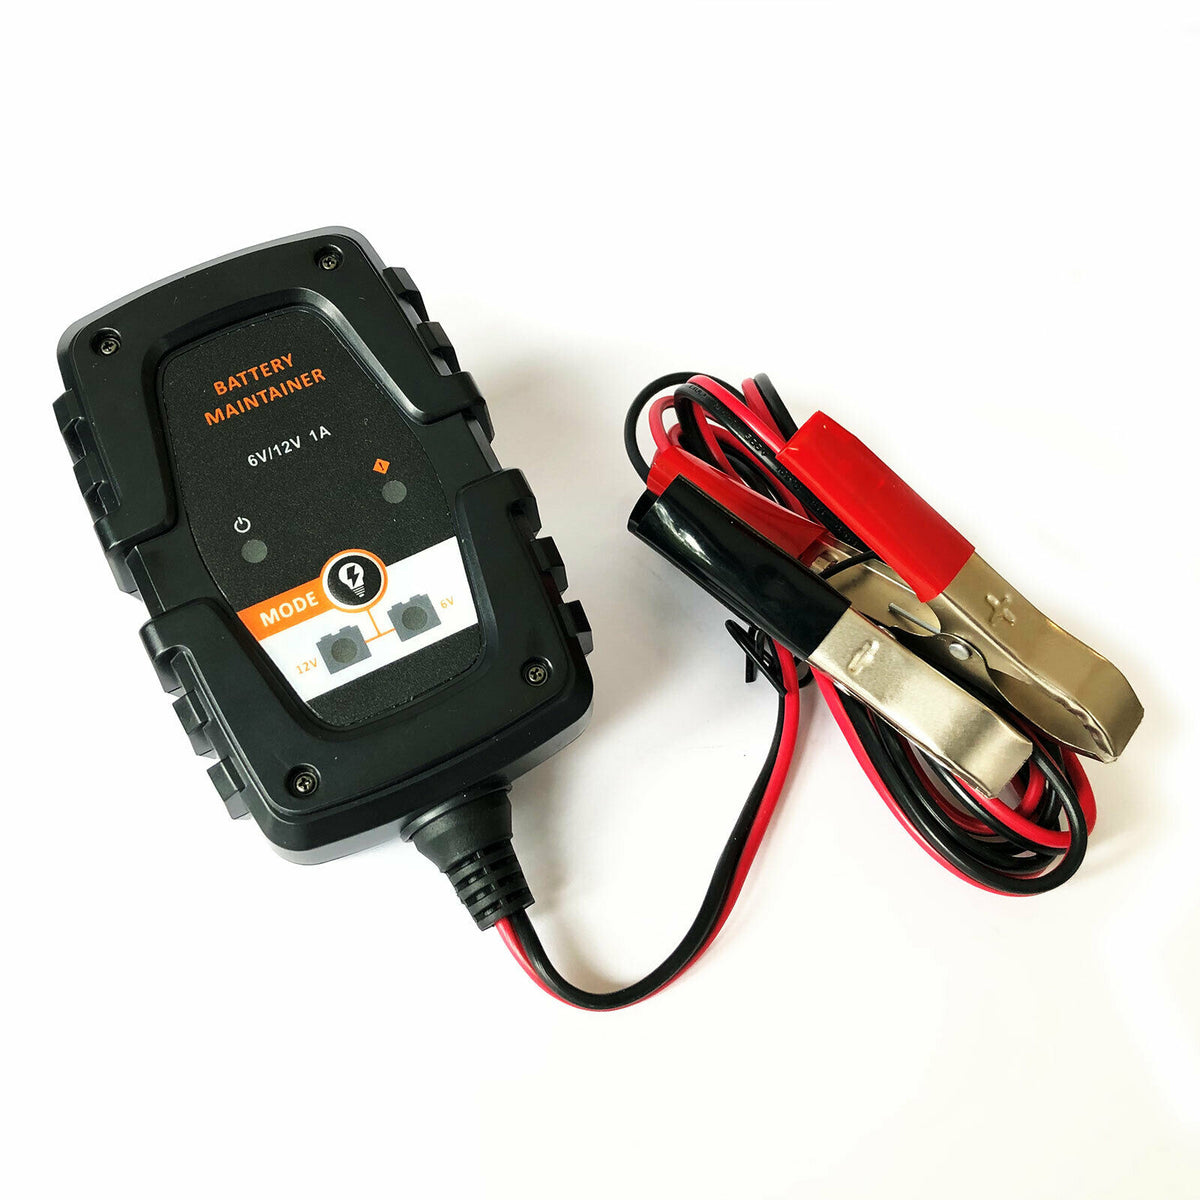
Vespa Lambretta Scooter Motorcycle 6V/12V 1 Amp Lead acid/AGM Battery Charger
Product code:
BD16075
In stock
Sale price£19.99
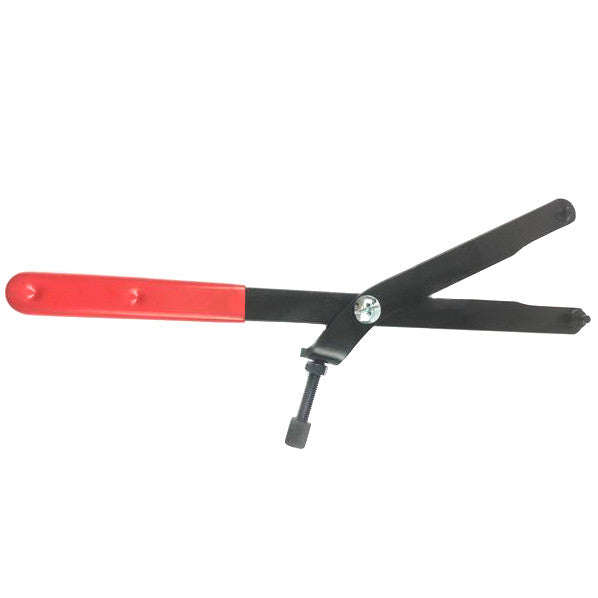
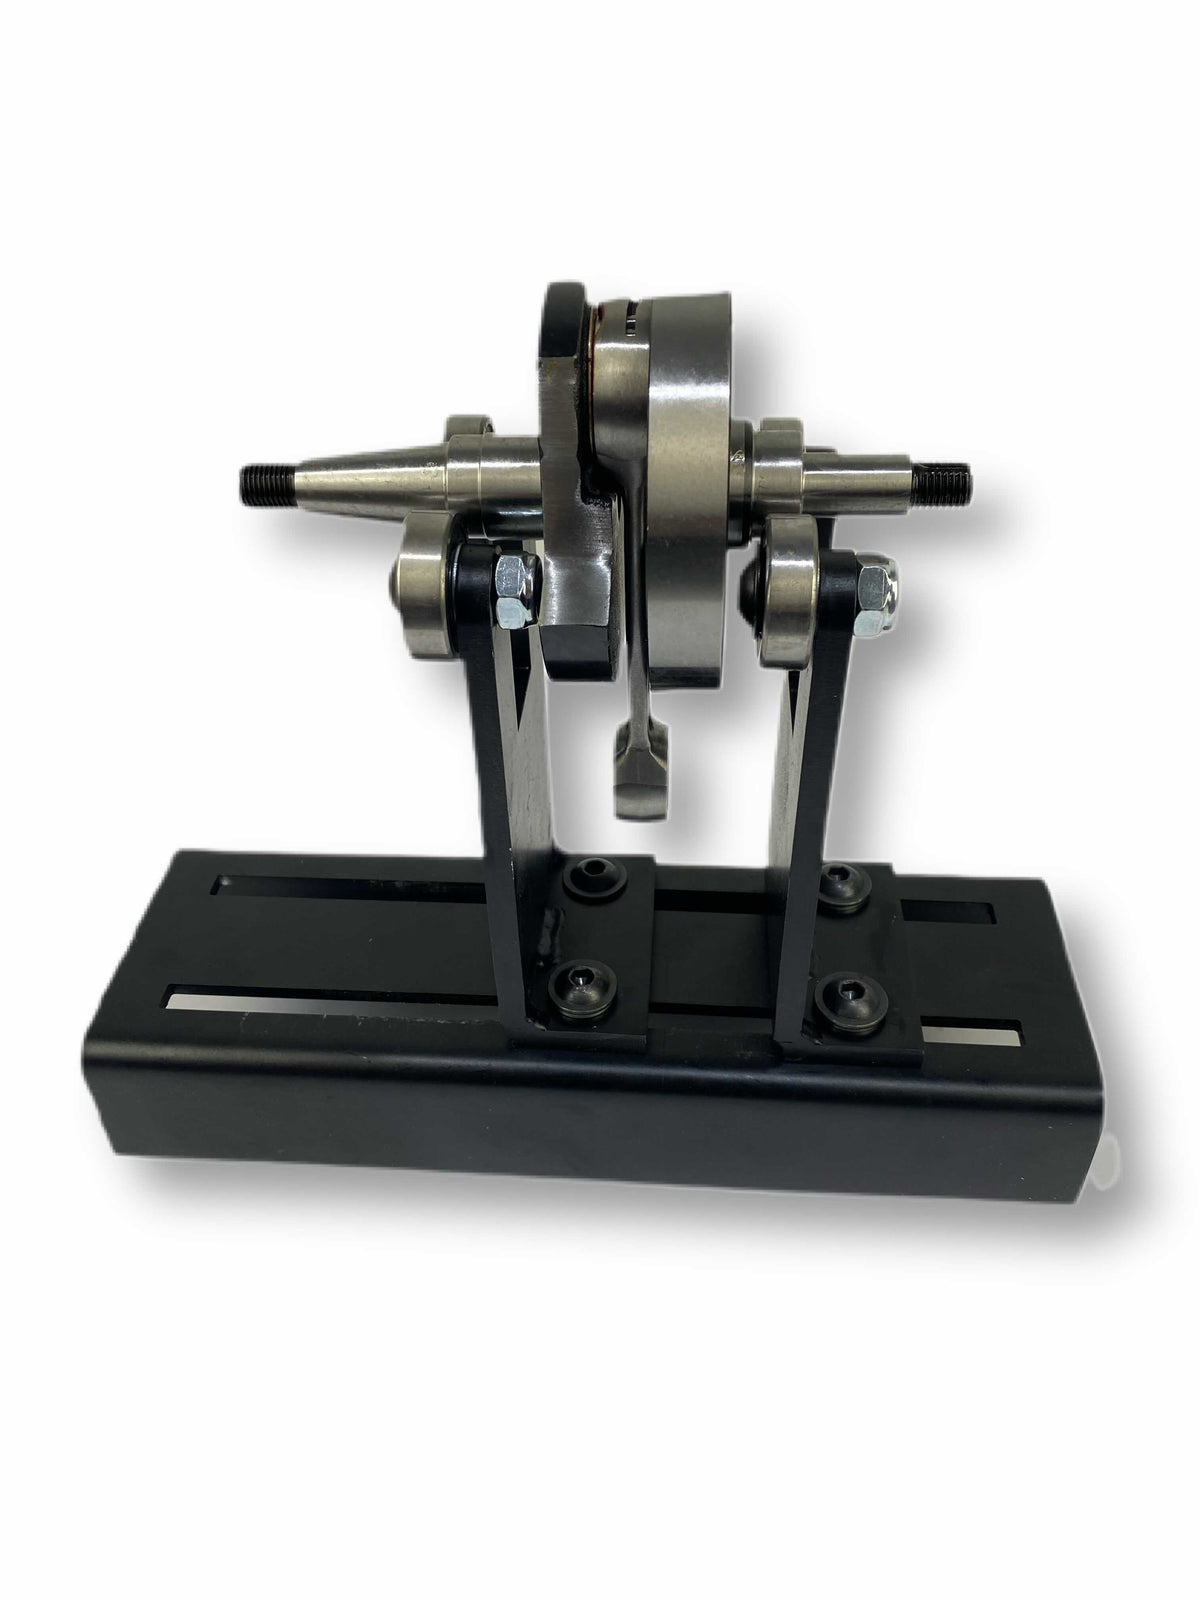
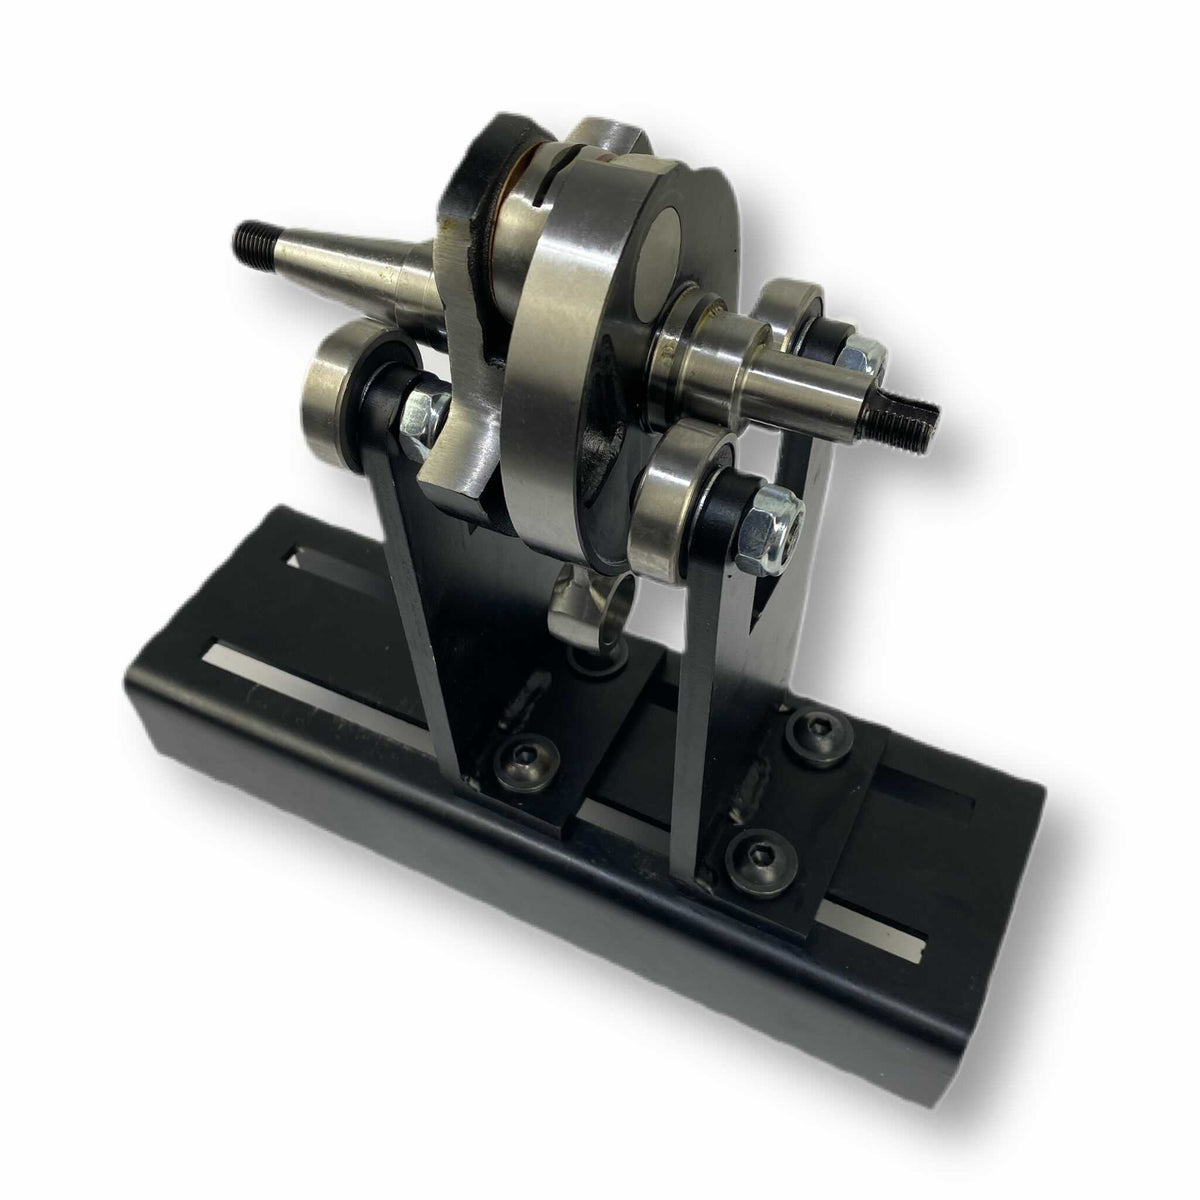
Lambretta Vespa Scooter Motorbike Crank Truing Stand
Product code:
BD15791
In stock
Sale price£149.99

Seen These?
Featured Accessories
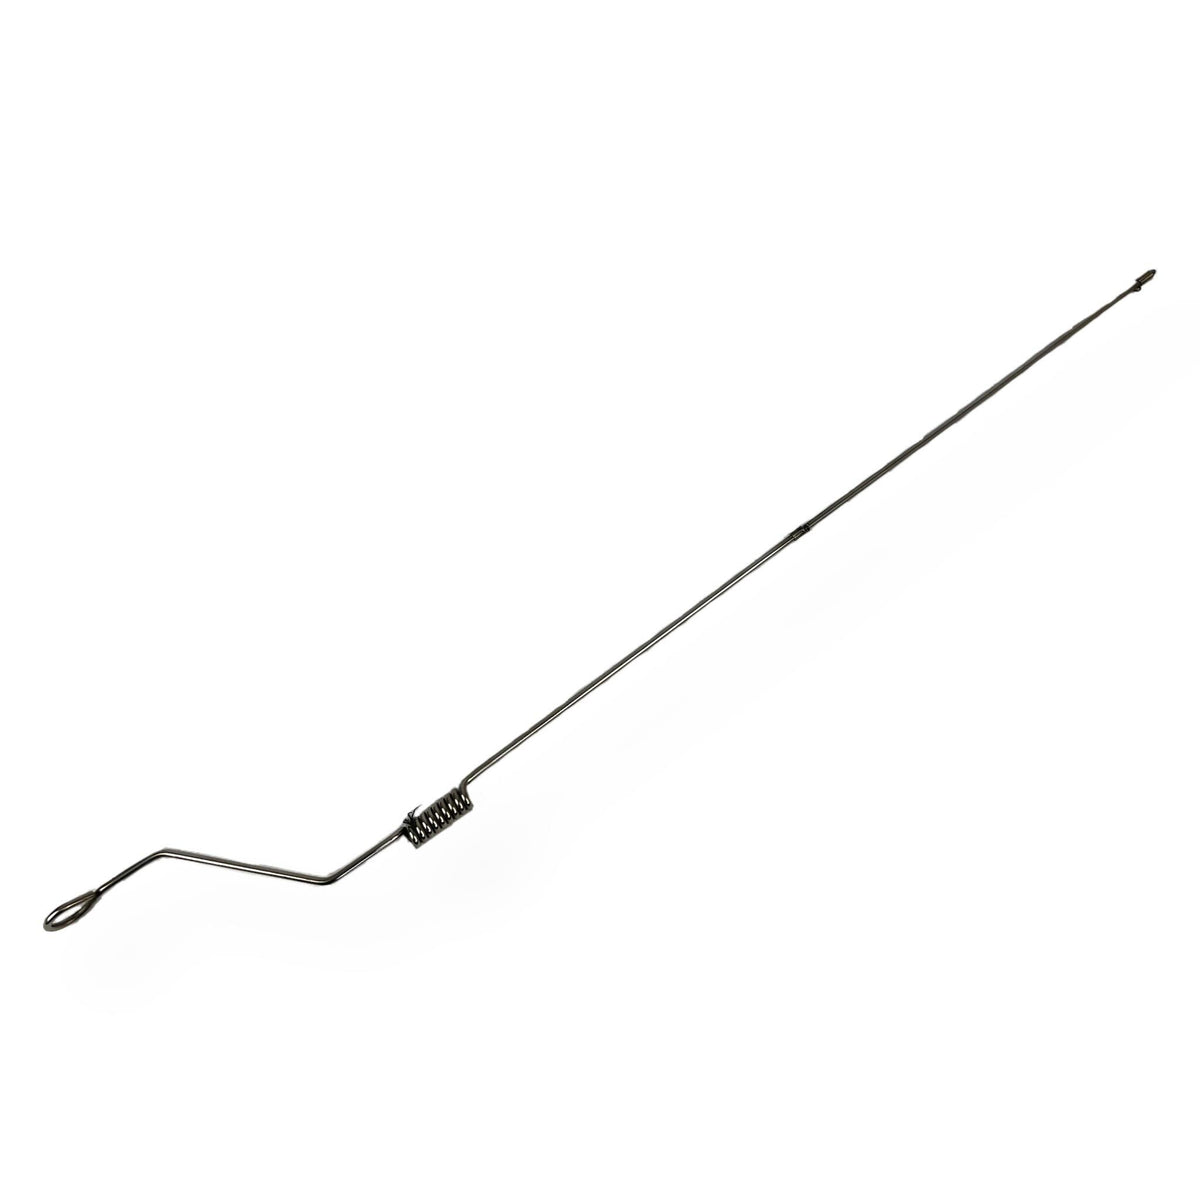
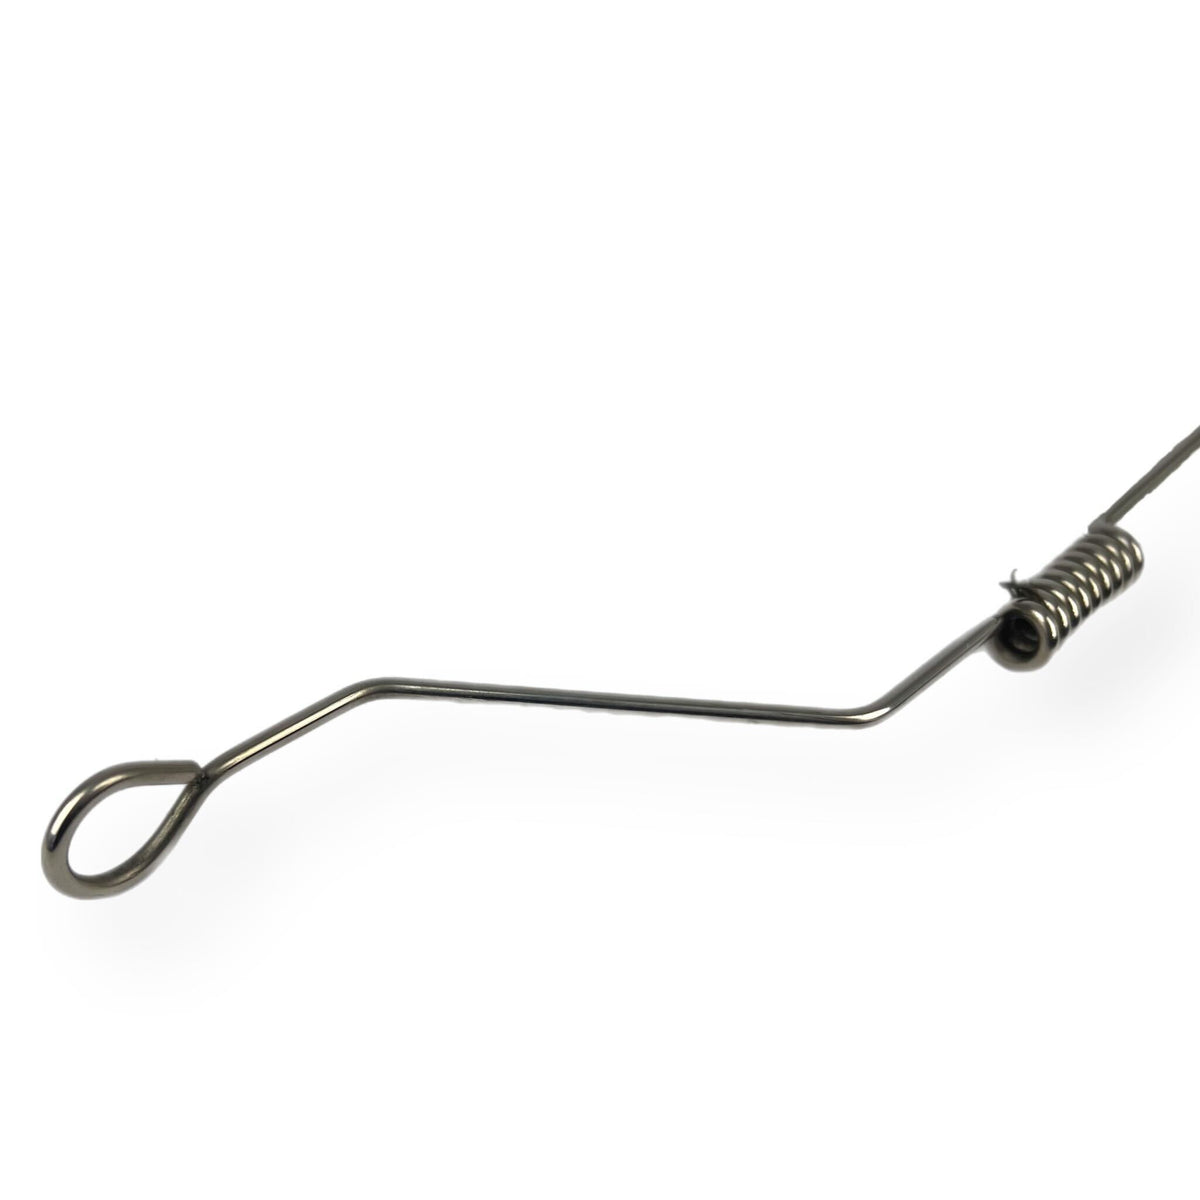
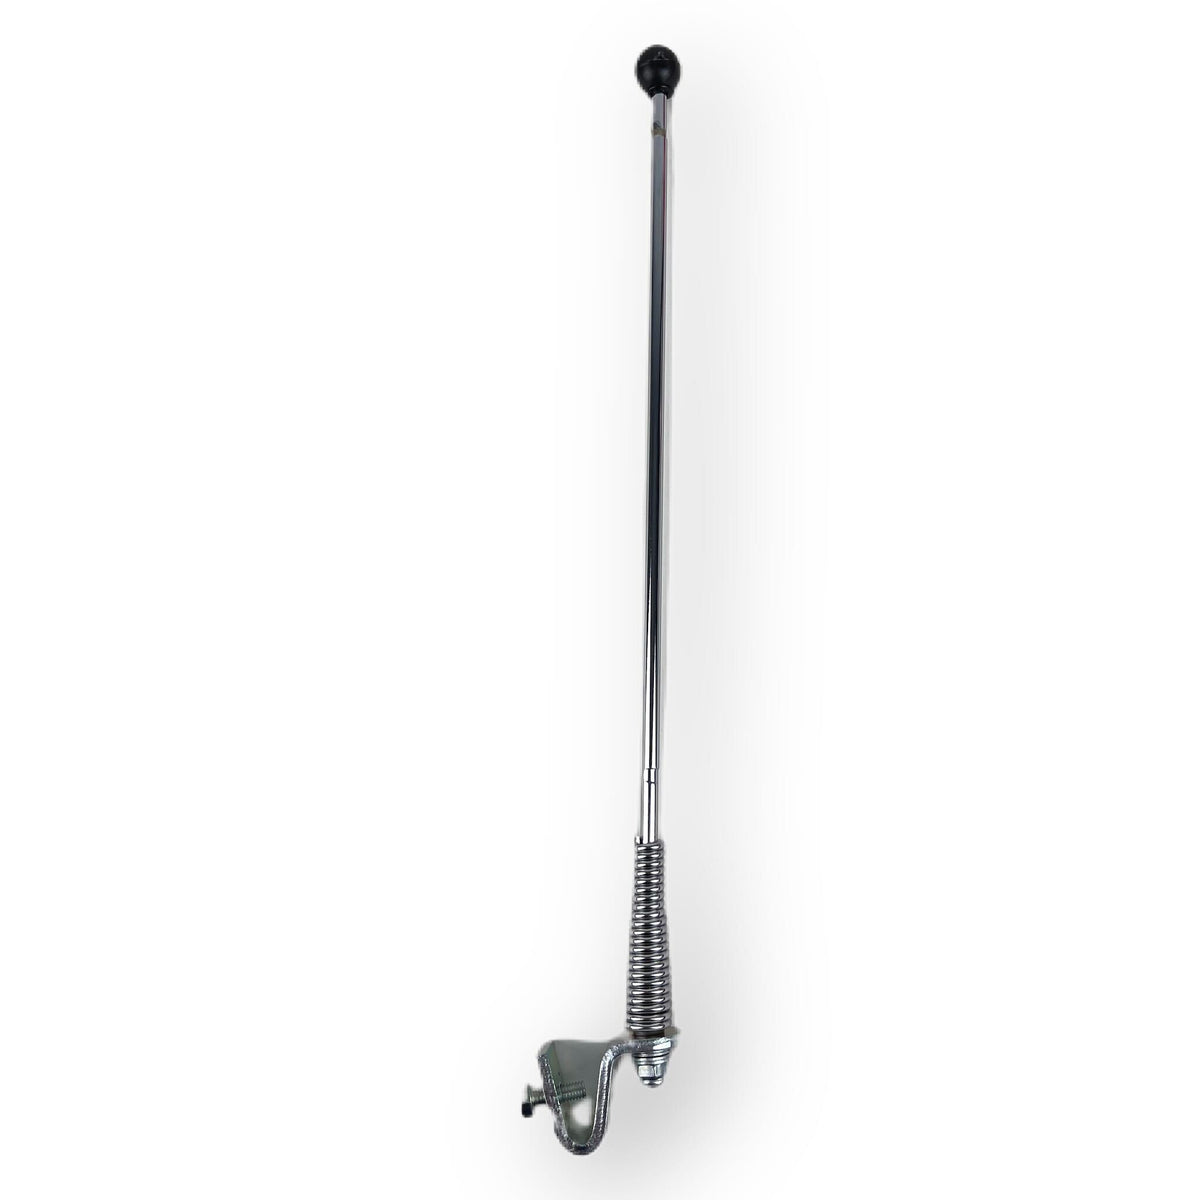
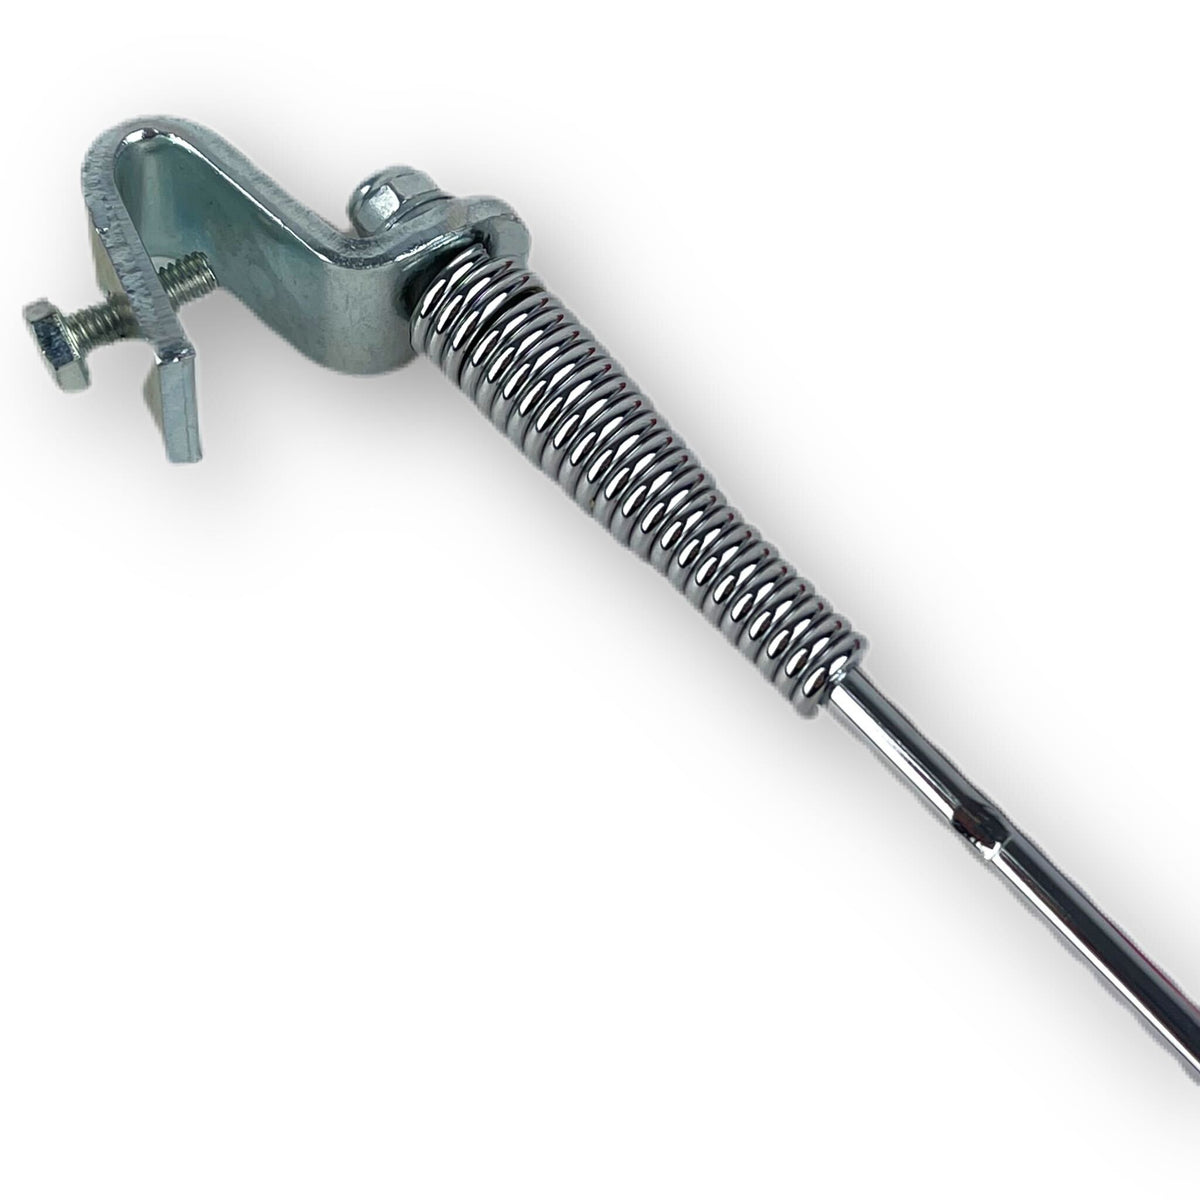
Vespa Lambretta Scooter Mini Aerial/Mini Flag Pole - 55cm - Sprung - Stainless Steel
Product code:
BD11712
In stock
Sale price£12.99
Vespa PX PE T5 Lambretta Series 1 2 3 Backrest & Rear Carrier Cuppini 2 In 1 Universal - Chrome
Product code:
BD08355
Limited Stock
Sale price£89.99
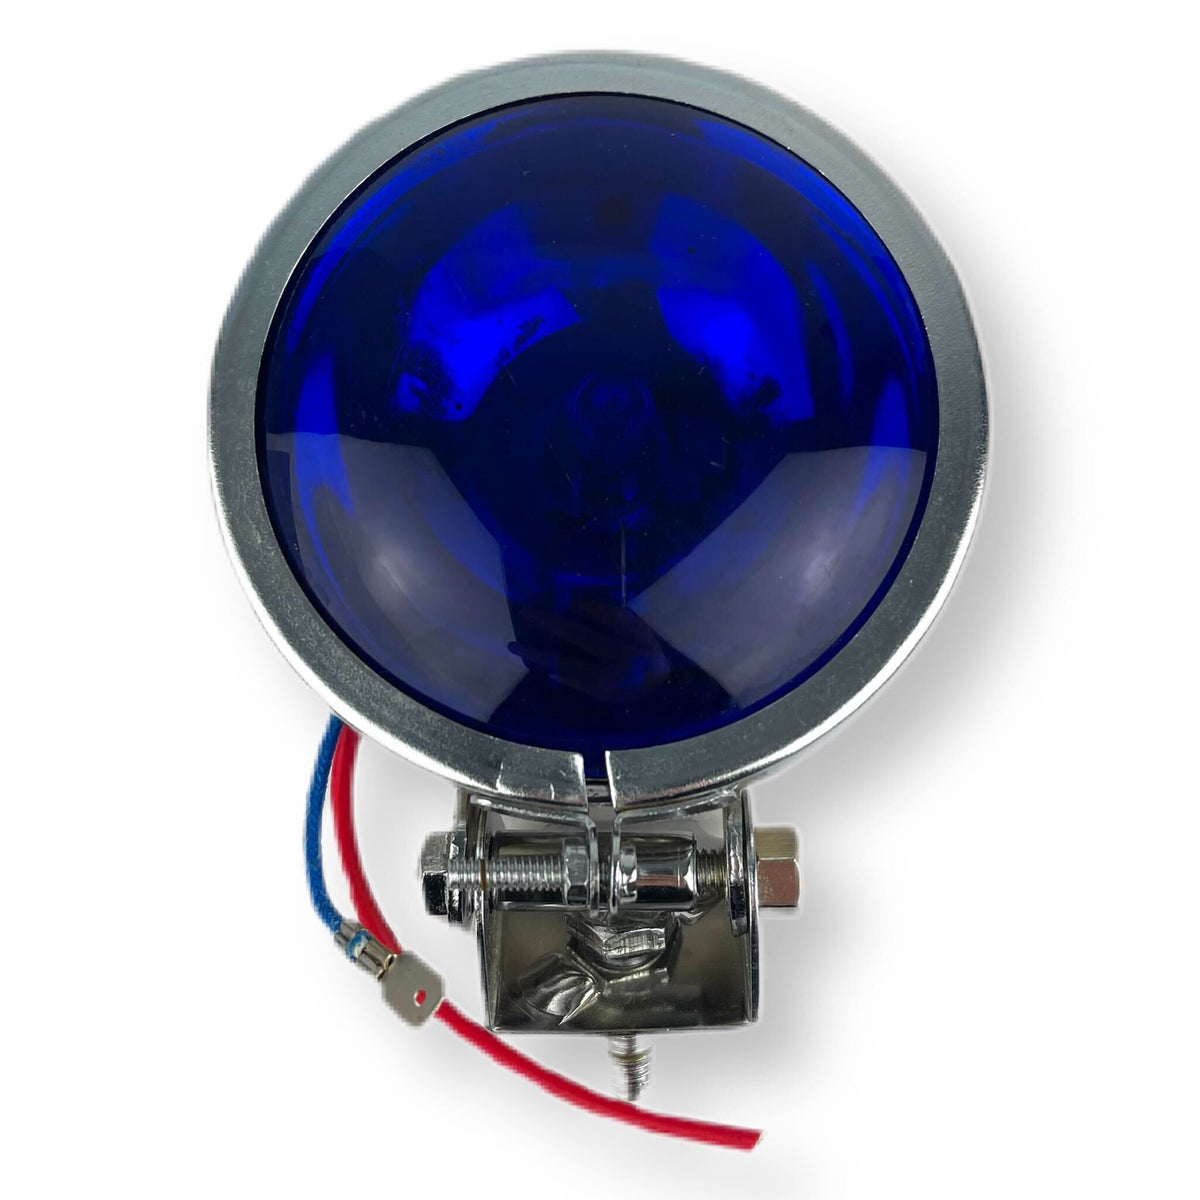
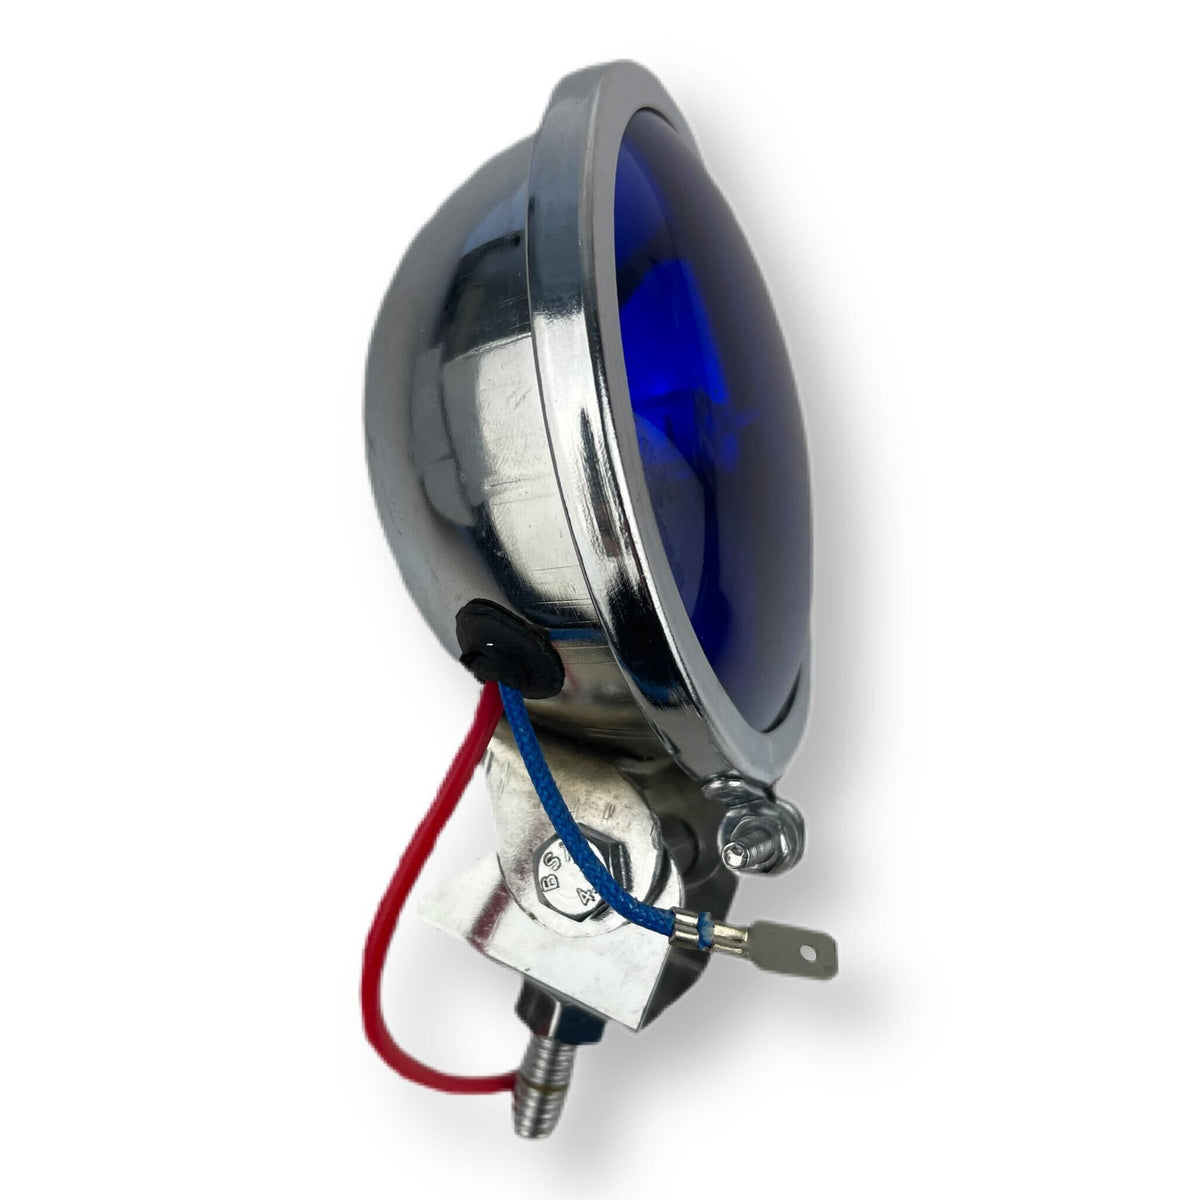
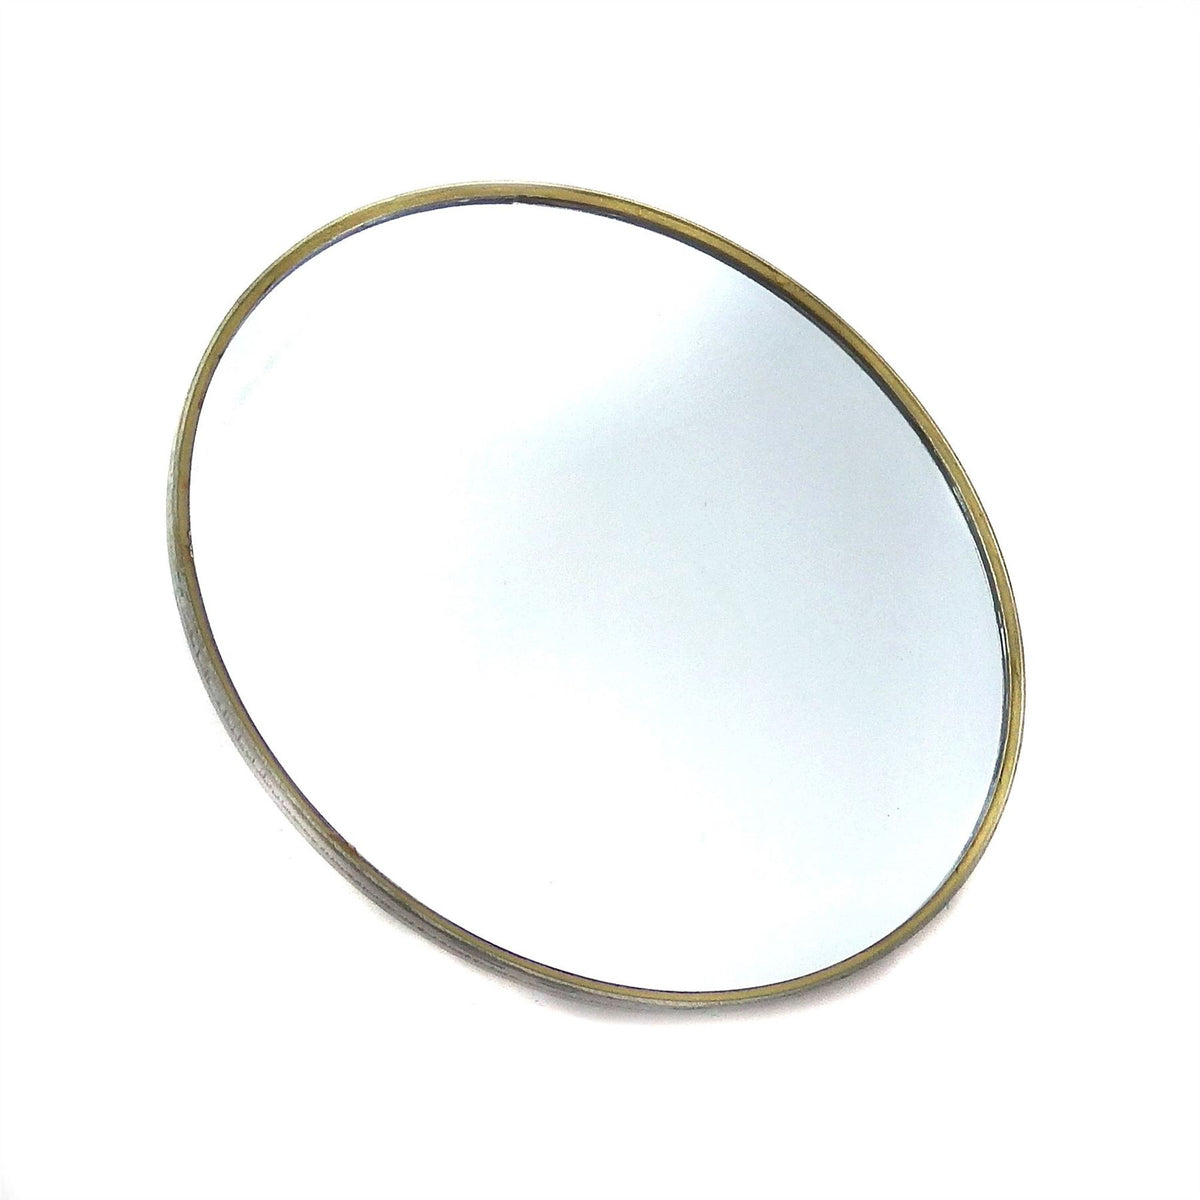
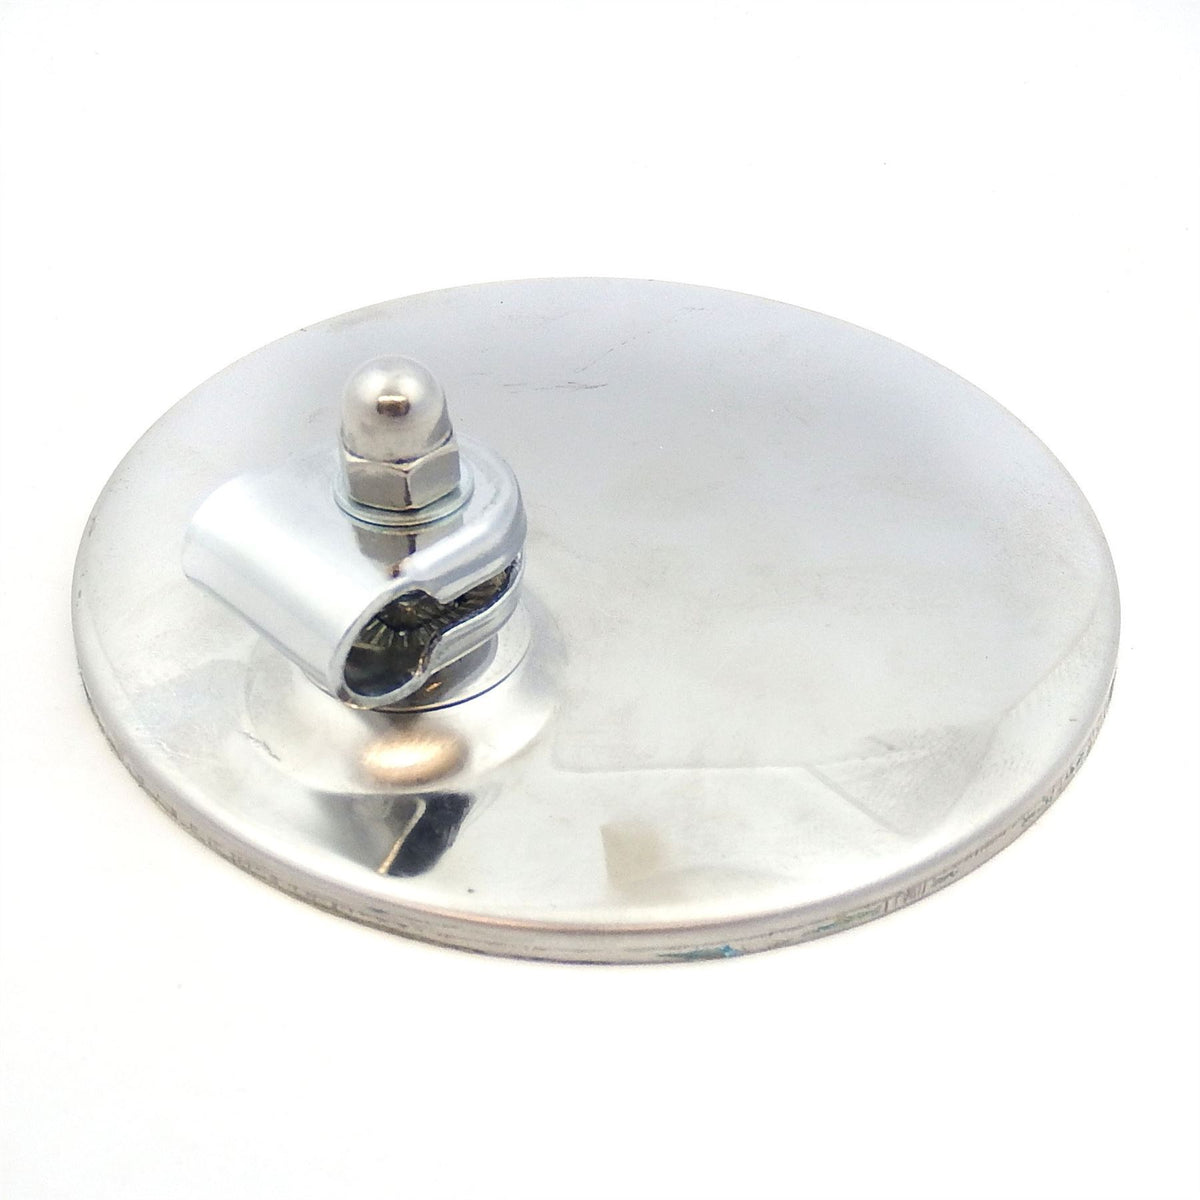
Vespa Lambretta Scooter Lamp Spot Light 9cm Hunter Style Chrome - Blue Lens
Product code:
BD10402
In stock
Sale price£17.99
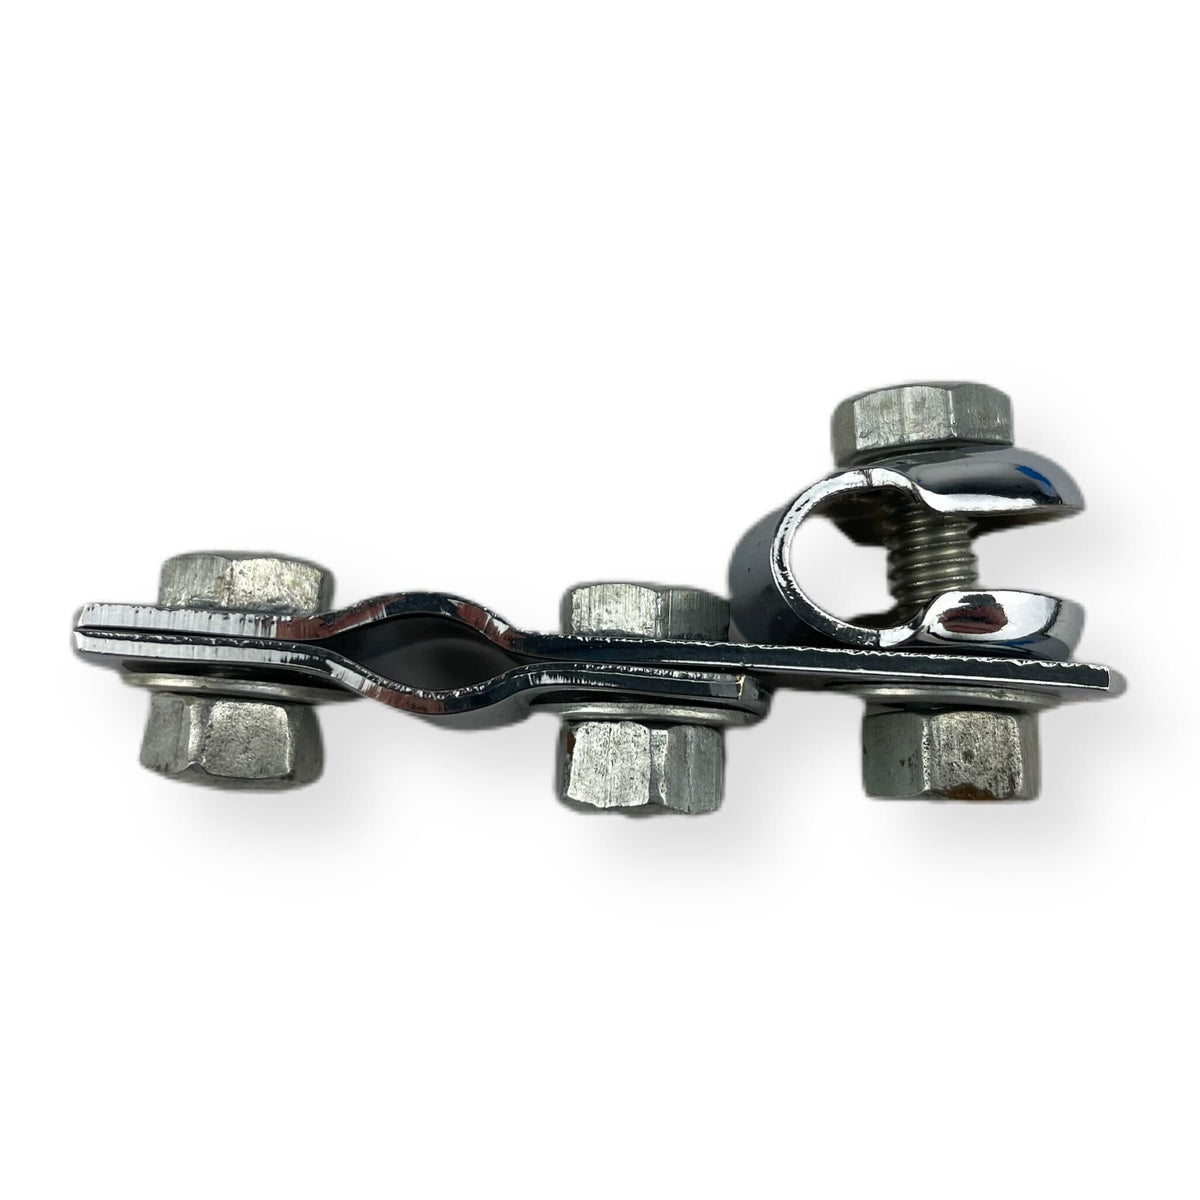
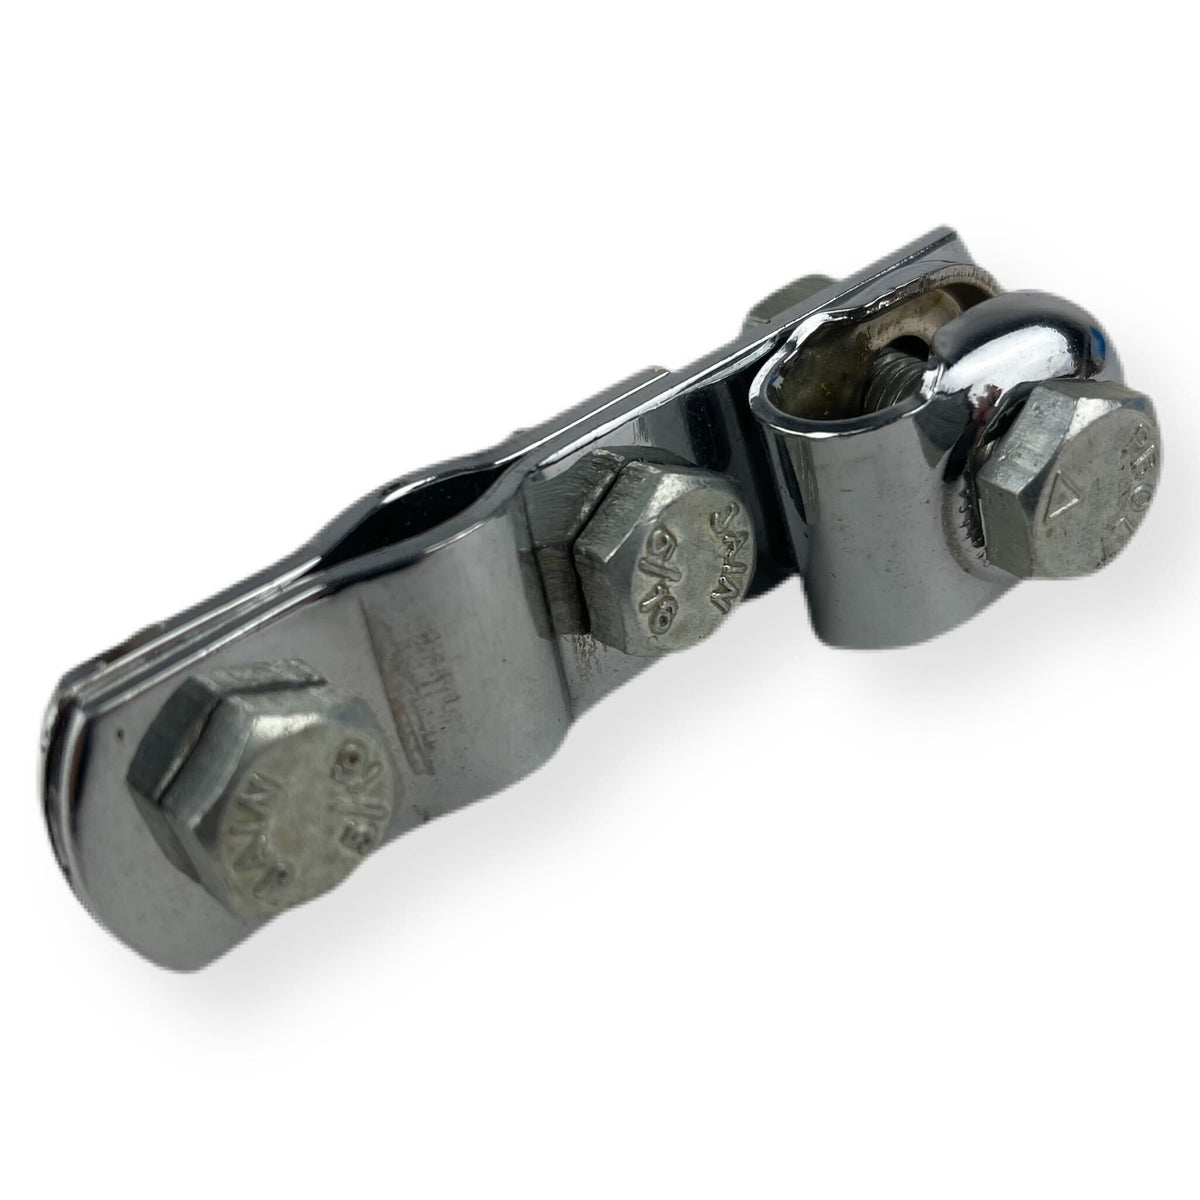
Vespa Lambretta Scomadi Royal Alloy Scooter W Clamp & D Clip - Chrome
Product code:
BD15210
In stock
Sale price£8.50
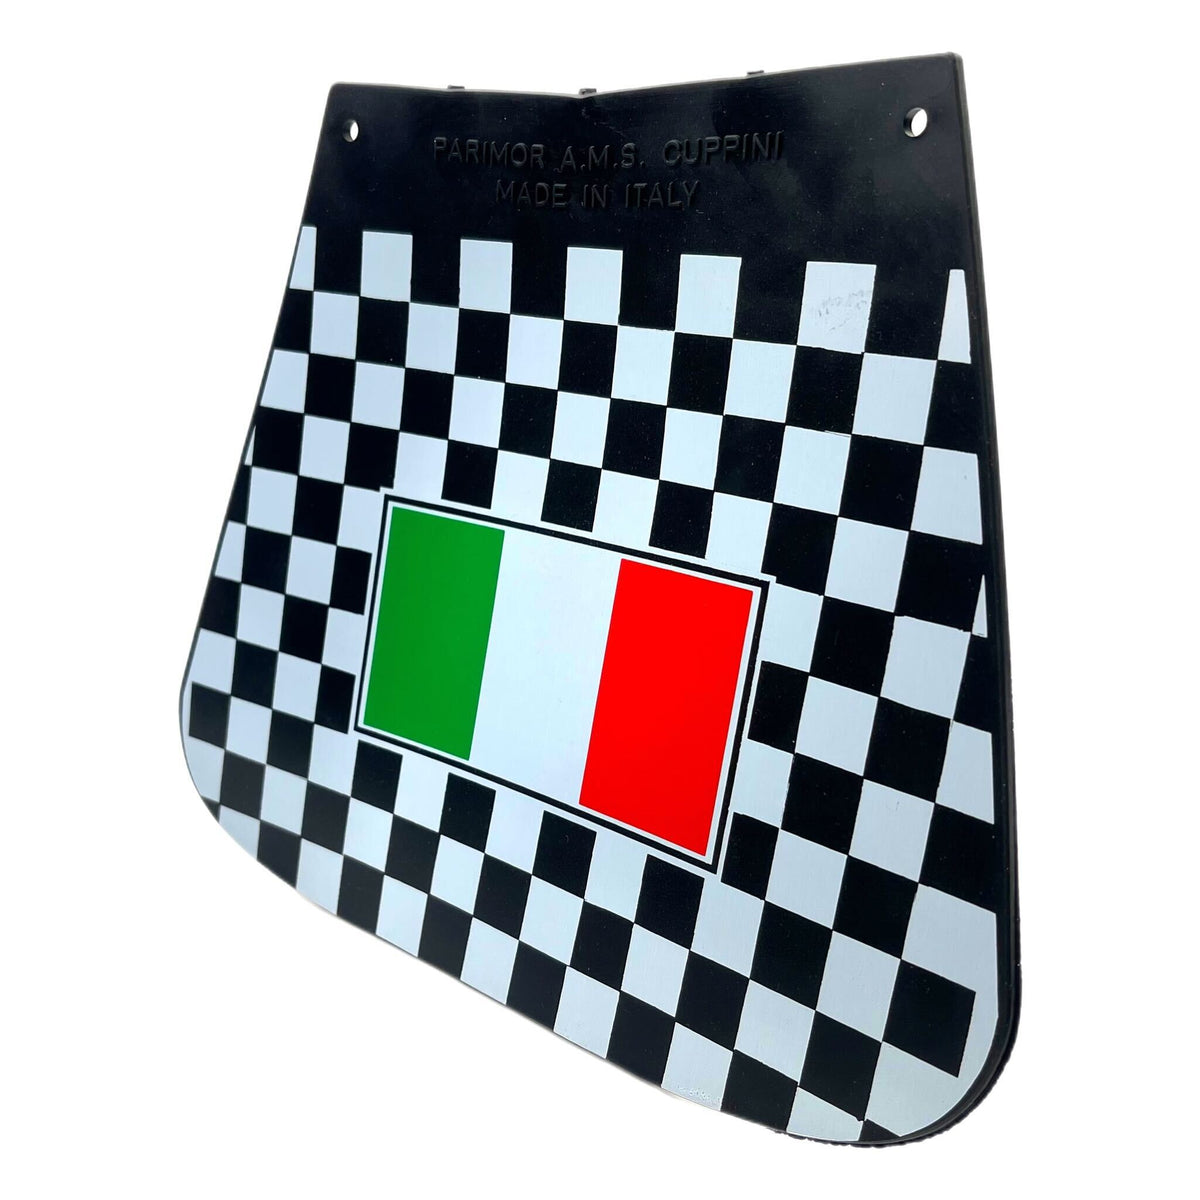

Vespa Lambretta Scooter Royal Alloy Scomadi Chequered Mudflap With Italian Flag Flat Type
Product code:
BD03202
In stock
Sale price£16.99
Sold out
Vespa Lambretta Scooter Chrome Mini Aerial Flag Holder Pole - 23cm
Product code:
BD16280
Out Of Stock
Sale price£12.99
5 colors available
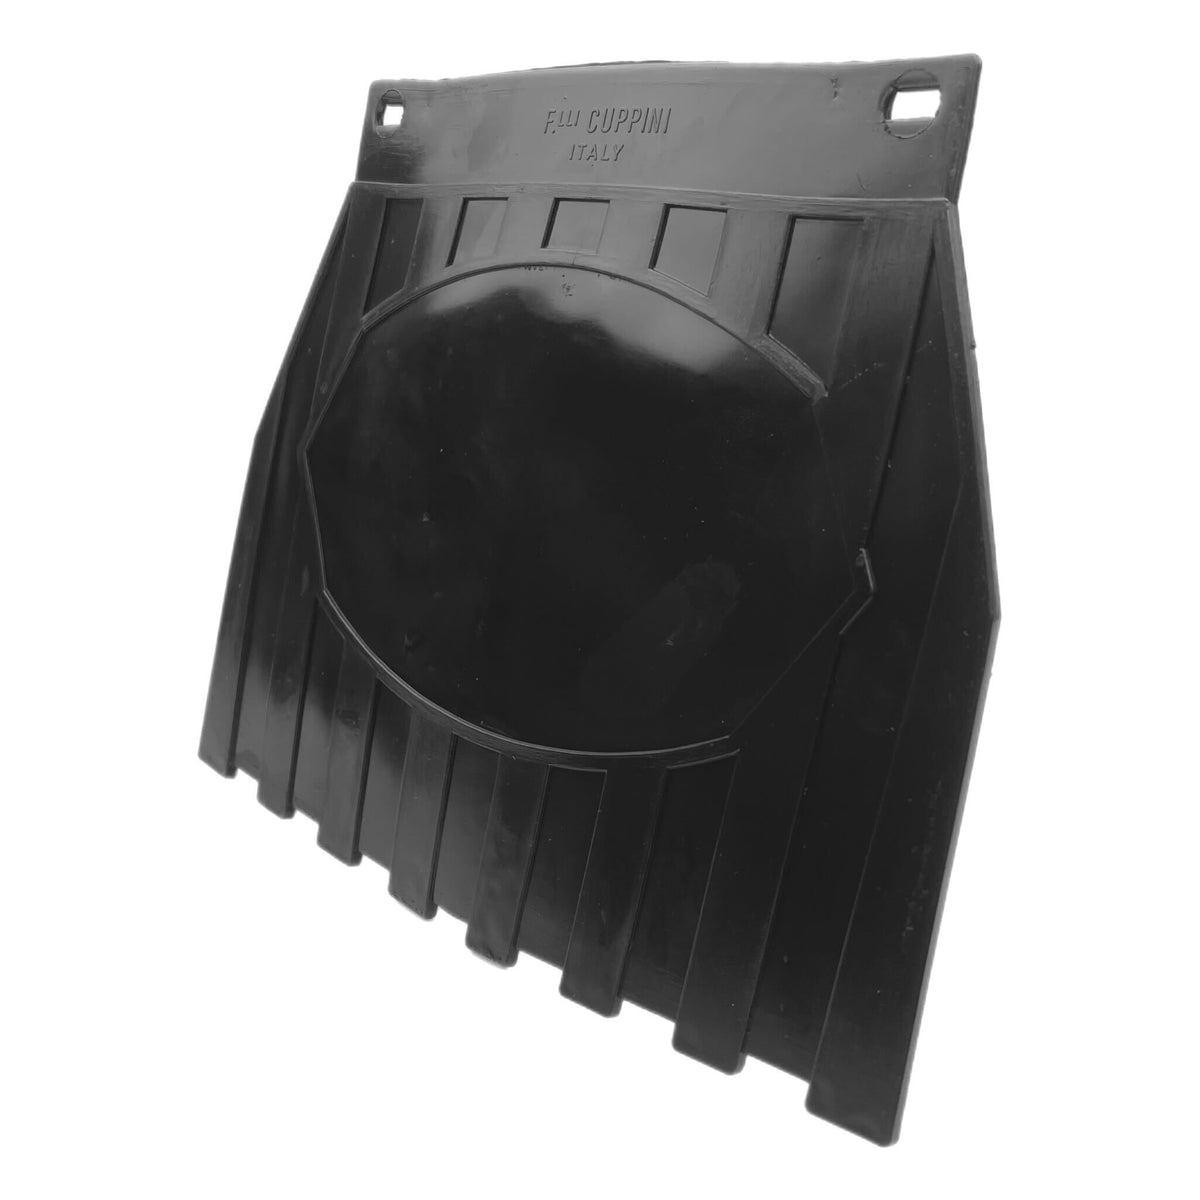
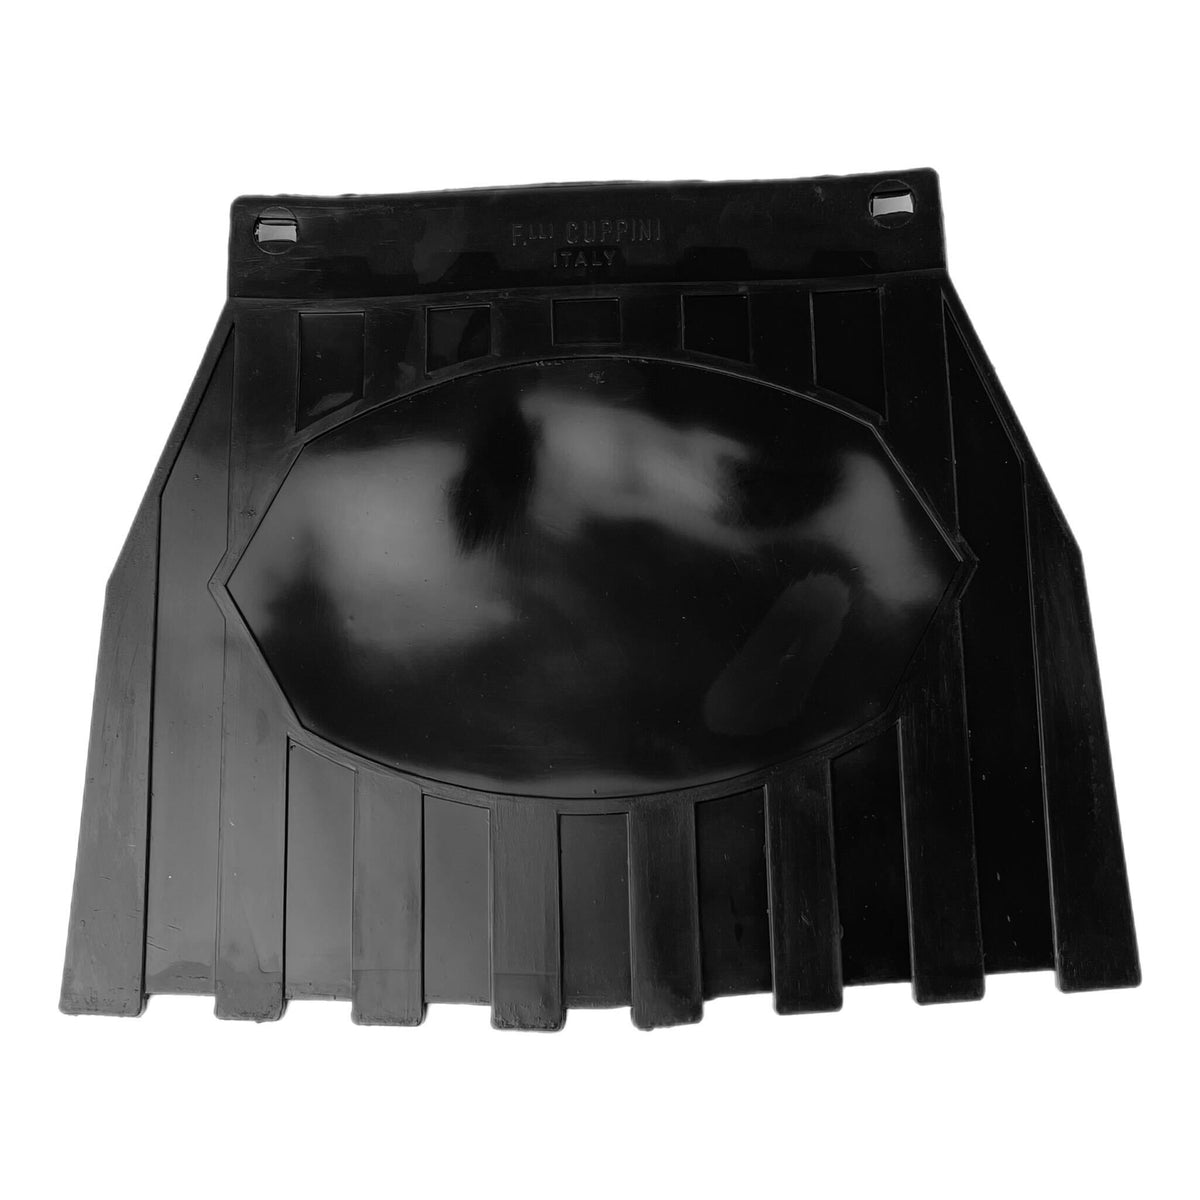
Vespa Lambretta Scooter Royal Alloy Scomadi Europa Mudflap Black
Product code:
BD15392
In stock
Sale price£11.99
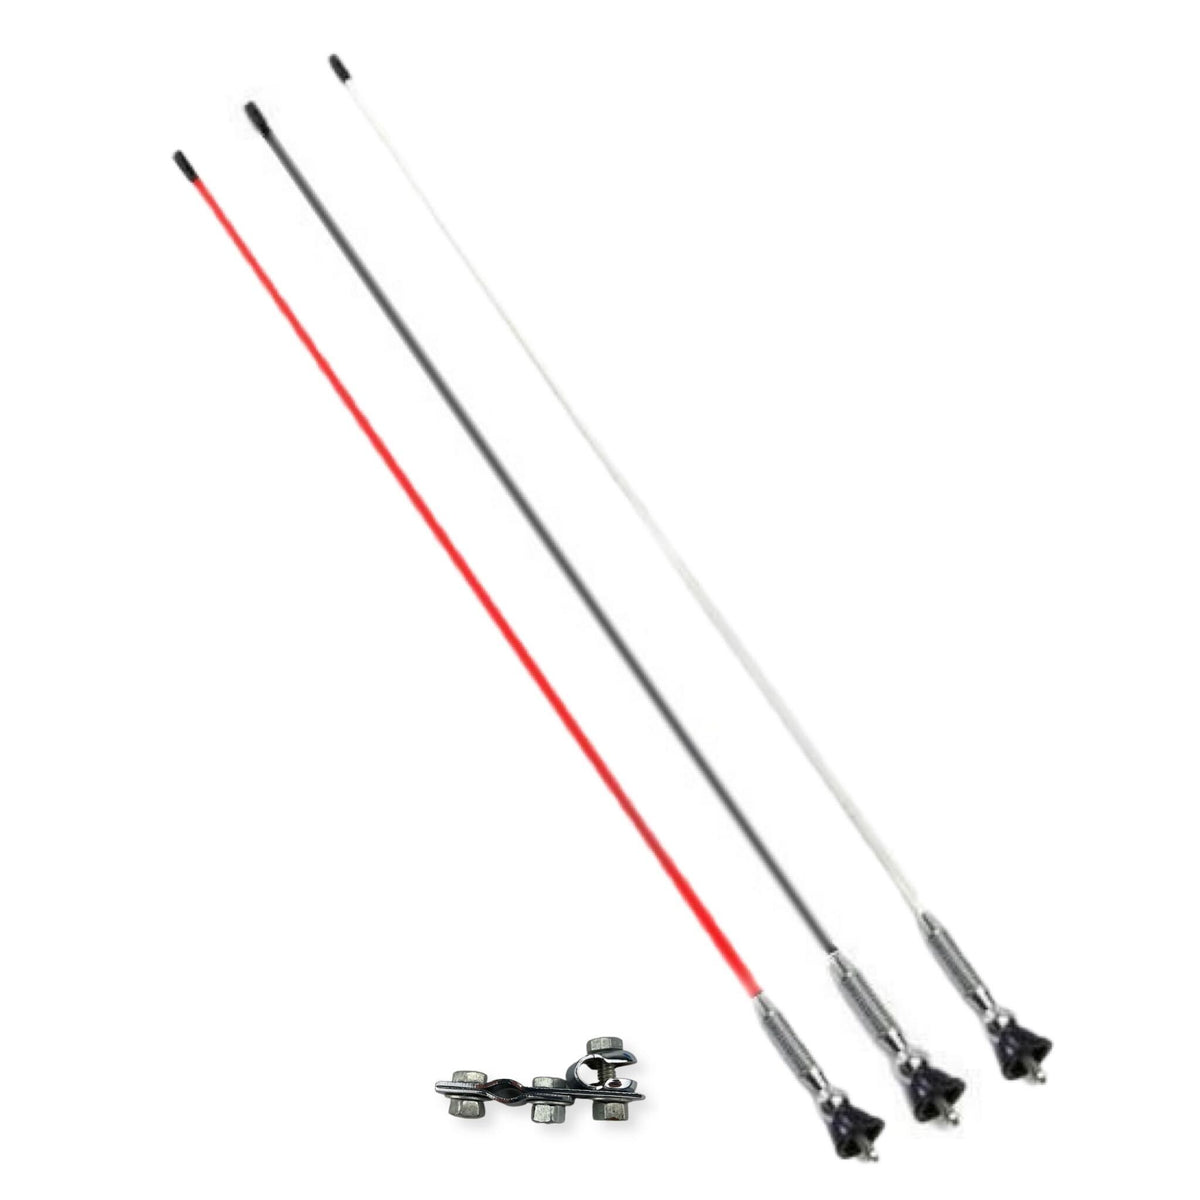
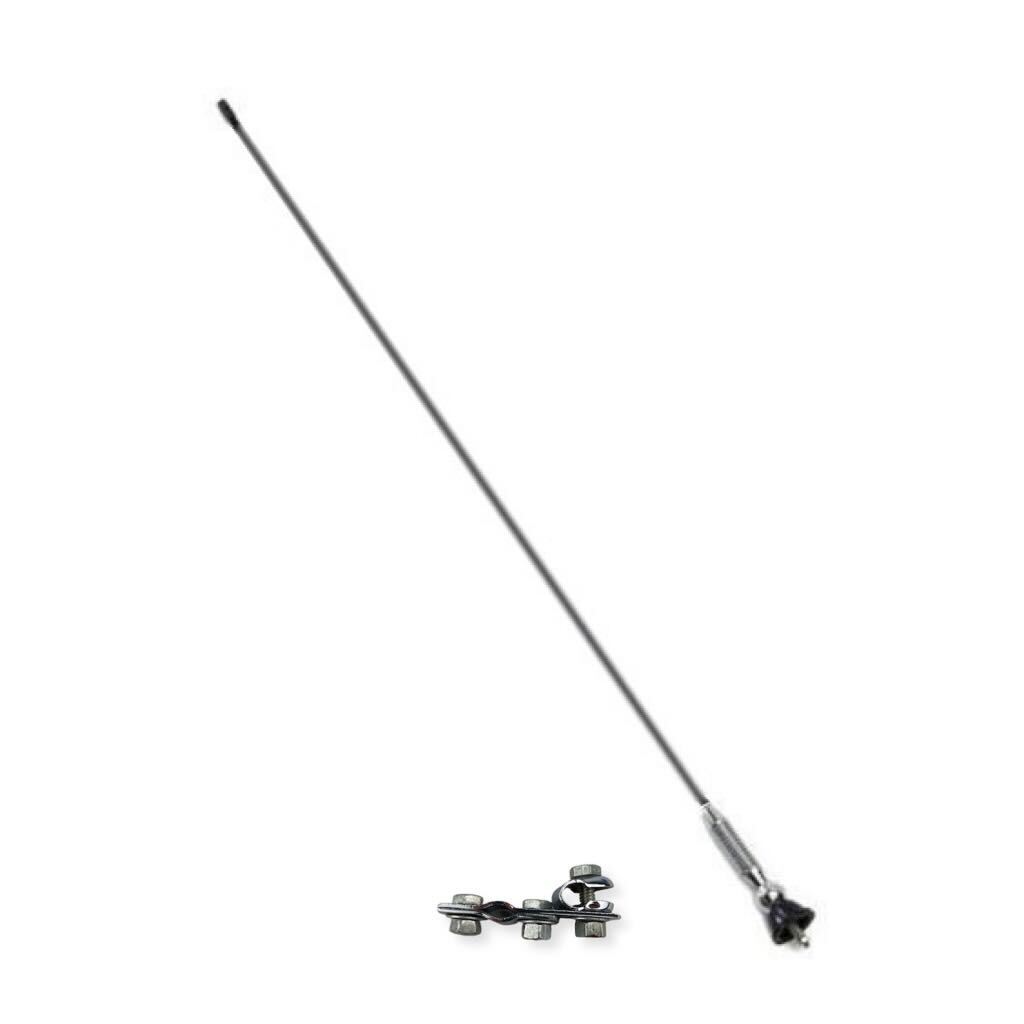
Vespa Lambretta Scooter MOD Whippy Aerial 2 Metre Fibreglass & Fixing Bracket Clamp
Product code:
BD15212
In stock
Sale price£57.99
3 colors available
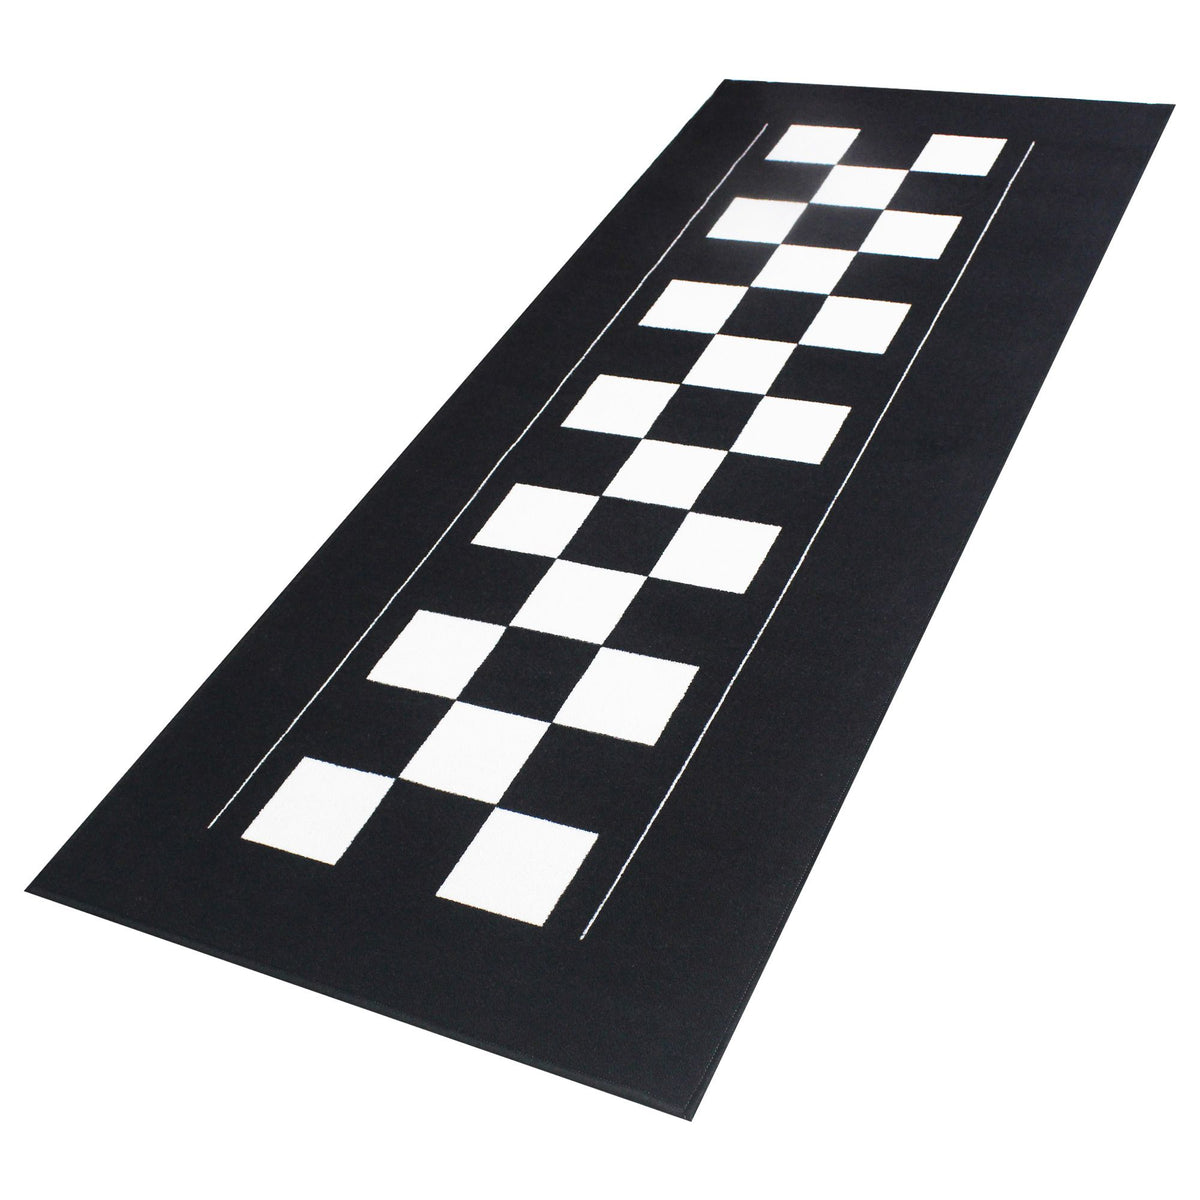
Scooter Vespa Lambretta Motorbike Garage Checkerboard Mat Series 4 - 190cm x 80cm
Product code:
BD18768
In stock
Sale price£44.99
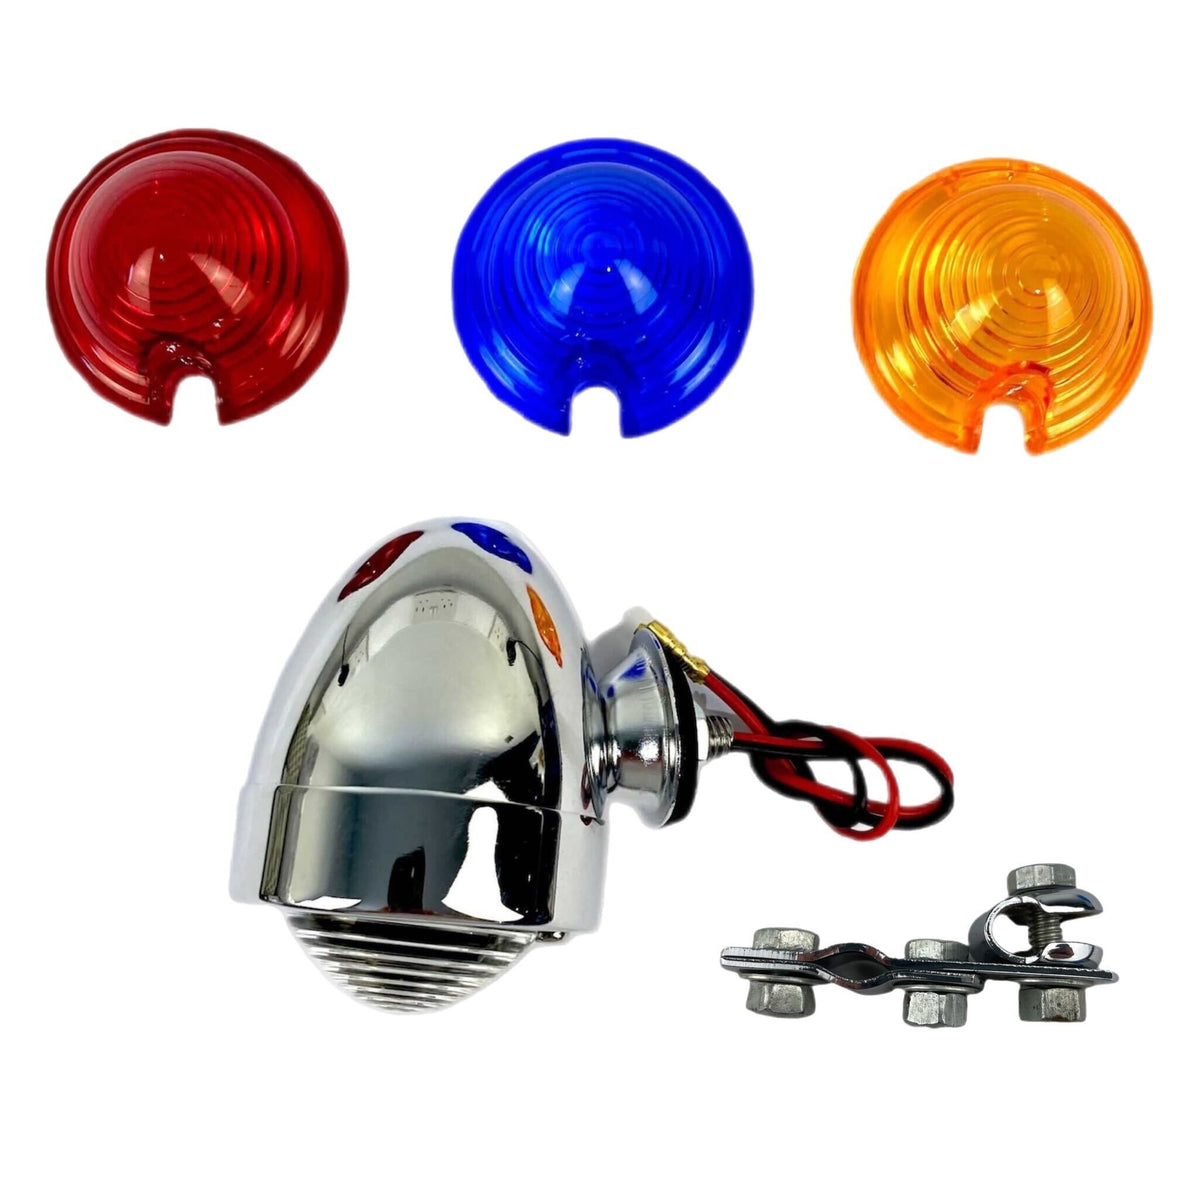
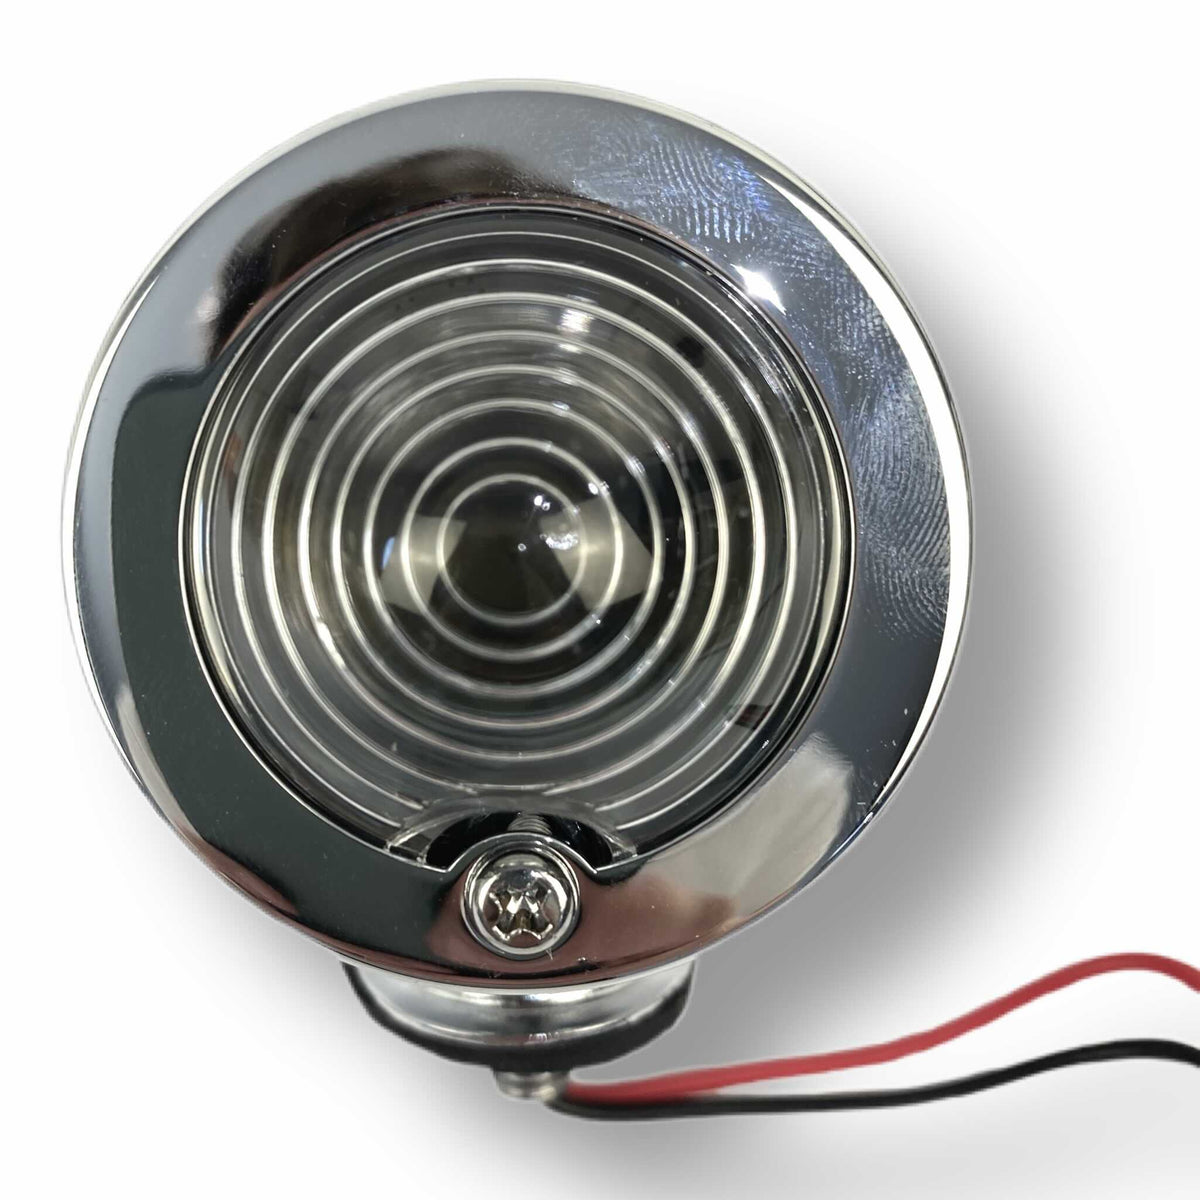
Vespa Lambretta Scooter Chrome Marker Bullet Light With Clamp- Blue Red Amber Clear Lenses
Product code:
BD18333
In stock
Sale price£29.99
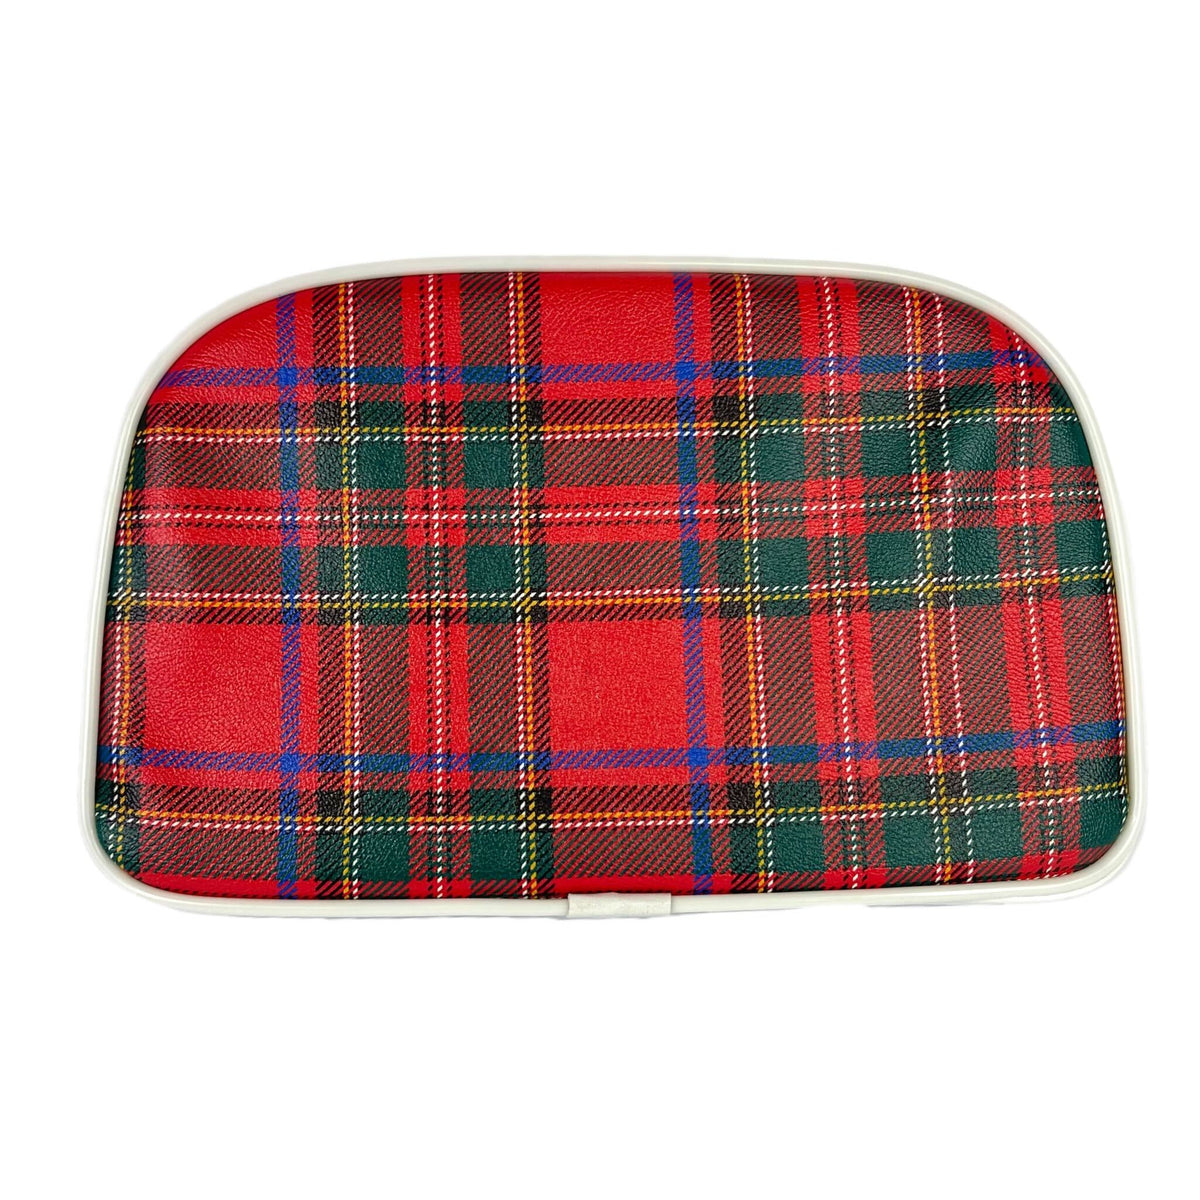
Vespa Lambretta Replacement Backrest Pad For 4 in 1 Stainless Carriers - Red & Green Tartan
Product code:
BD19144
Limited Stock
Sale price£29.99
We deliver worldwide 🌍
Beedspeed is a true international player in the scooter industry stocking over 15,000 parts and providing fast delivery from DPD and Royal Mail.
We pride ourselves on fast competitive shipping, view our delivery information pages for further information.